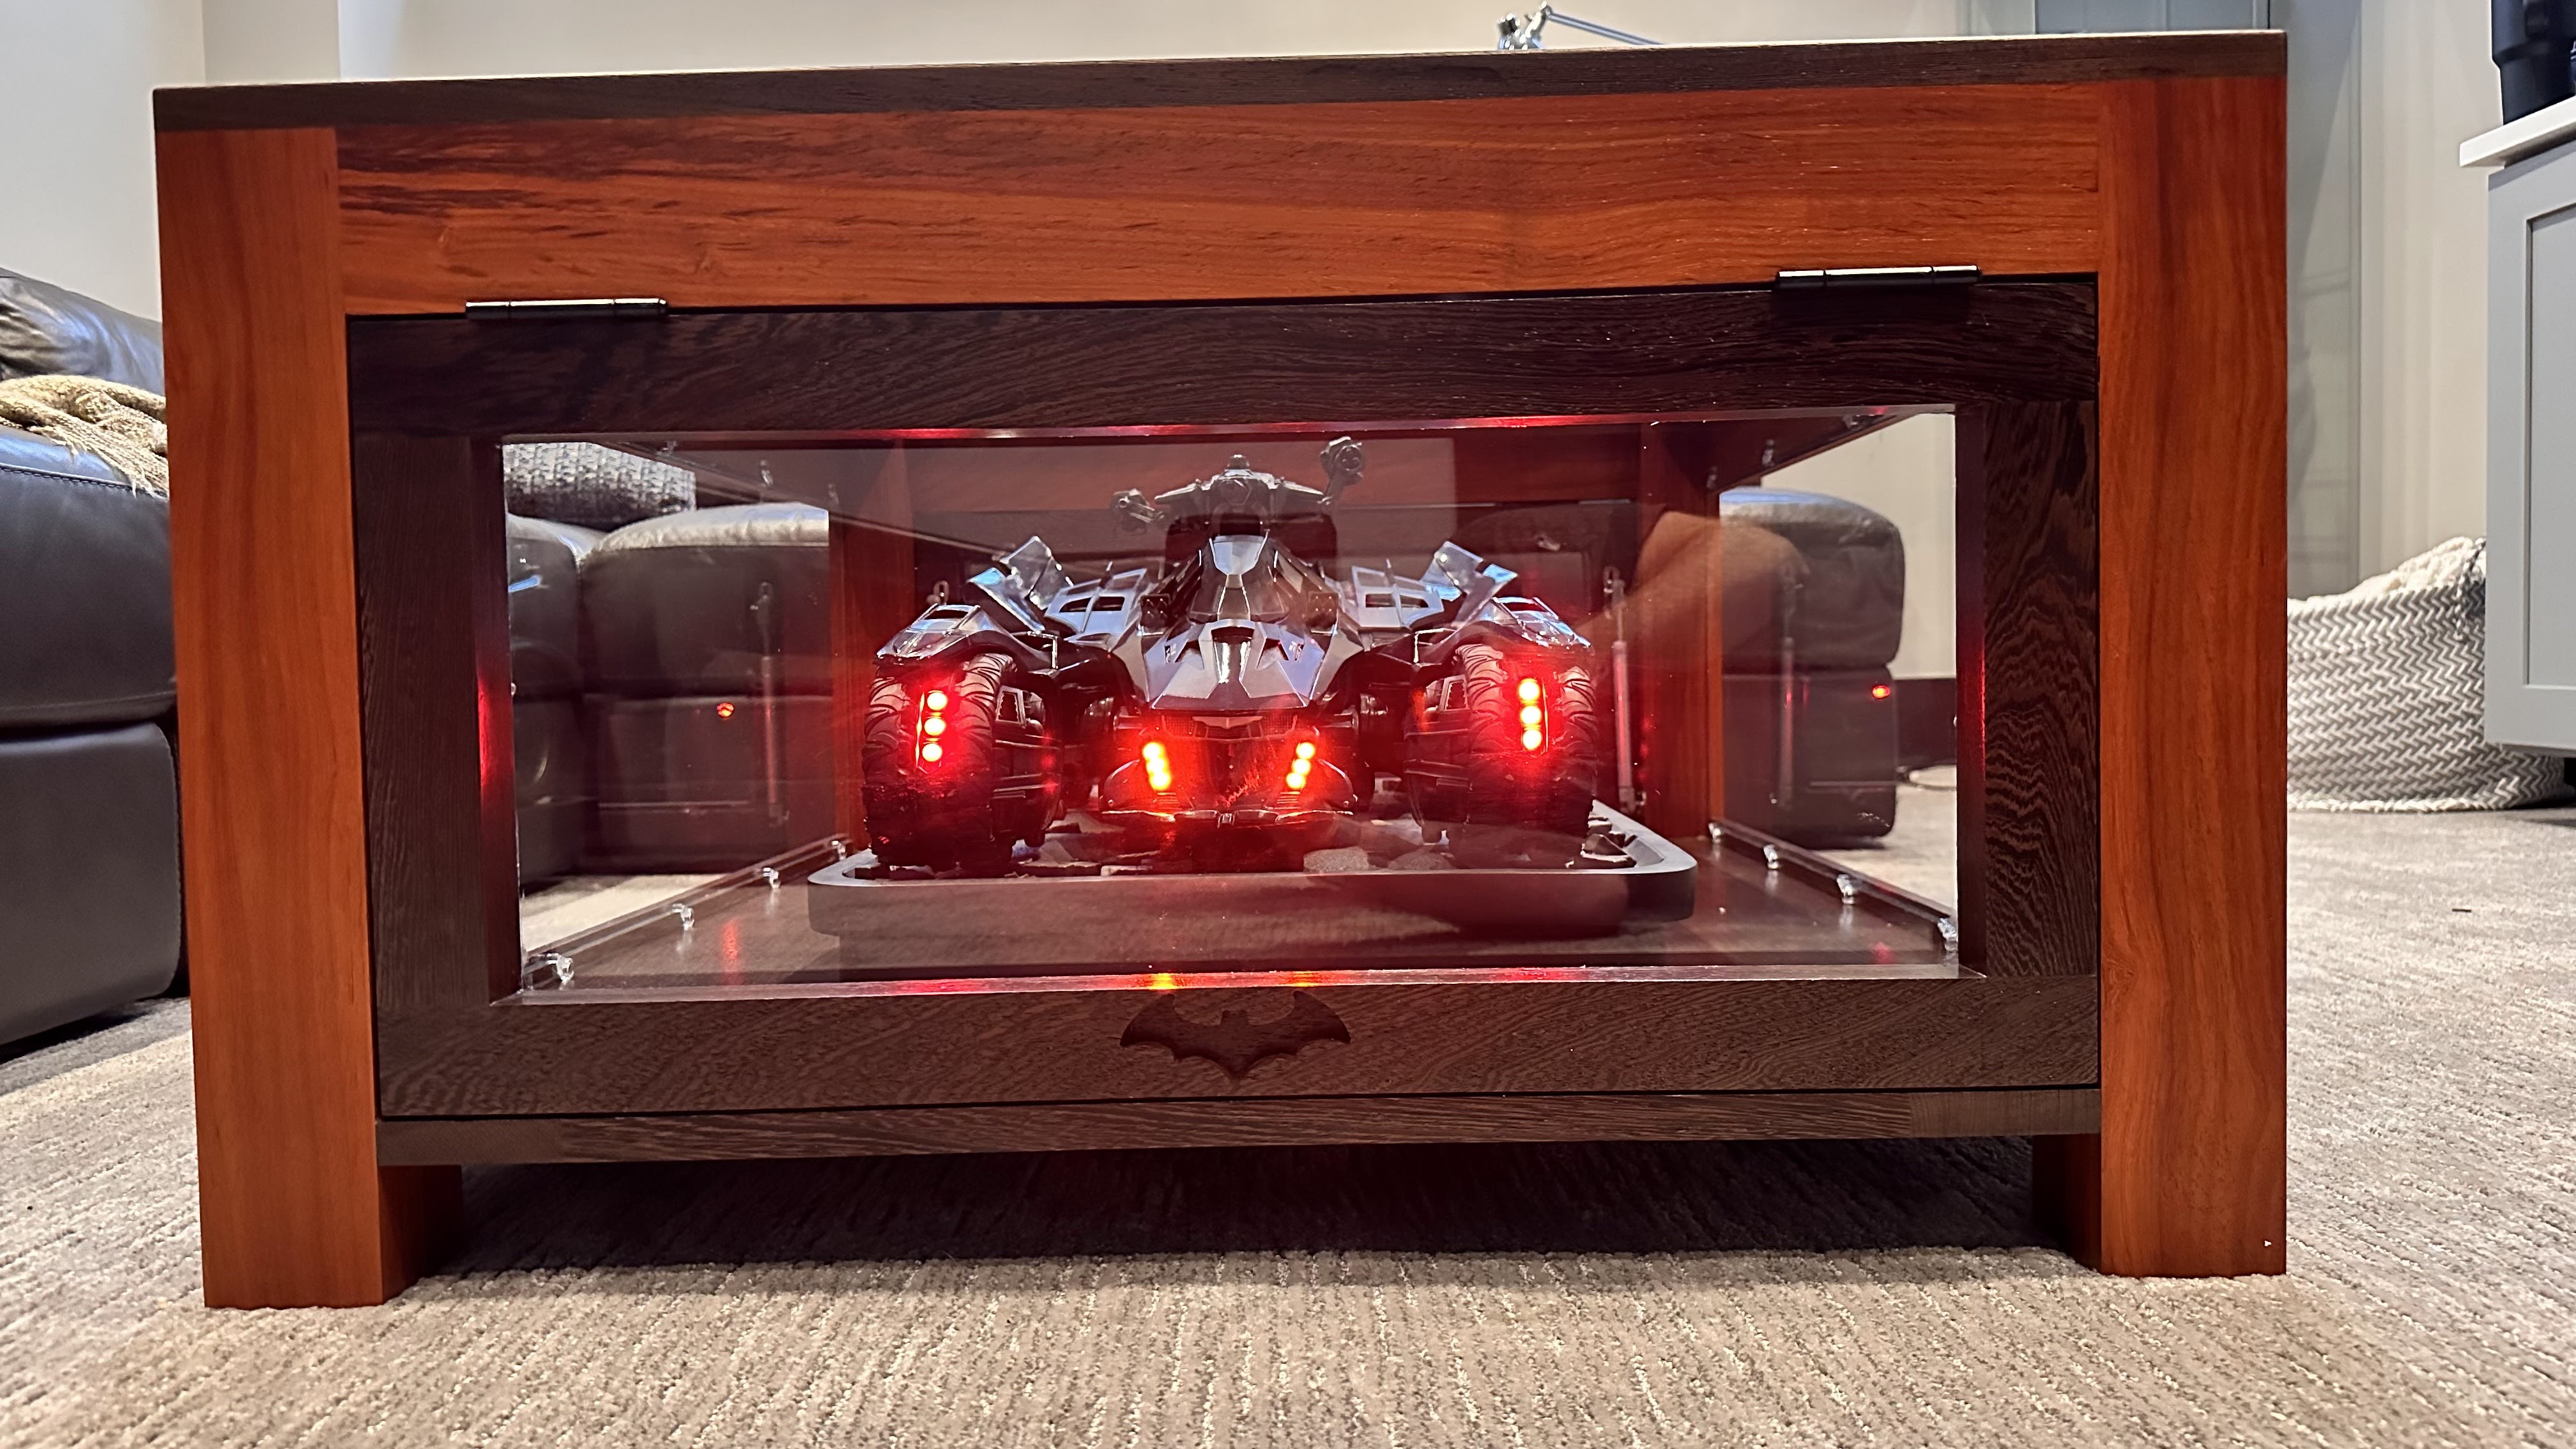
In a conversation with a close friend about our collective love of all things scifi he showed me his scale model of the Batmobile from the video game Batman: Arkham Knight. It was a find that he discovered while roaming Akihabara in Tokyo. He confessed to me that we wanted to display it in a coffee table but couldn’t find one. Enter me with the offered to build it.
Table of Contents
- The Design Process
- Starting The Build
- Pre-Finish Everything
- The Outer Structure
- The Doors
- Mistakes are Design Opportunities
- Glass!
- Final Installation
The Design Process
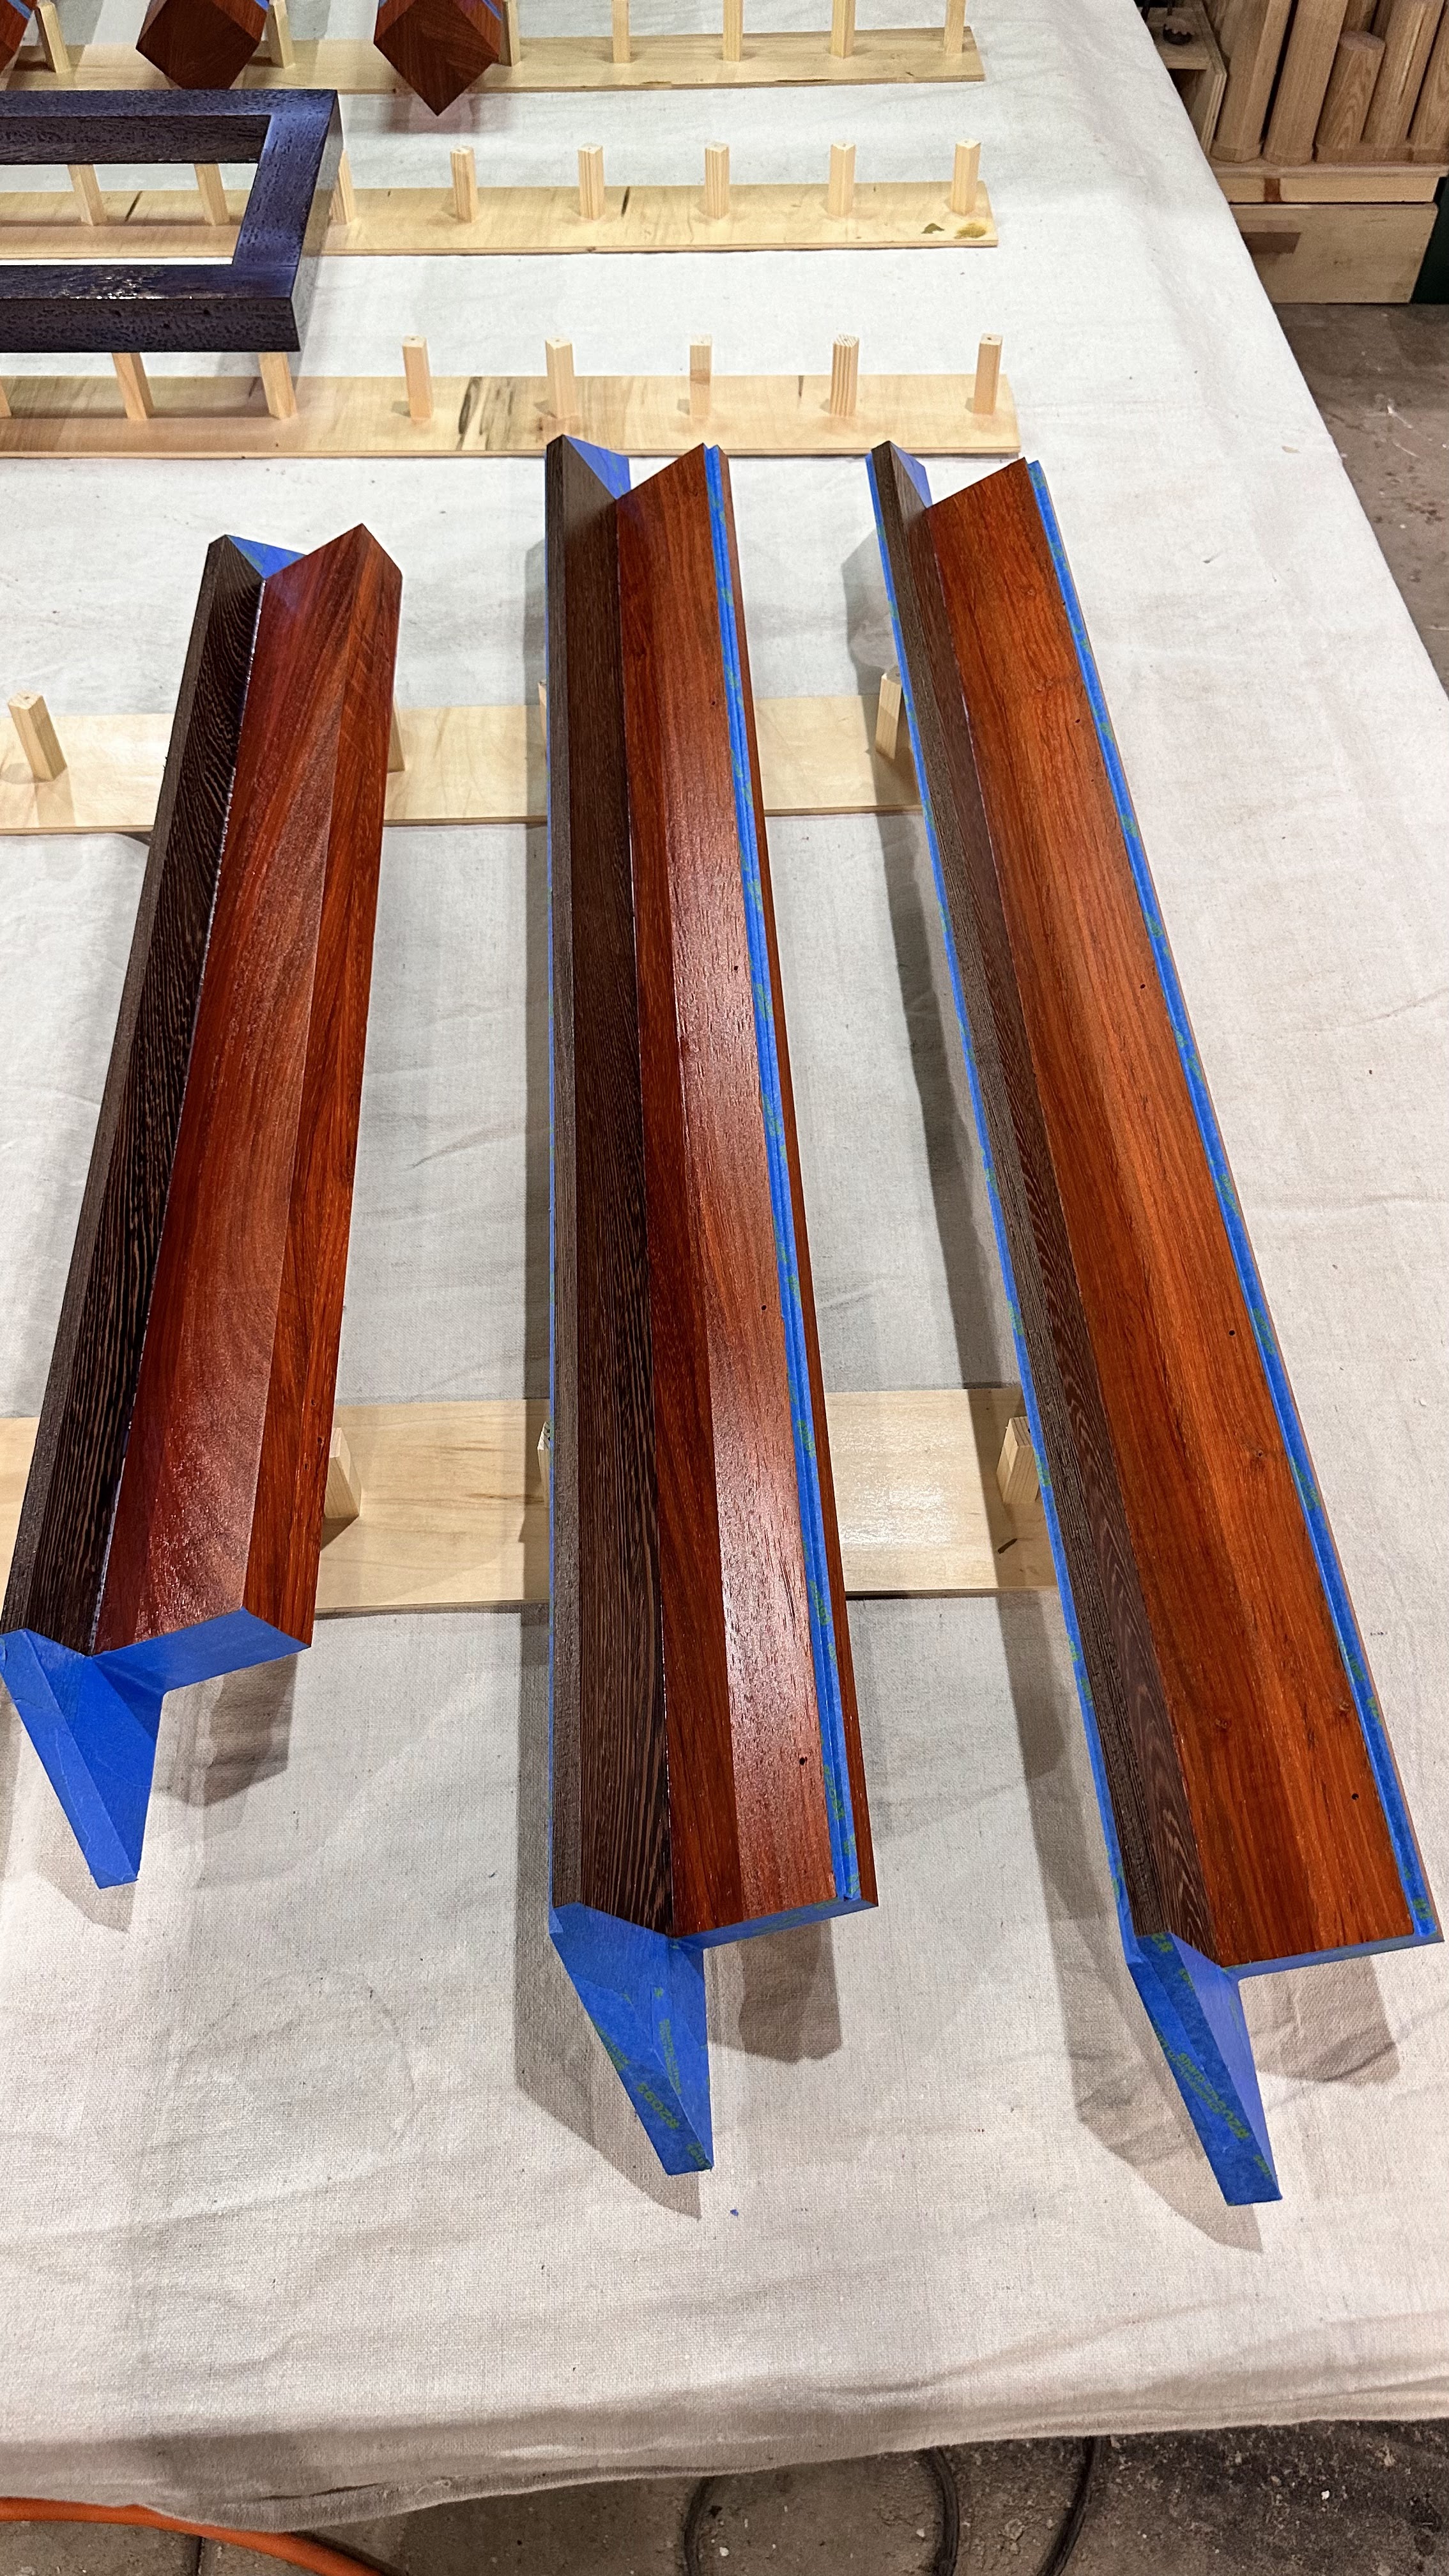
This was his first journey into custom furniture and so this first leg I always educate on the art of the possible. We examined various styles, designs, colors, options,etc but one step I never miss is talking people to the wood store to see what are all the various beautiful species we can work with.
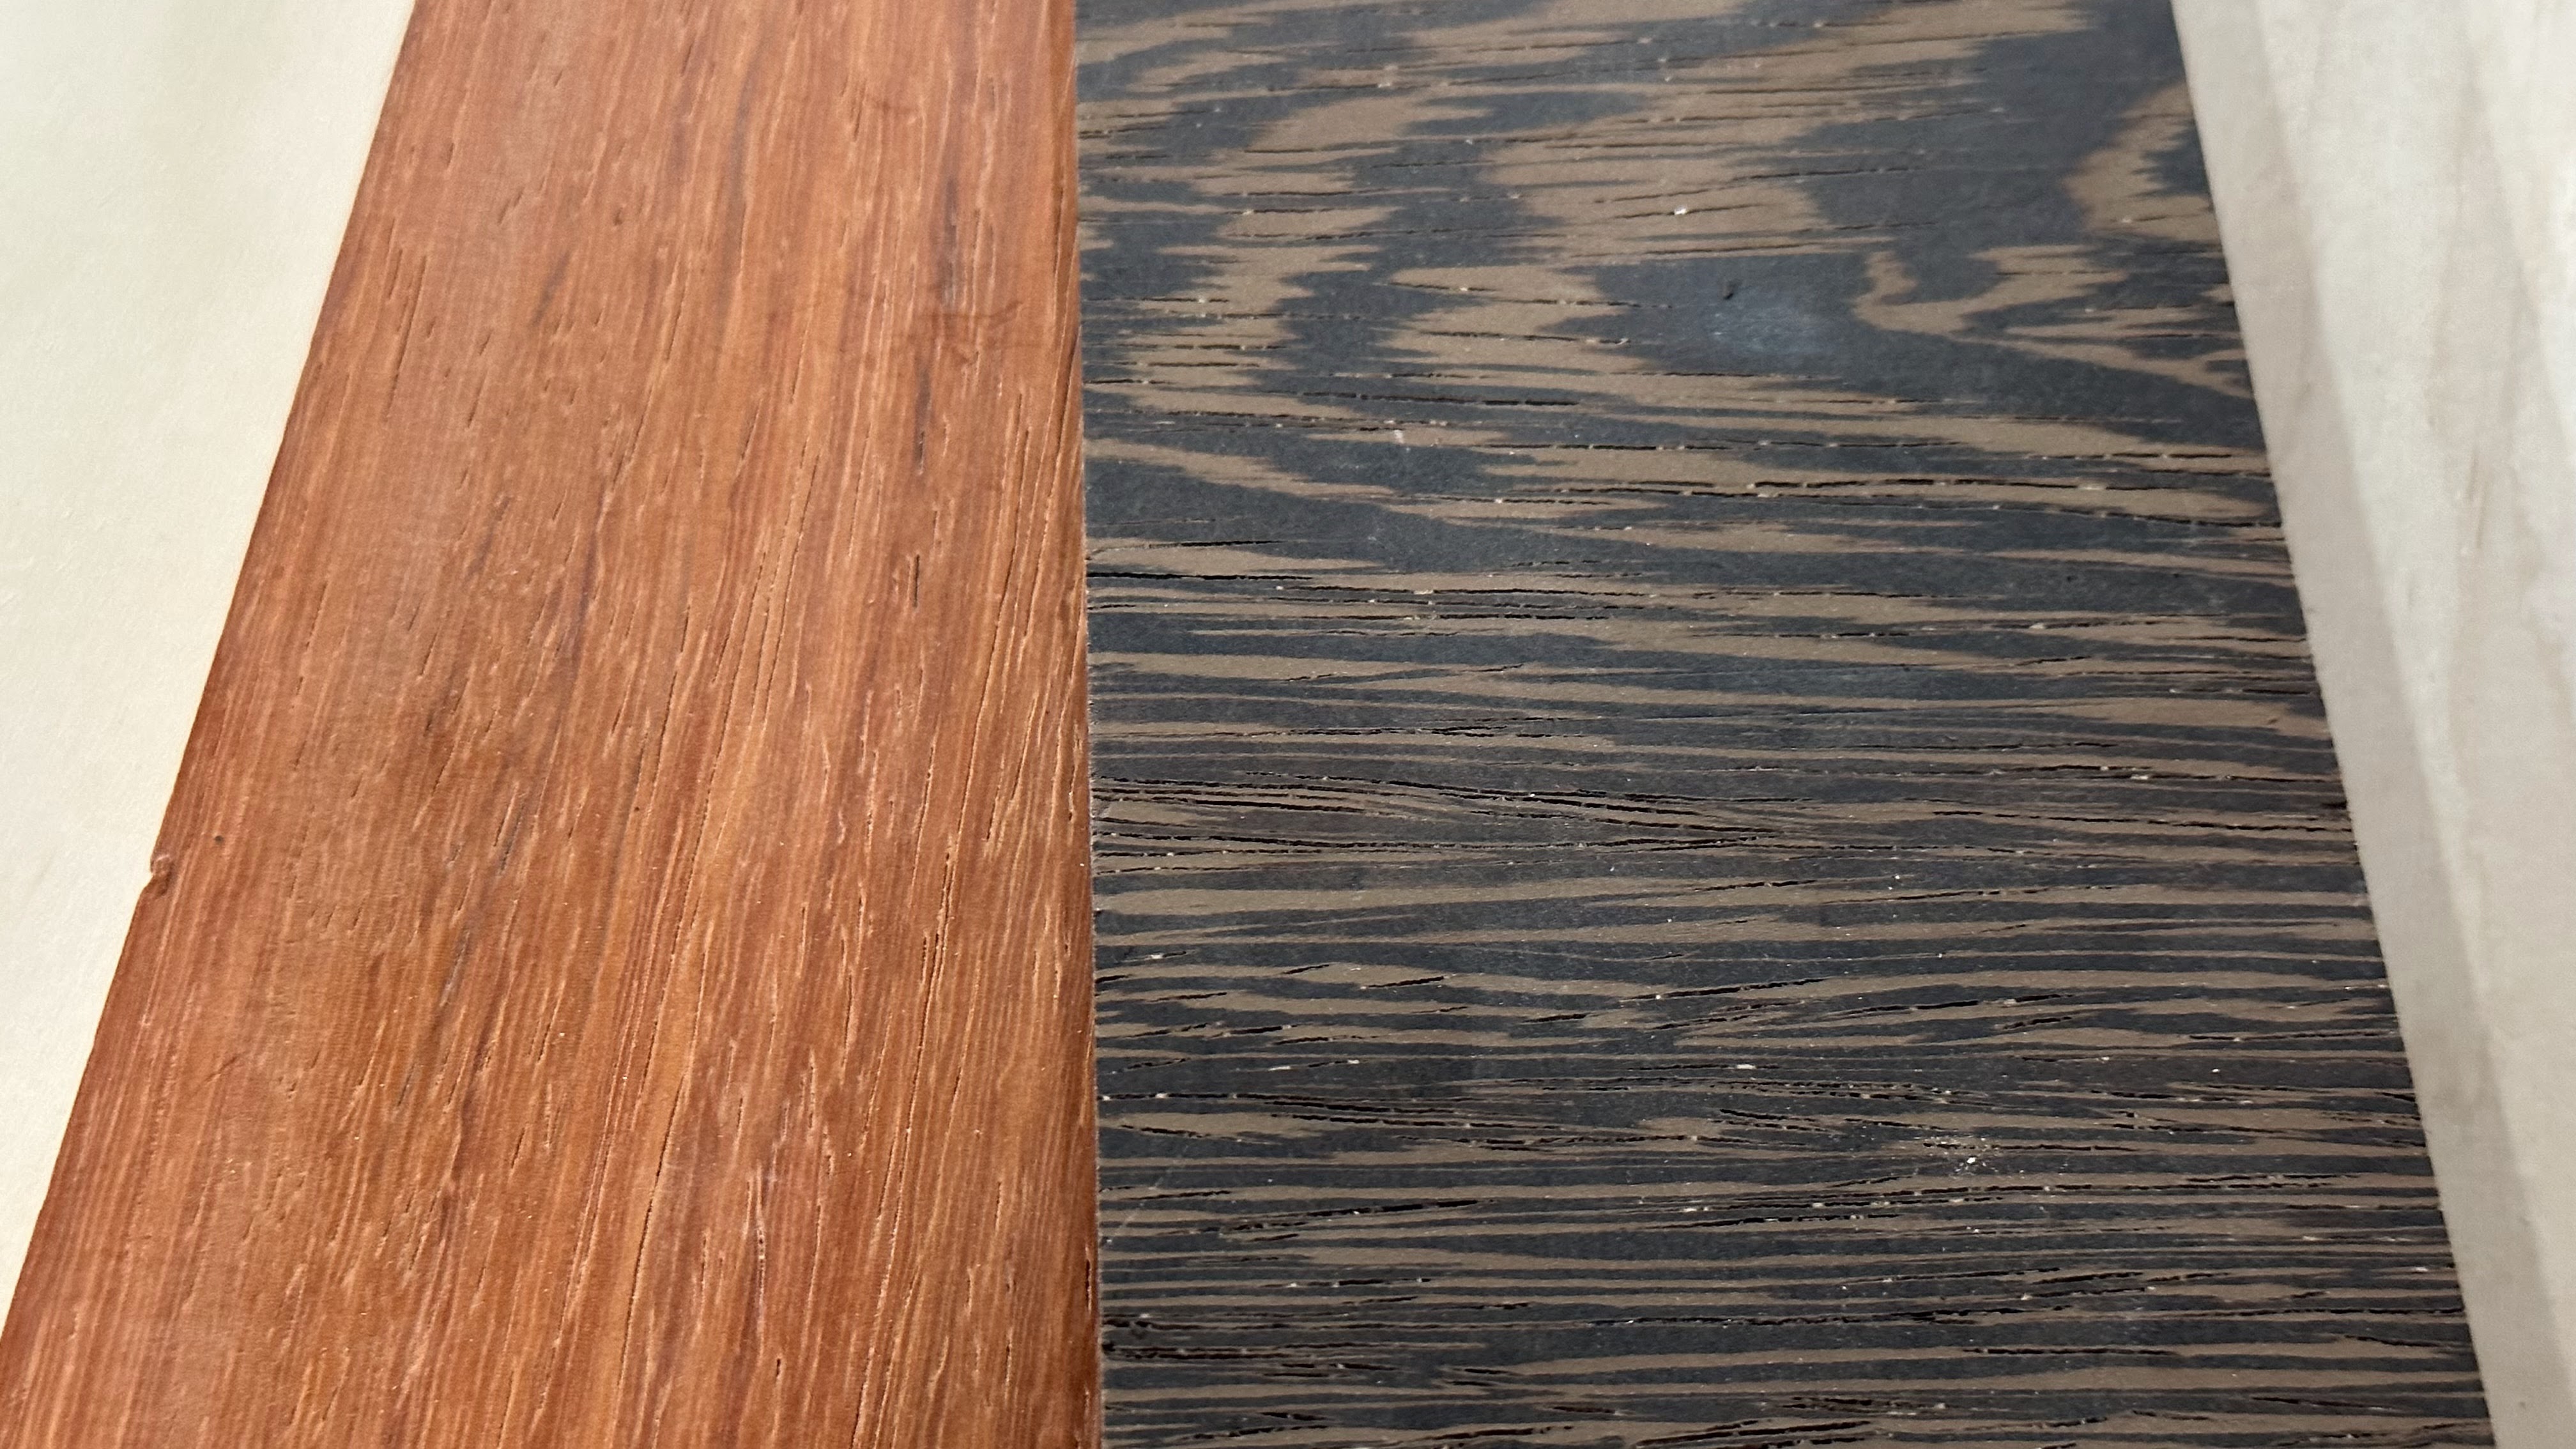
We decided on two exotic hardwood species, African Padauk, and African Wenge because we felt they embodied the spirit best of the Bat-mobile.
Next step was to design the coffee table based on their descriptions and desires. I always use CAD to do accurate renders based on agreed upon measurements. This was our first final render.

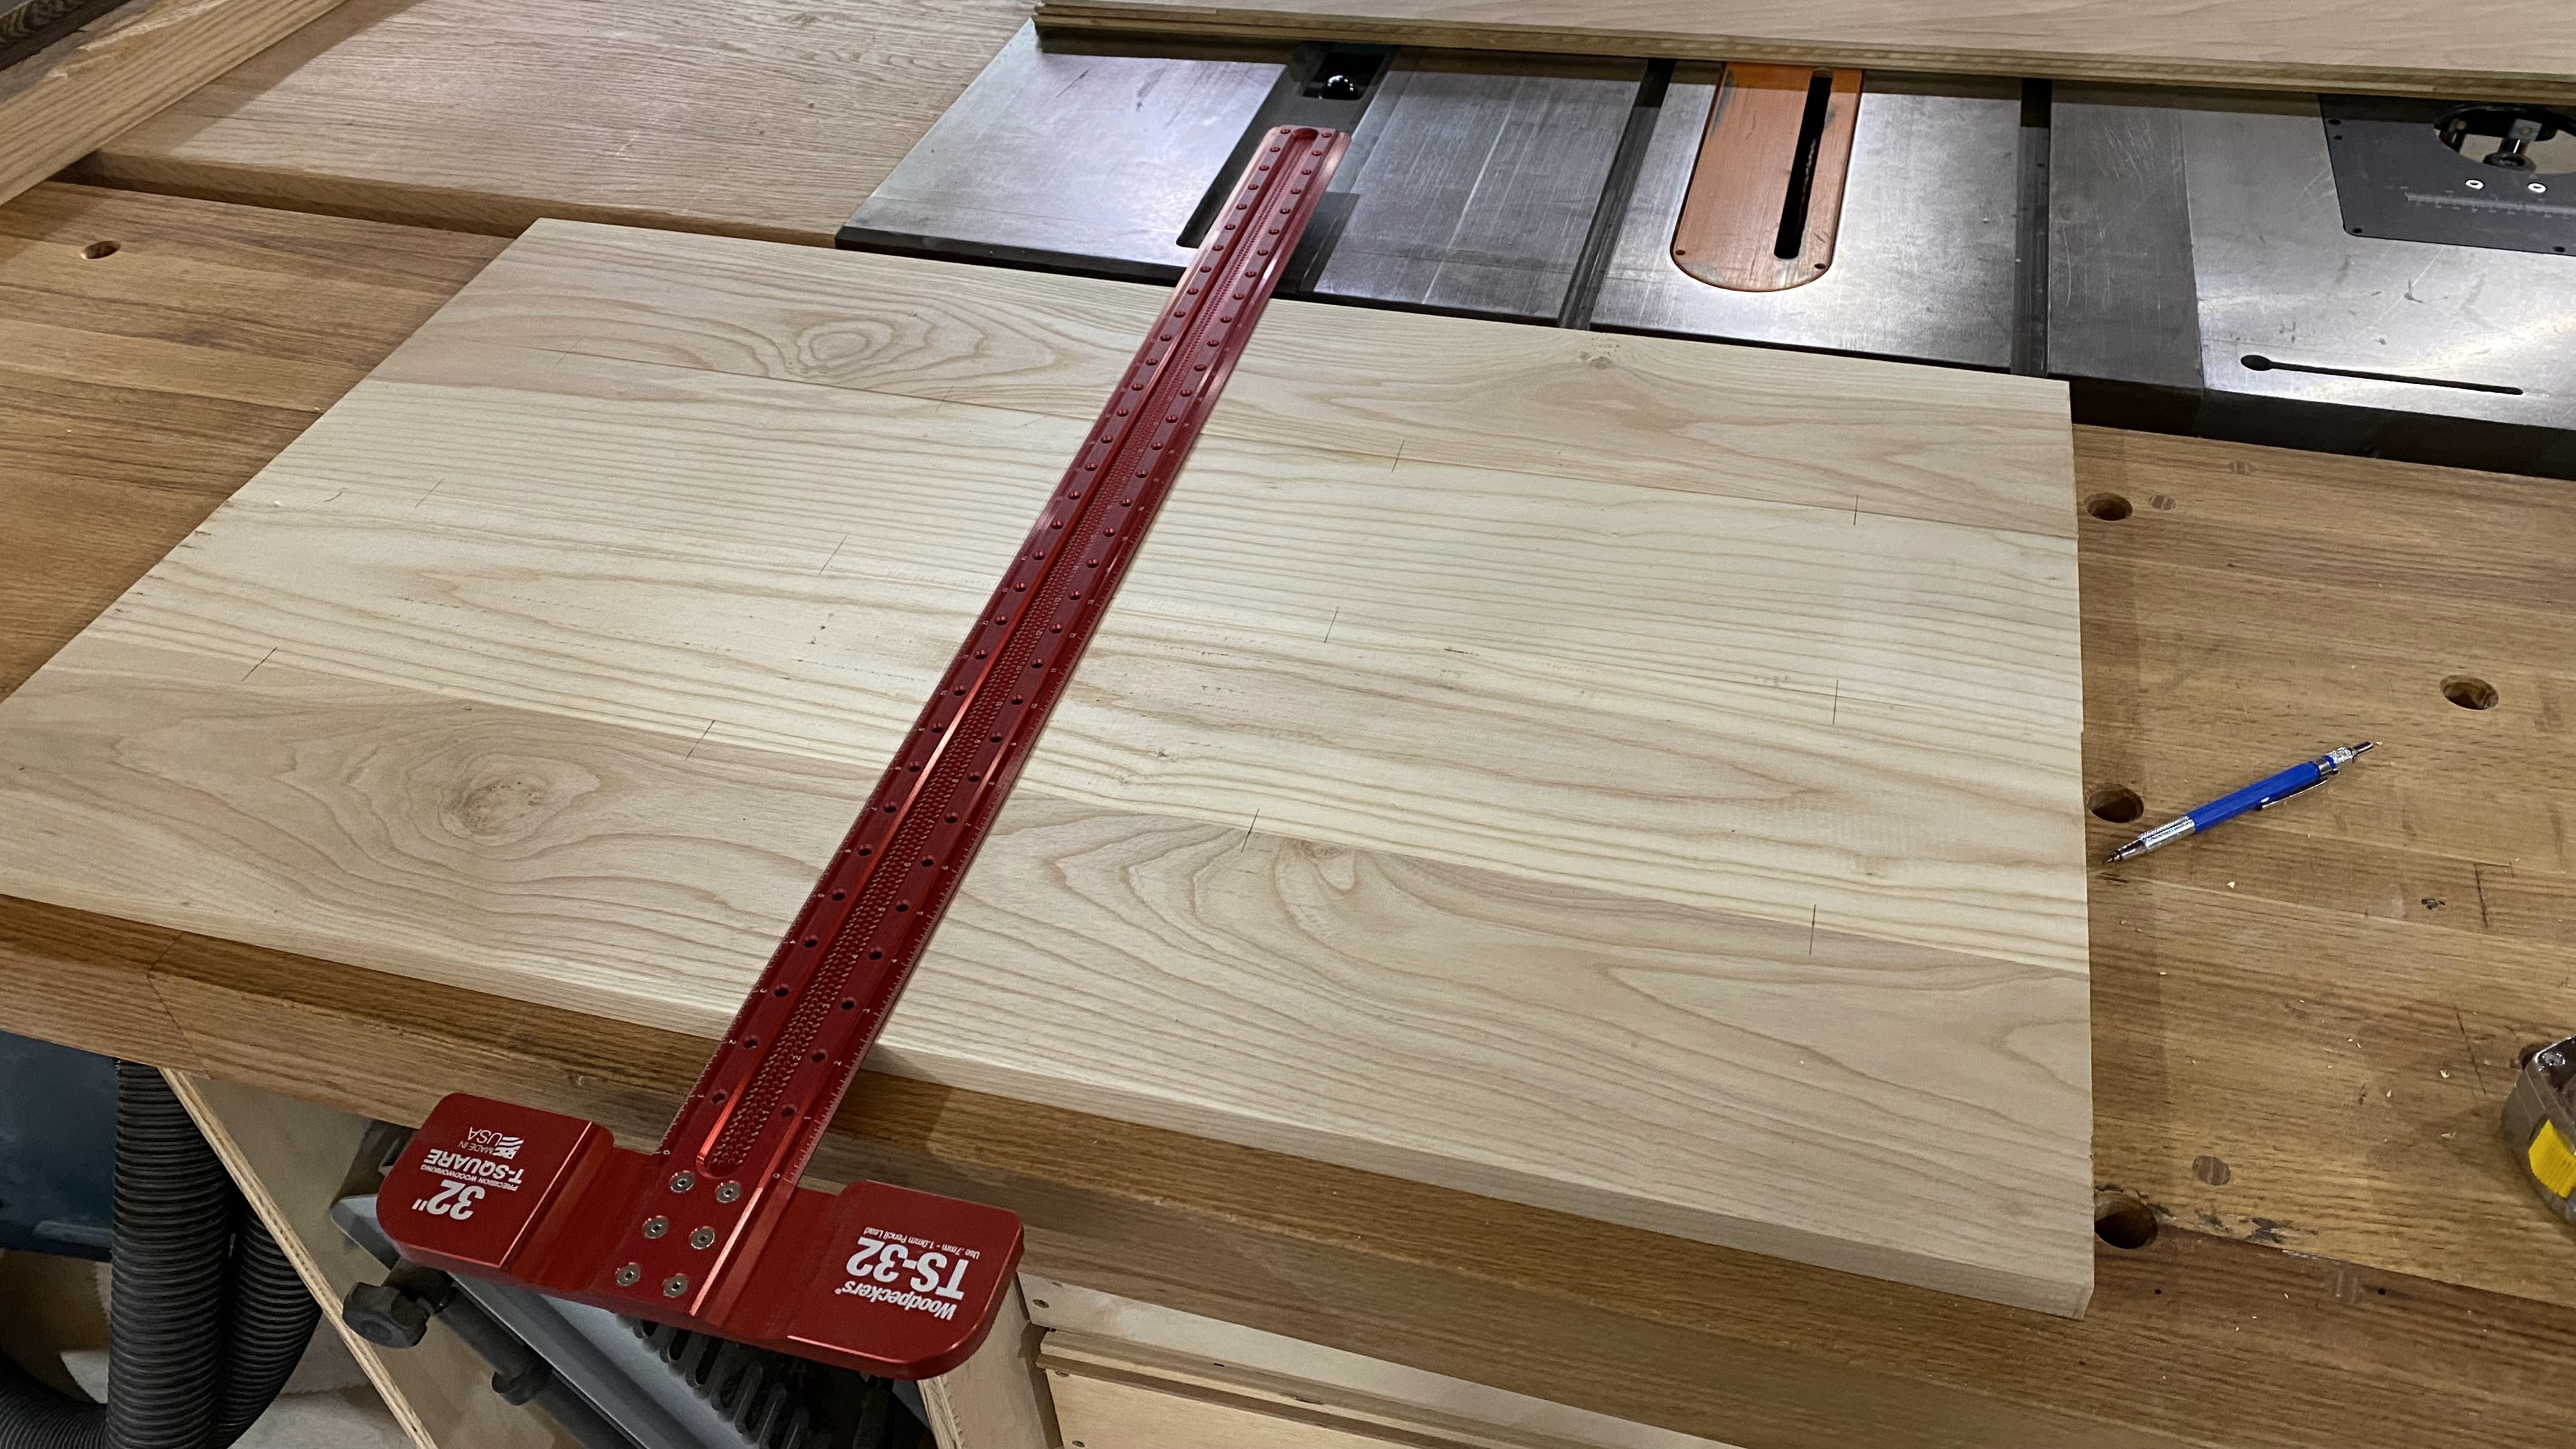
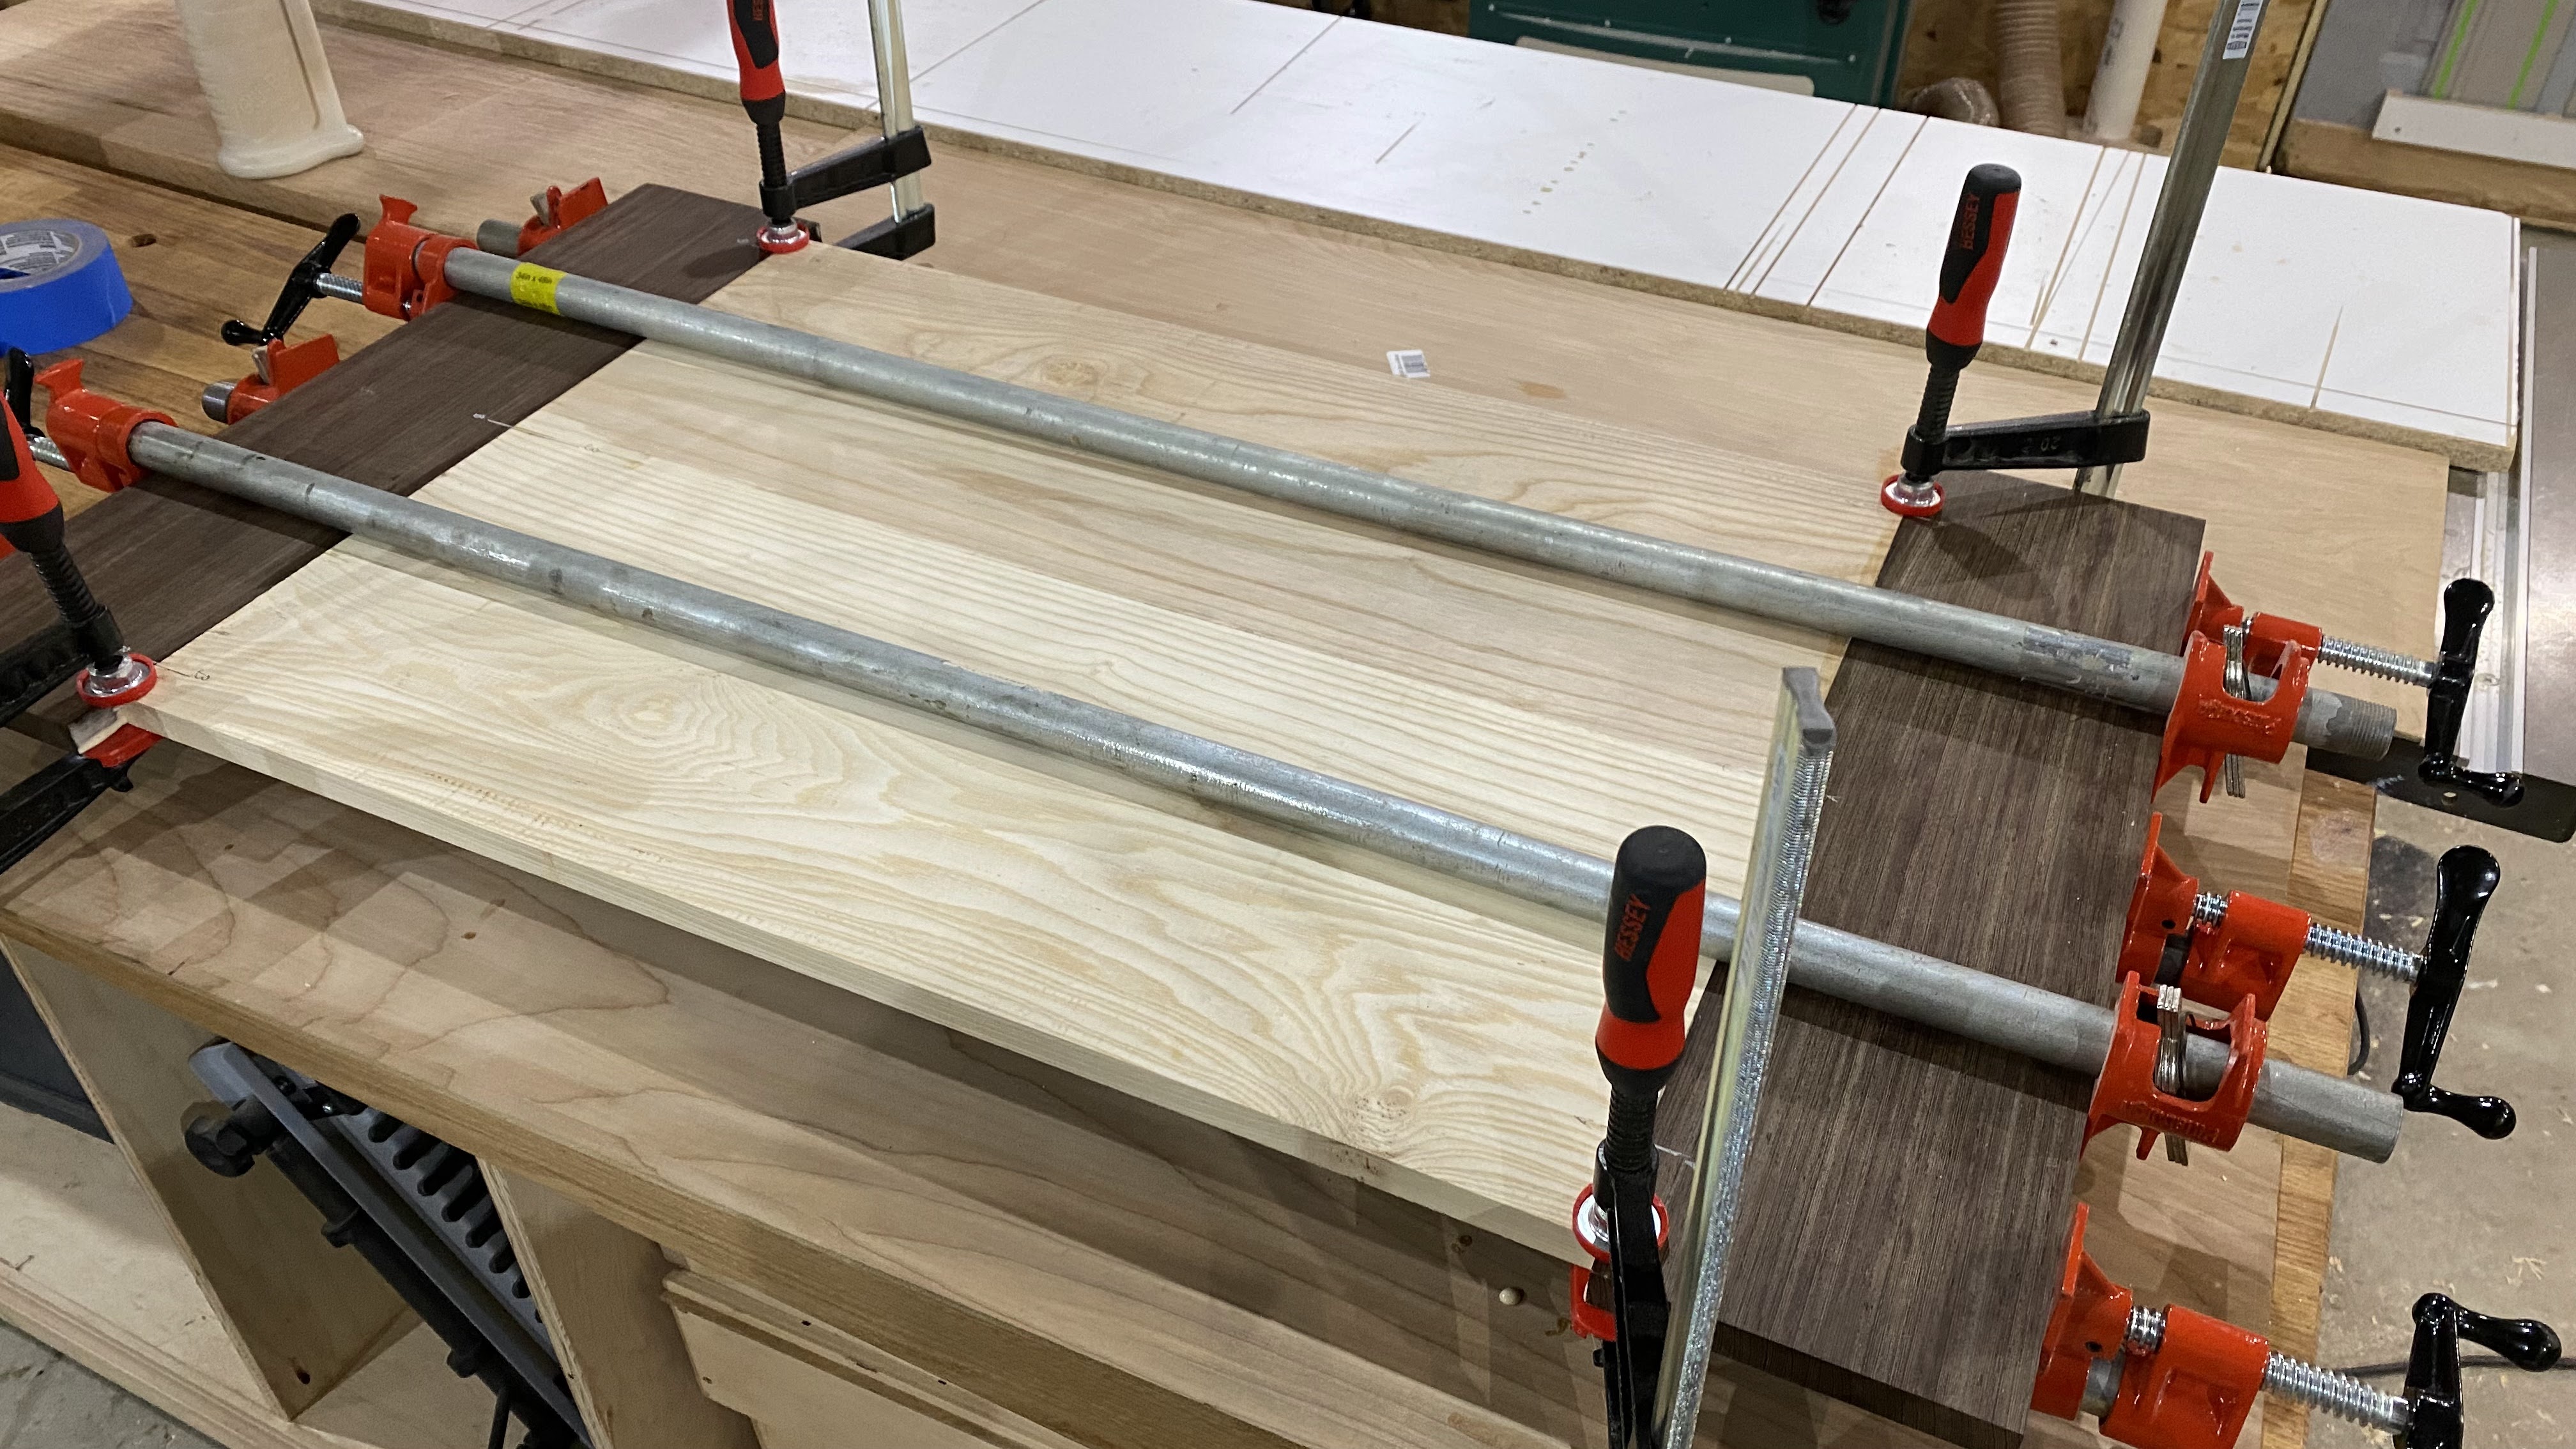
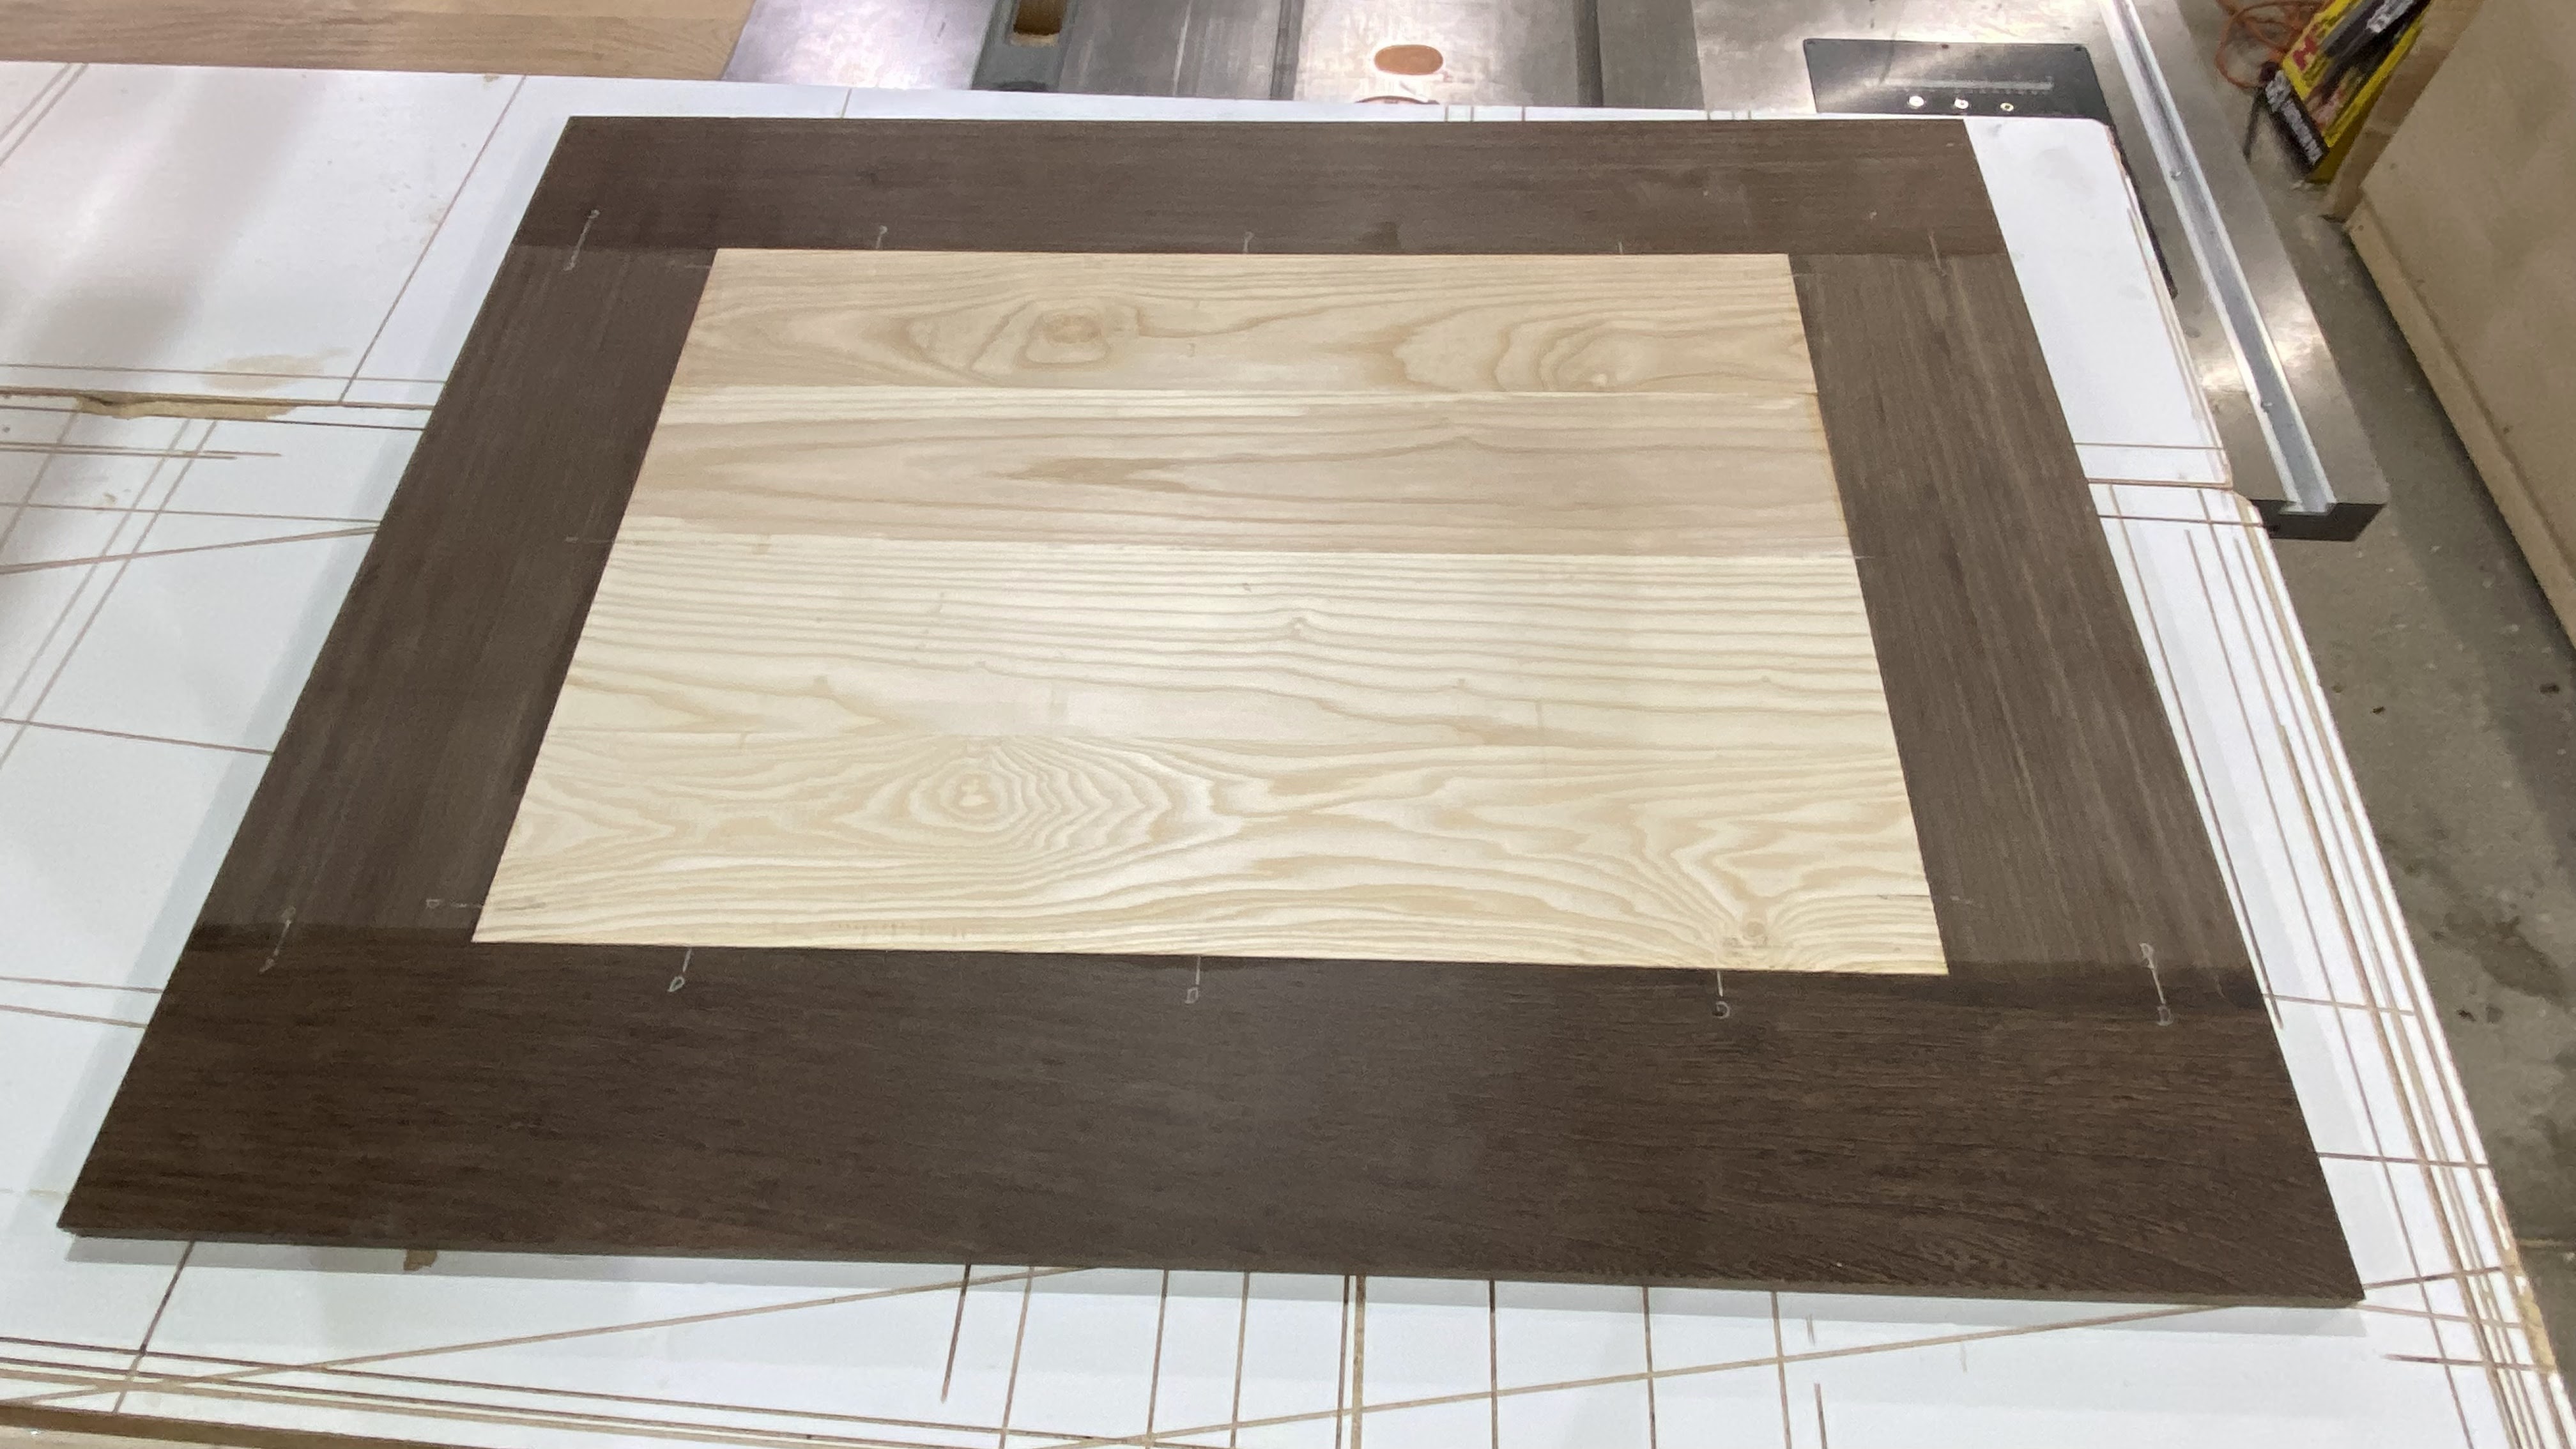
Starting the Build
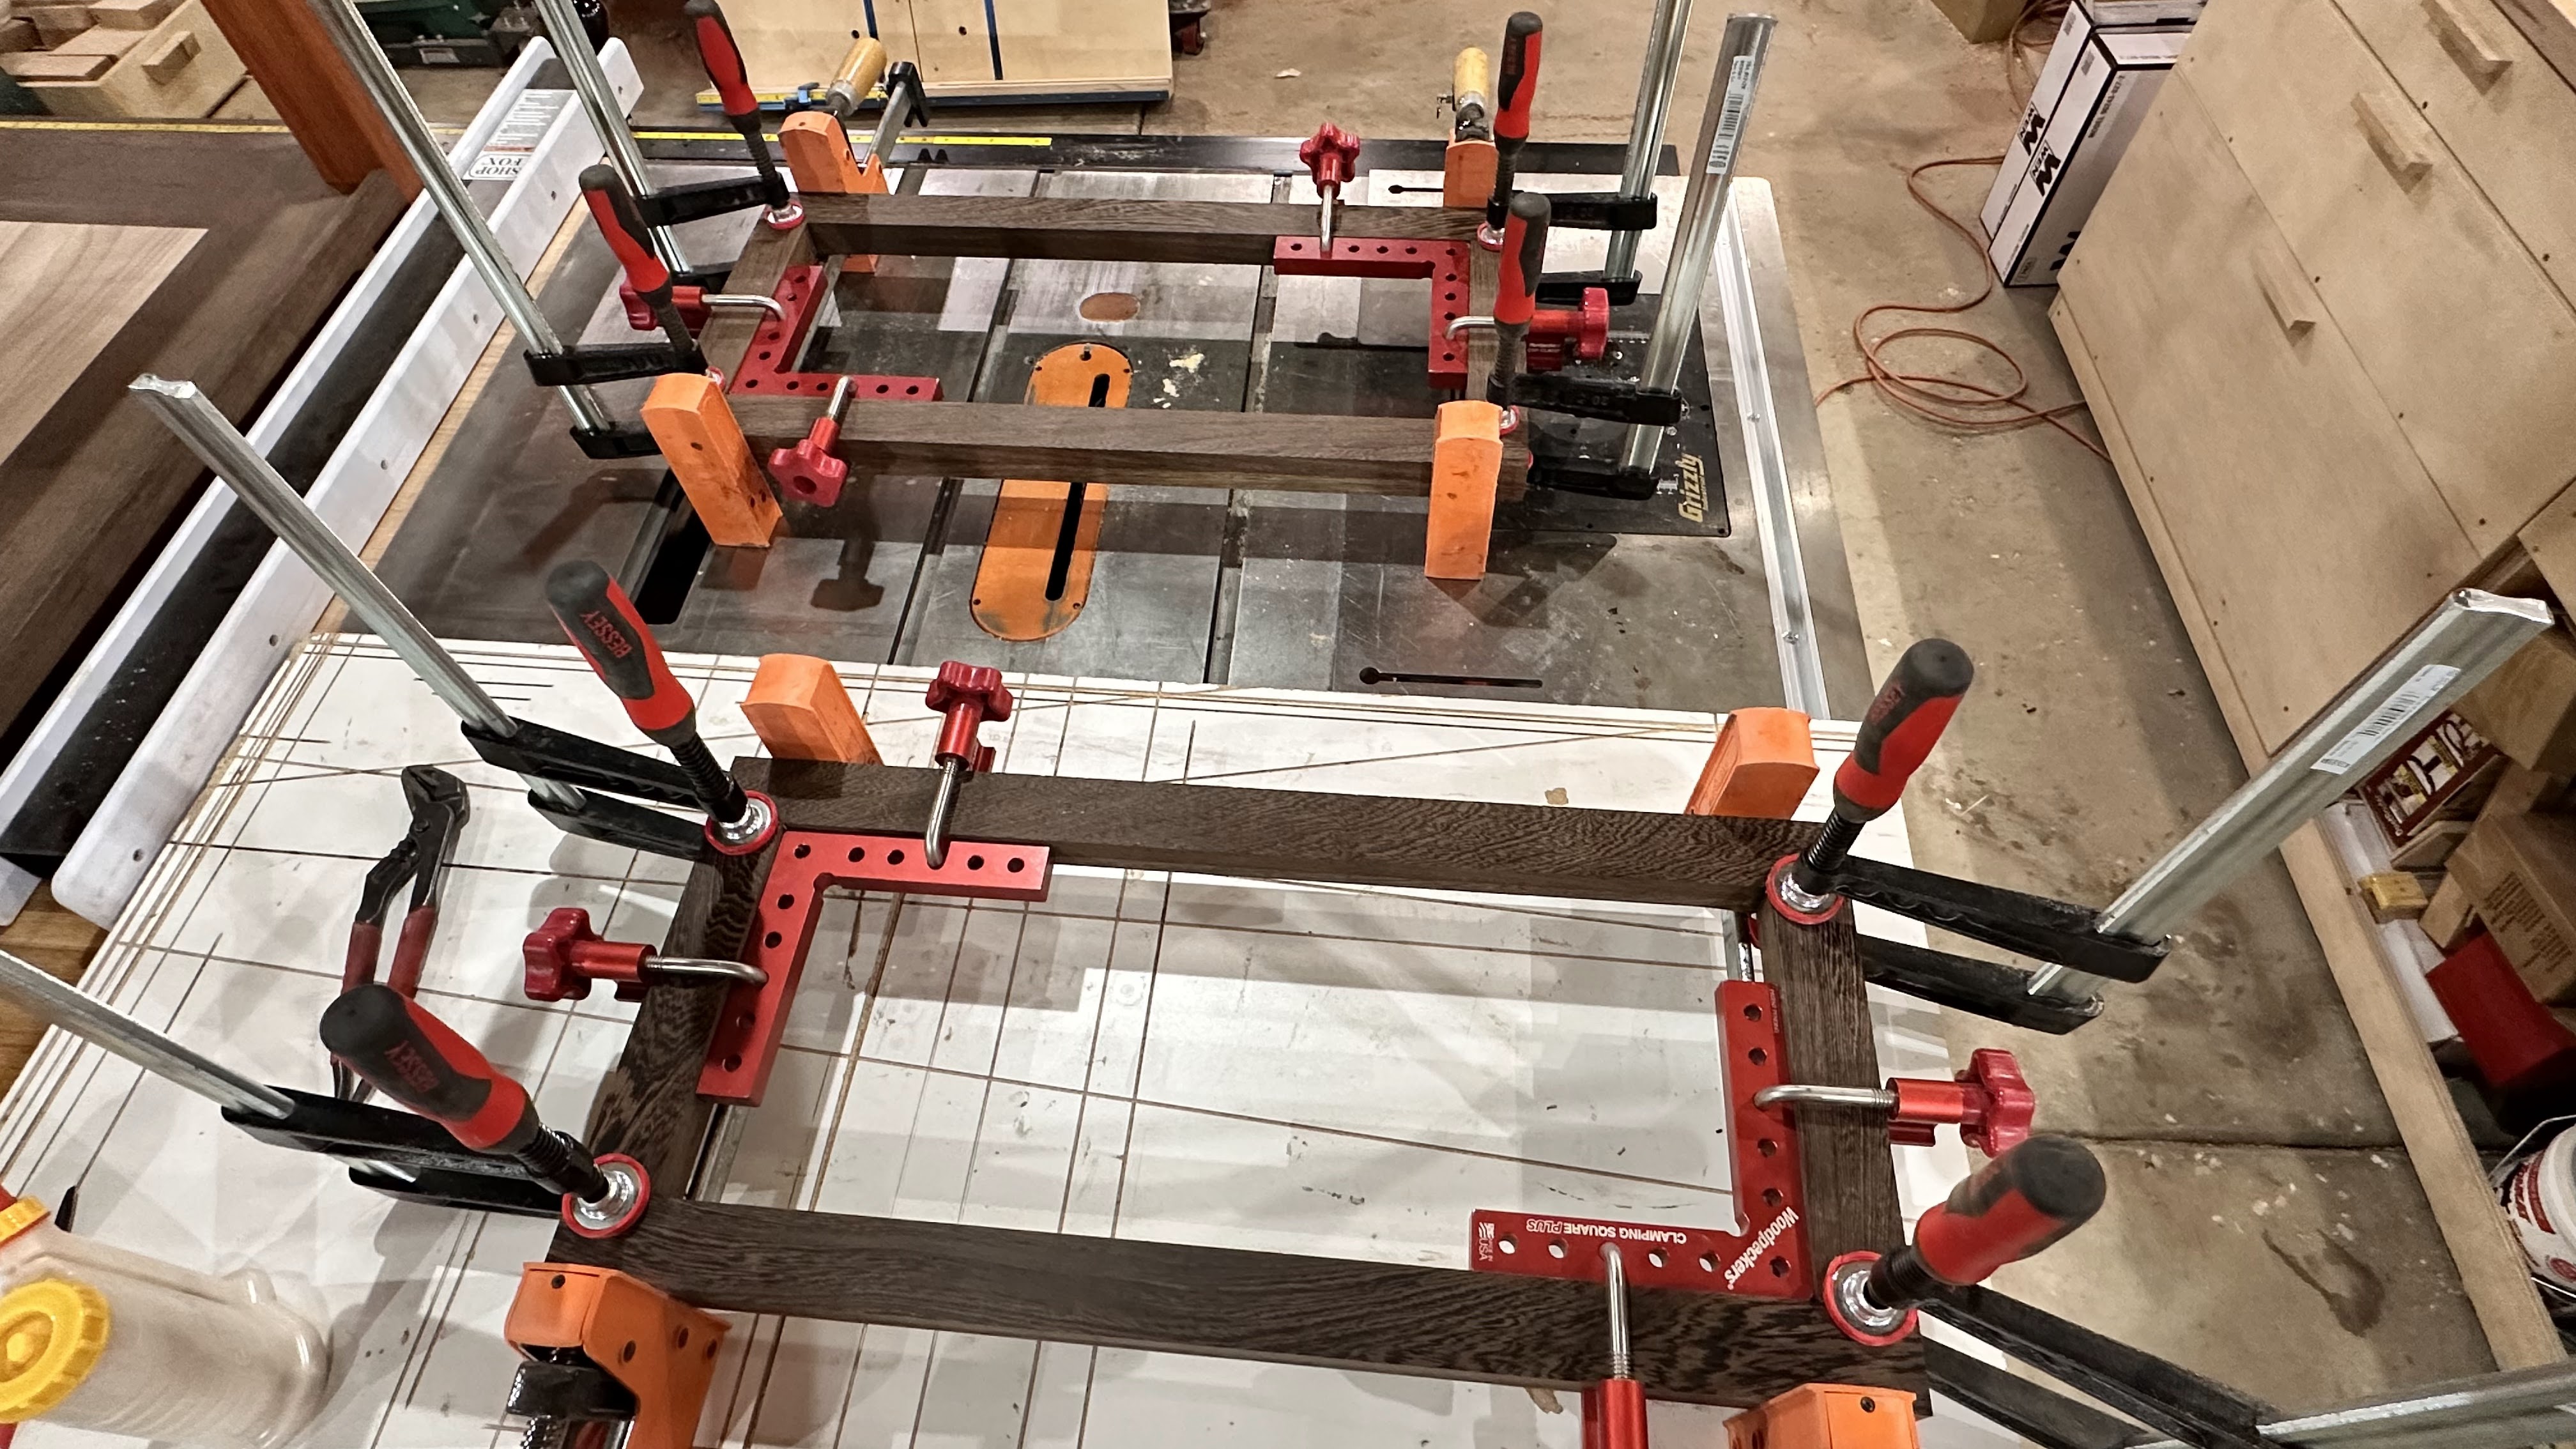
The main shelf was always going to be the starting point of this build since we need it completed before moving onto the outer structure. To ensure stronger lamination and higher alignment I use a doweling tool called a domino joiner. It ensure a high degree of precision and well as reducing likely hood of the various boards being out of alignment. Part of the build was to use a cheaper species of wood that we would paint black where the Batmobile would sit to save some money since the wood choices were not cheap.

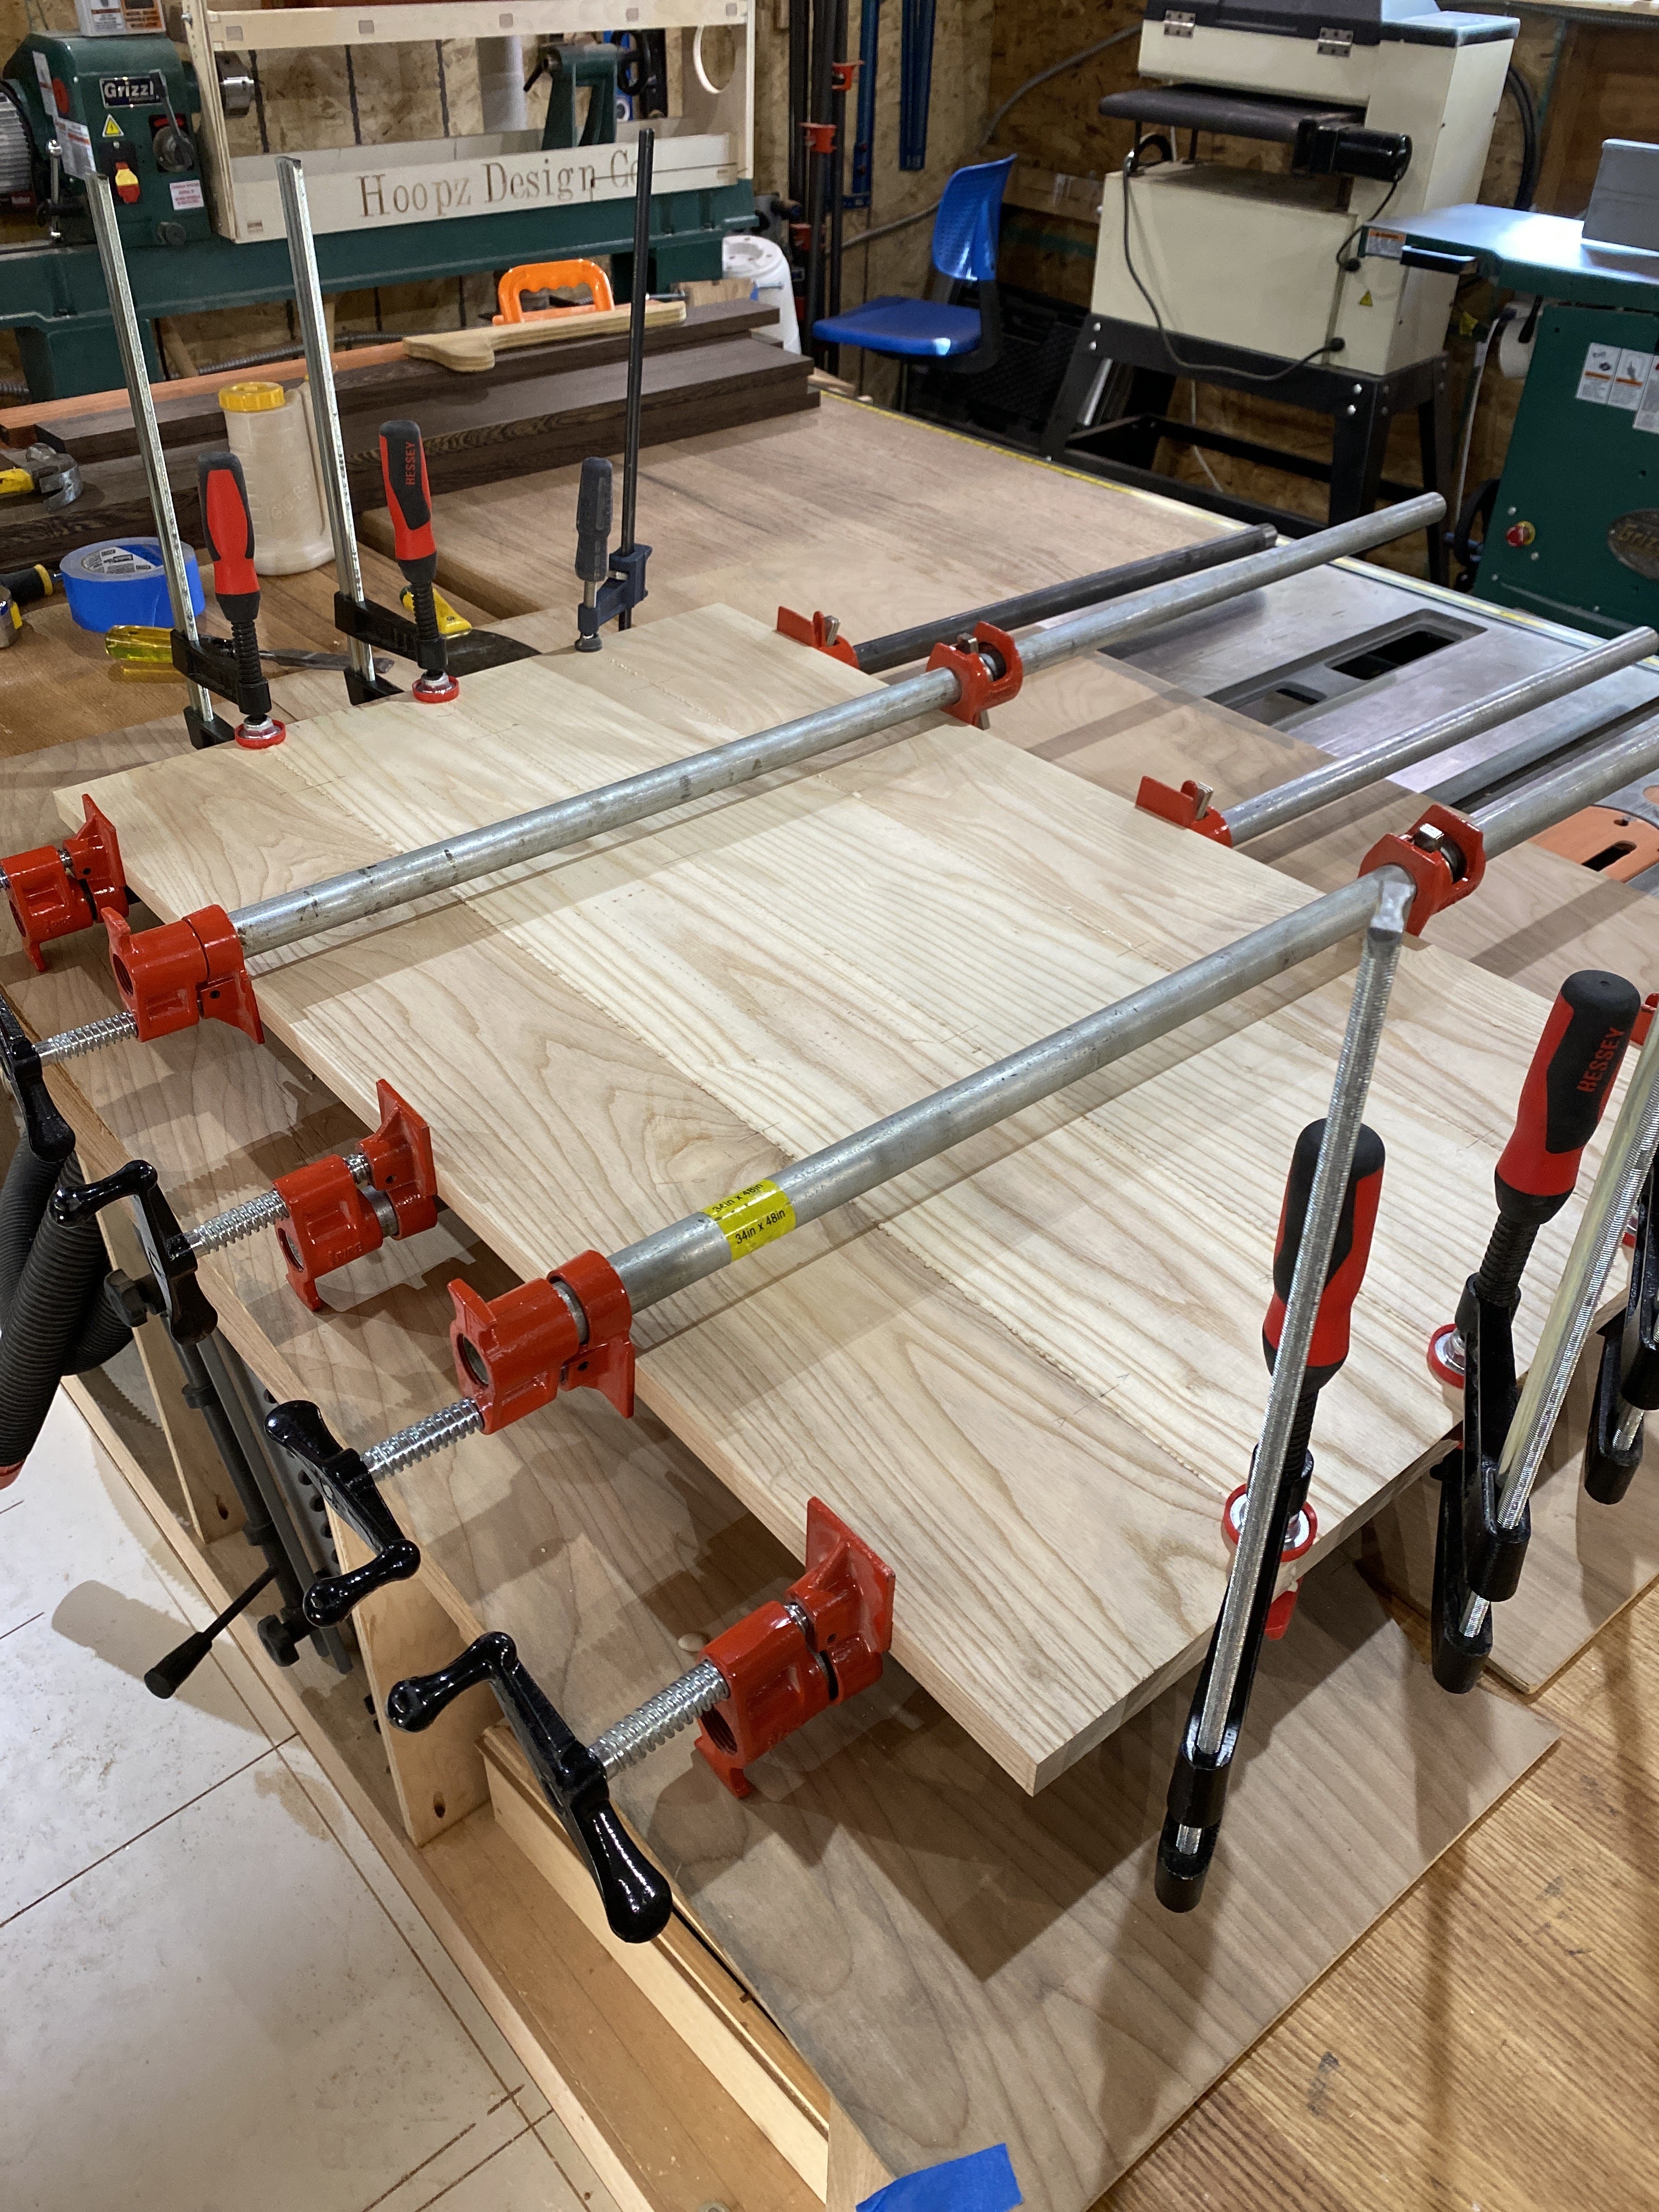
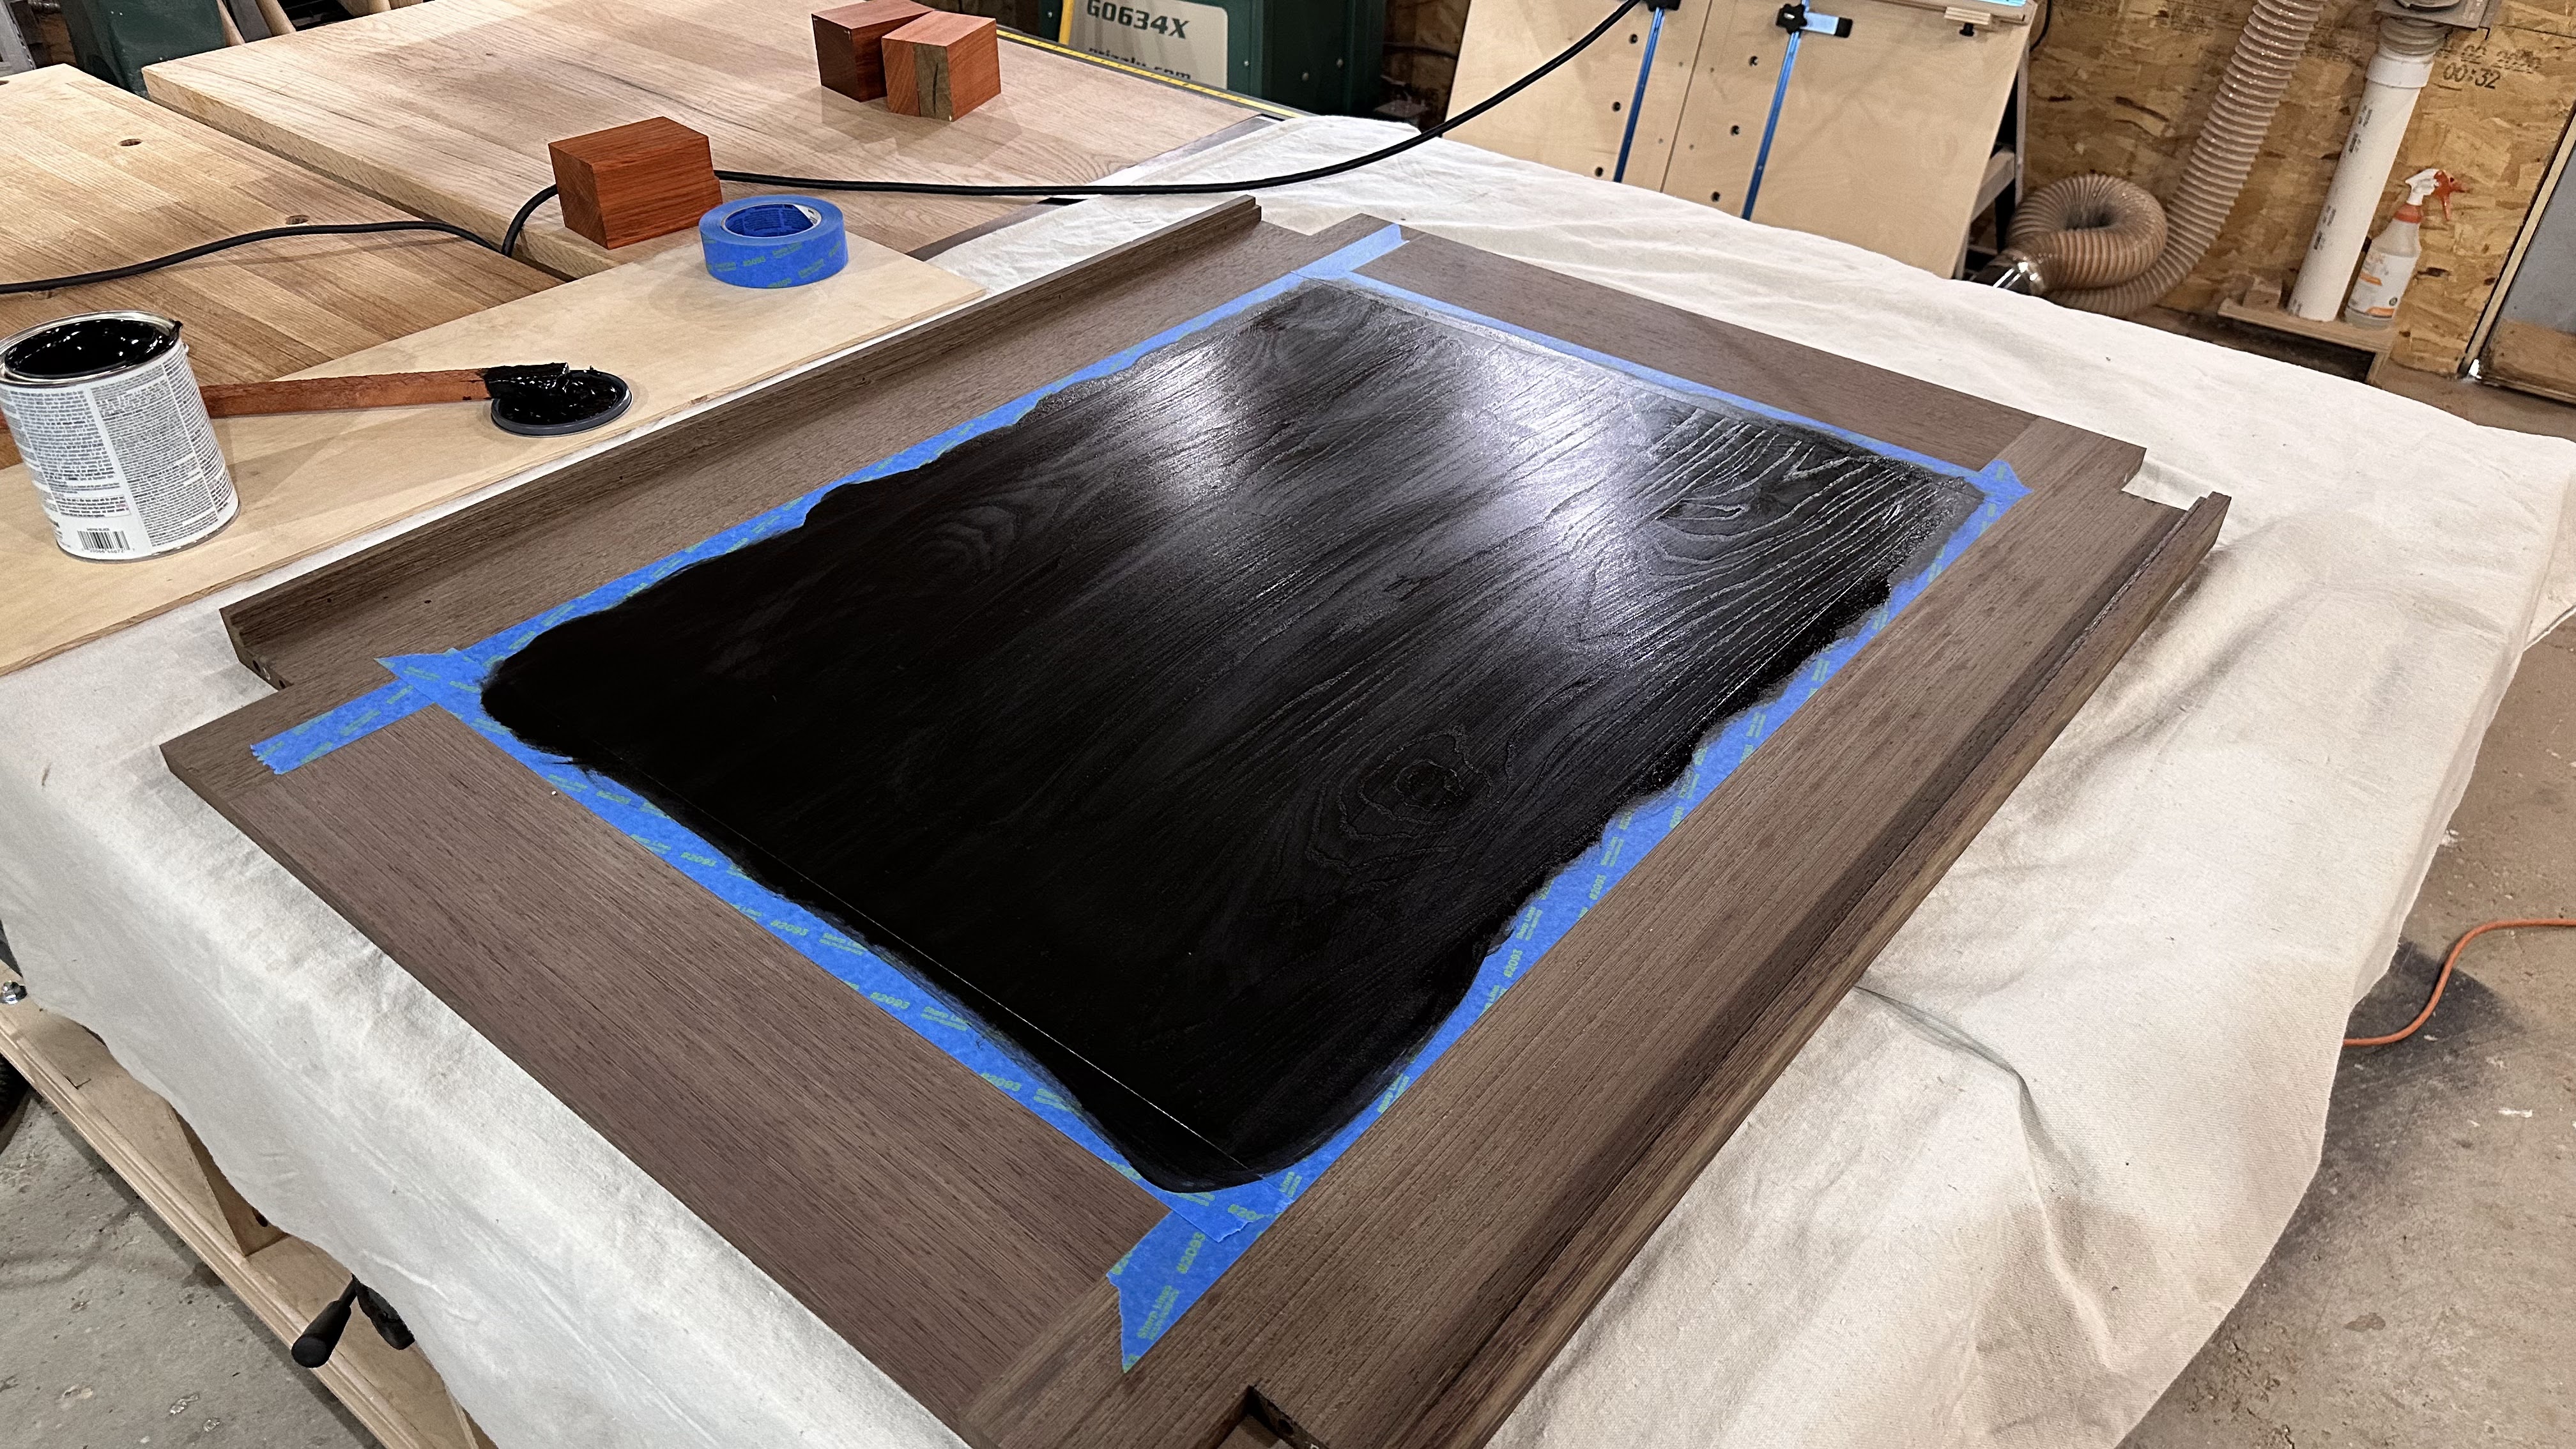
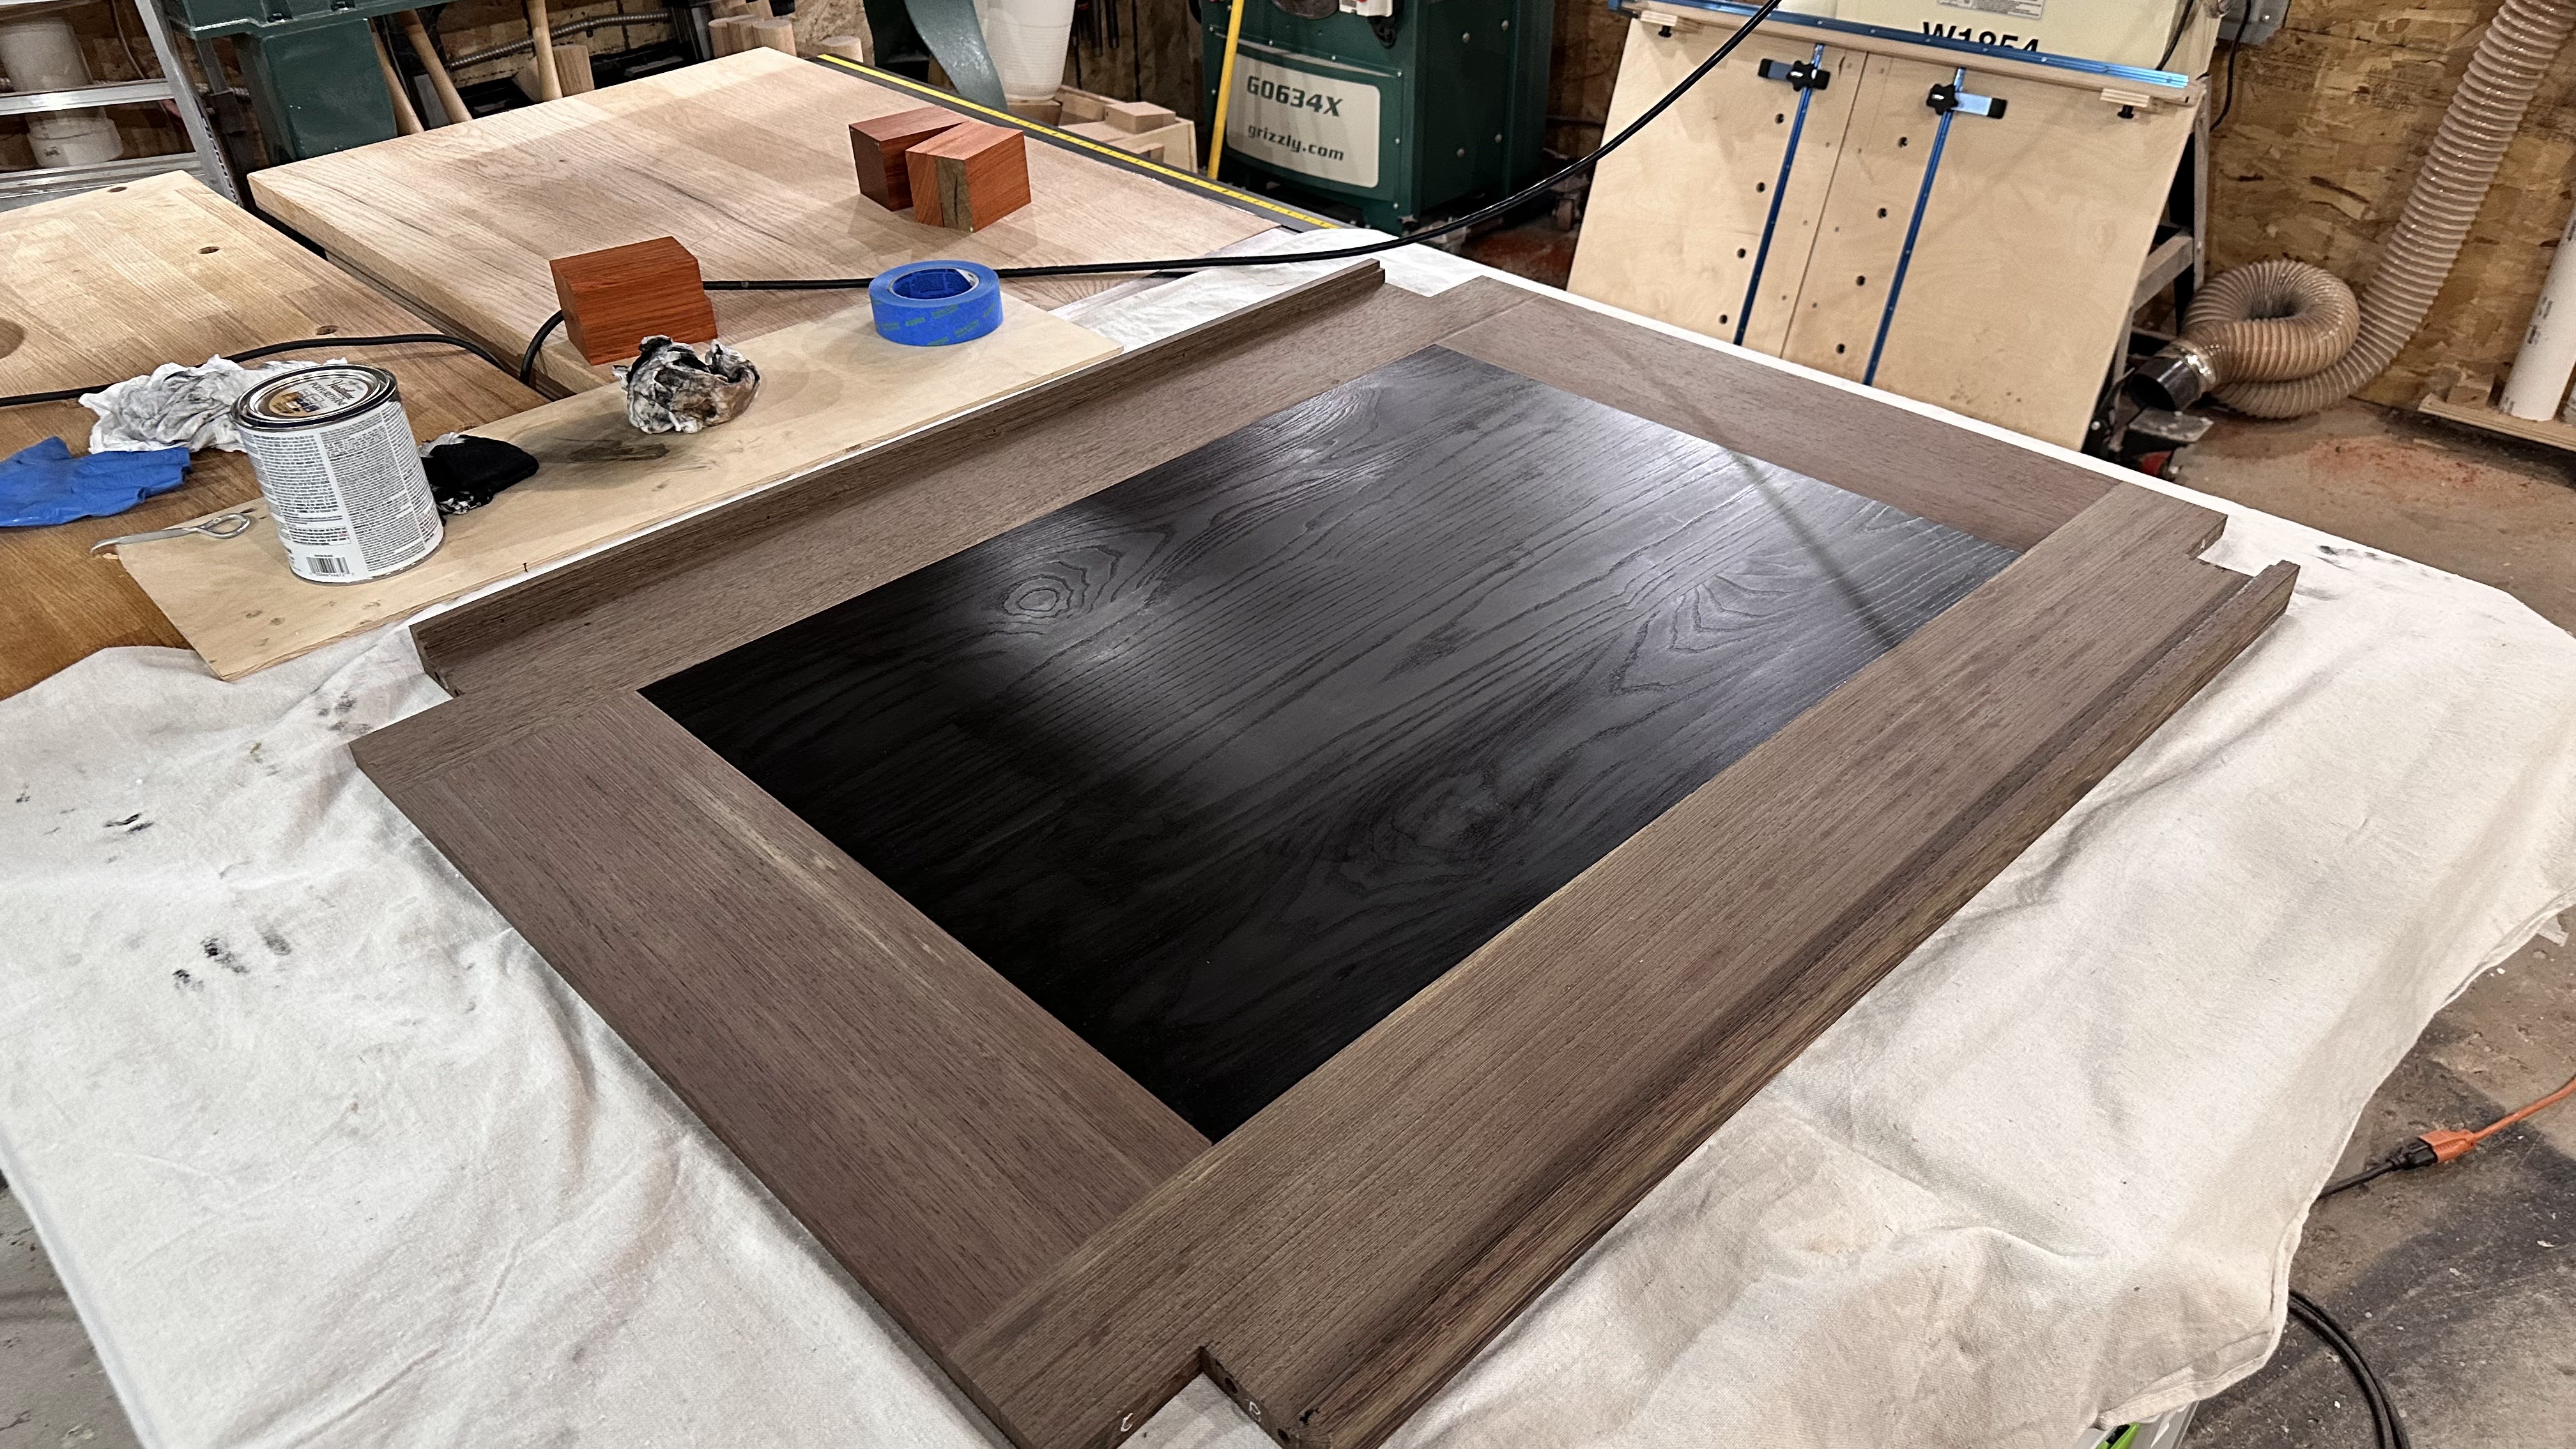
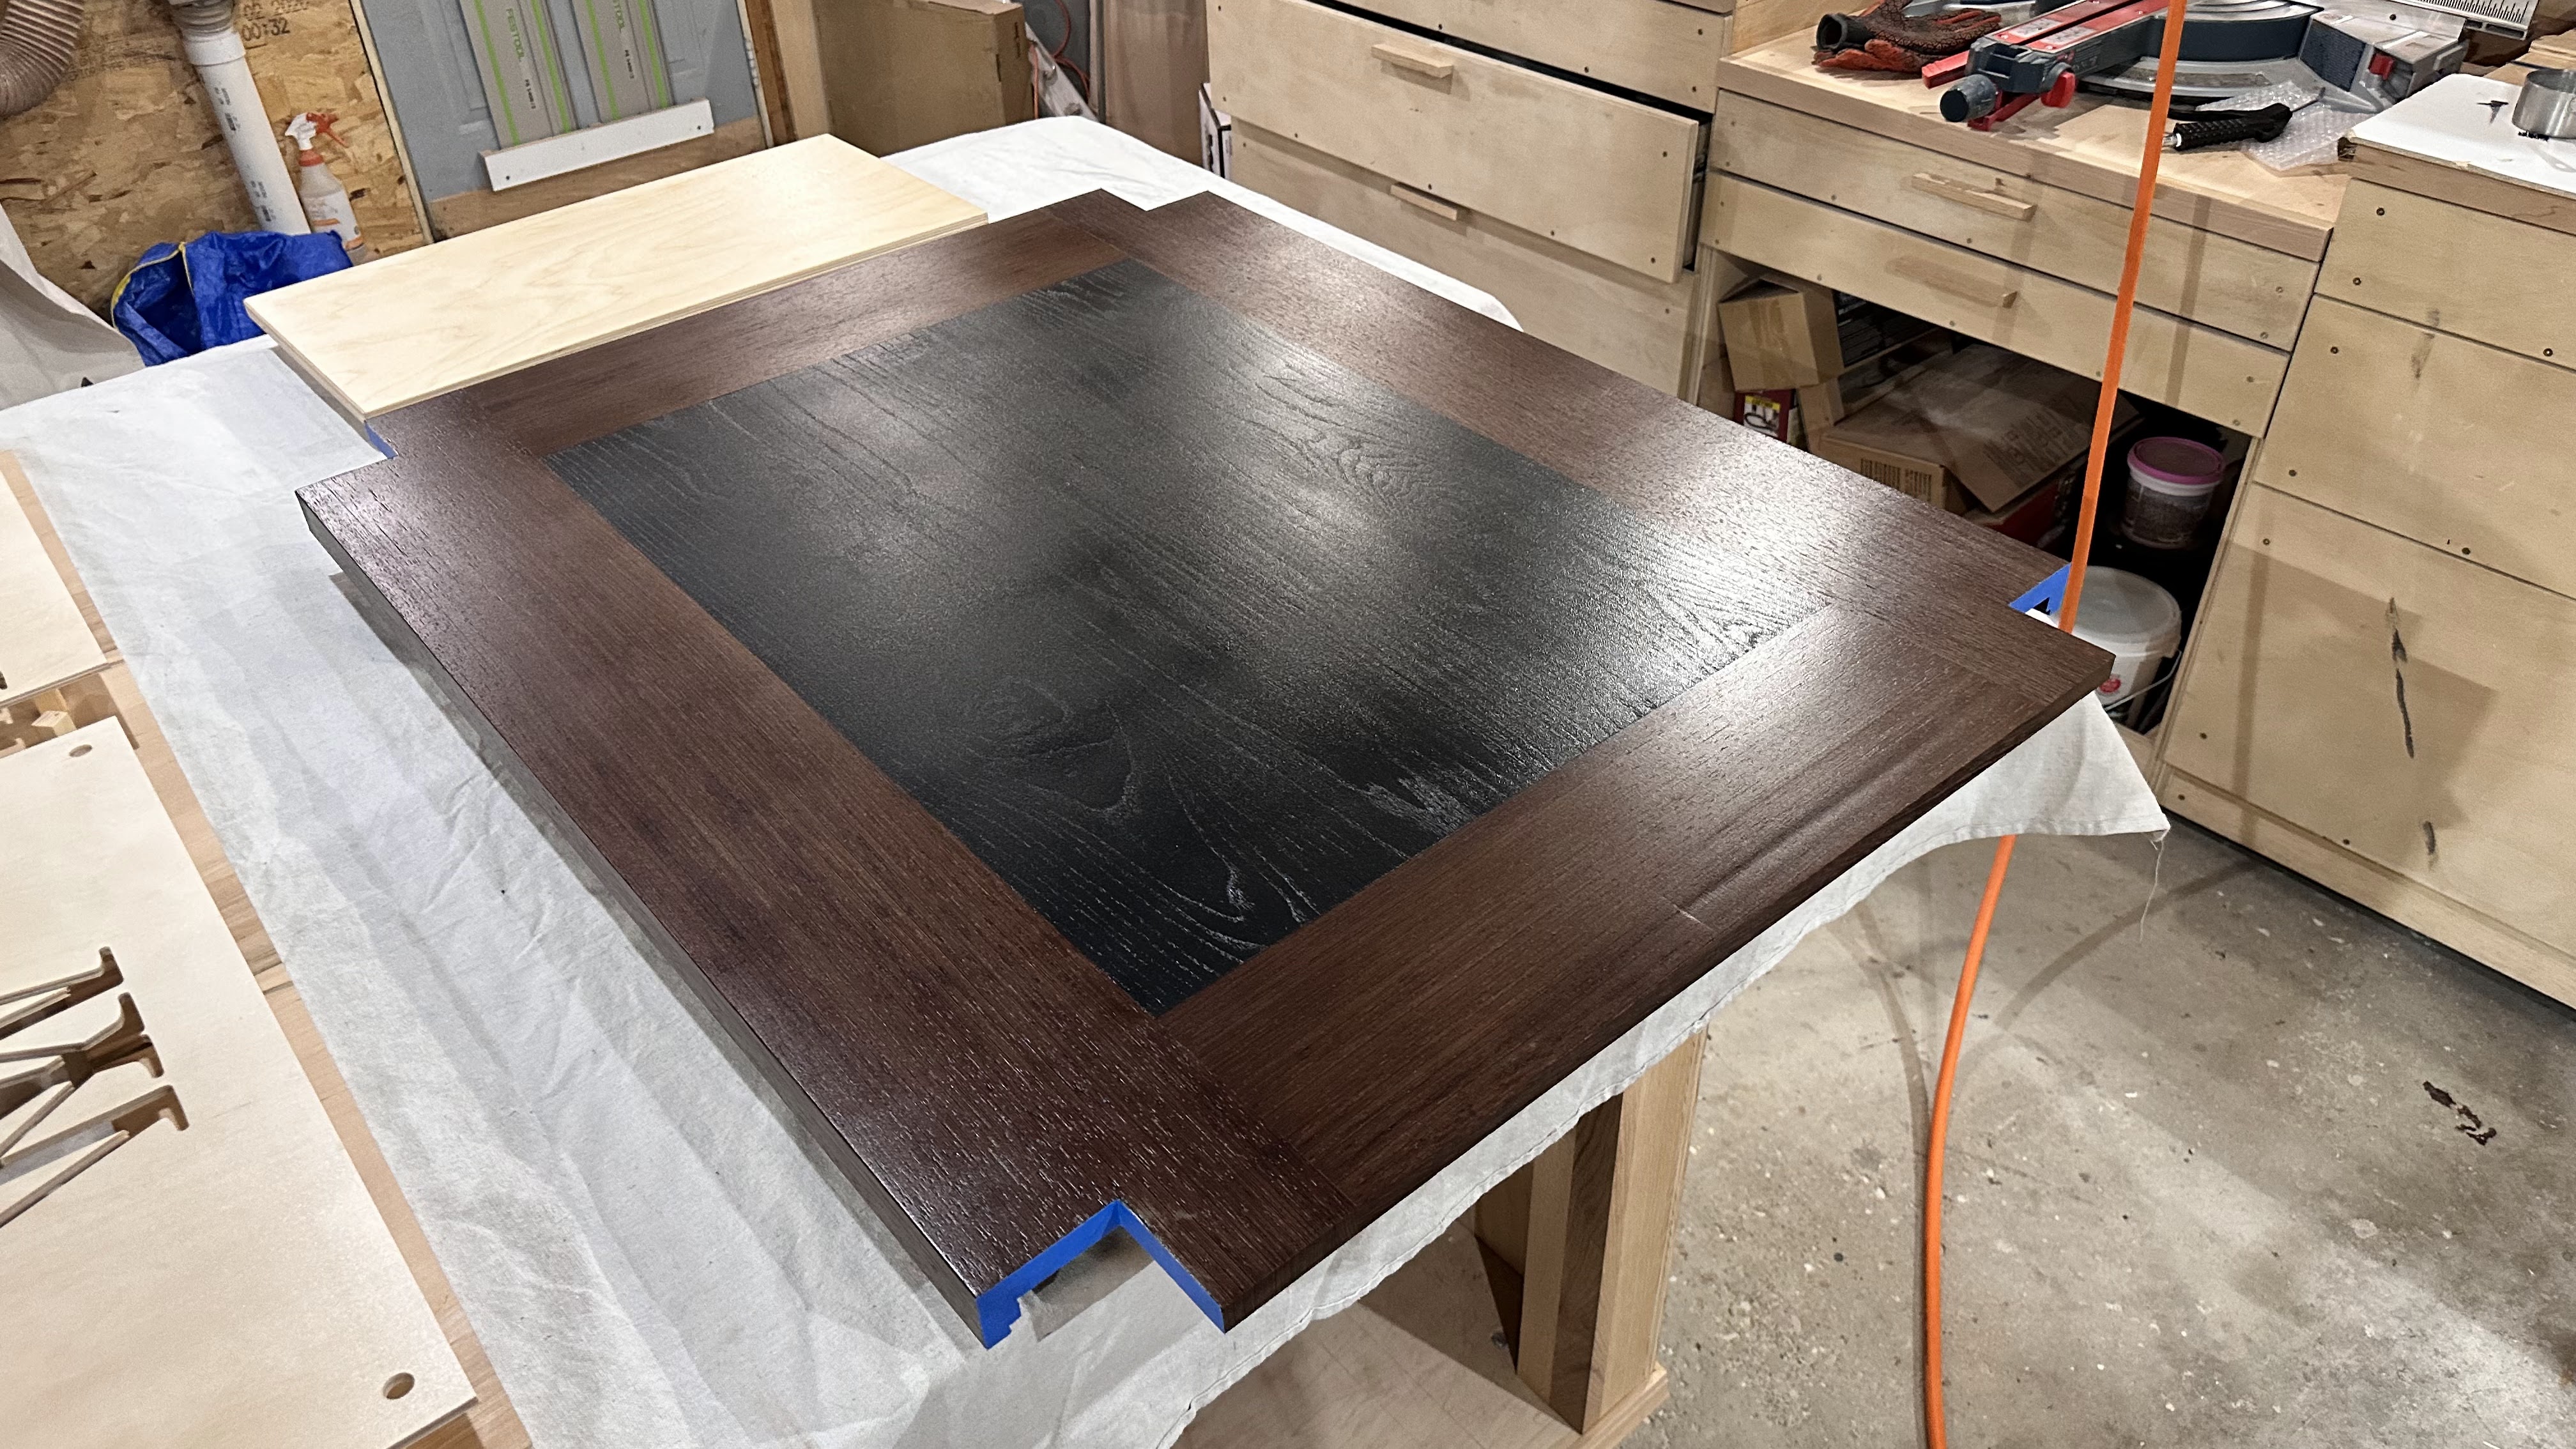
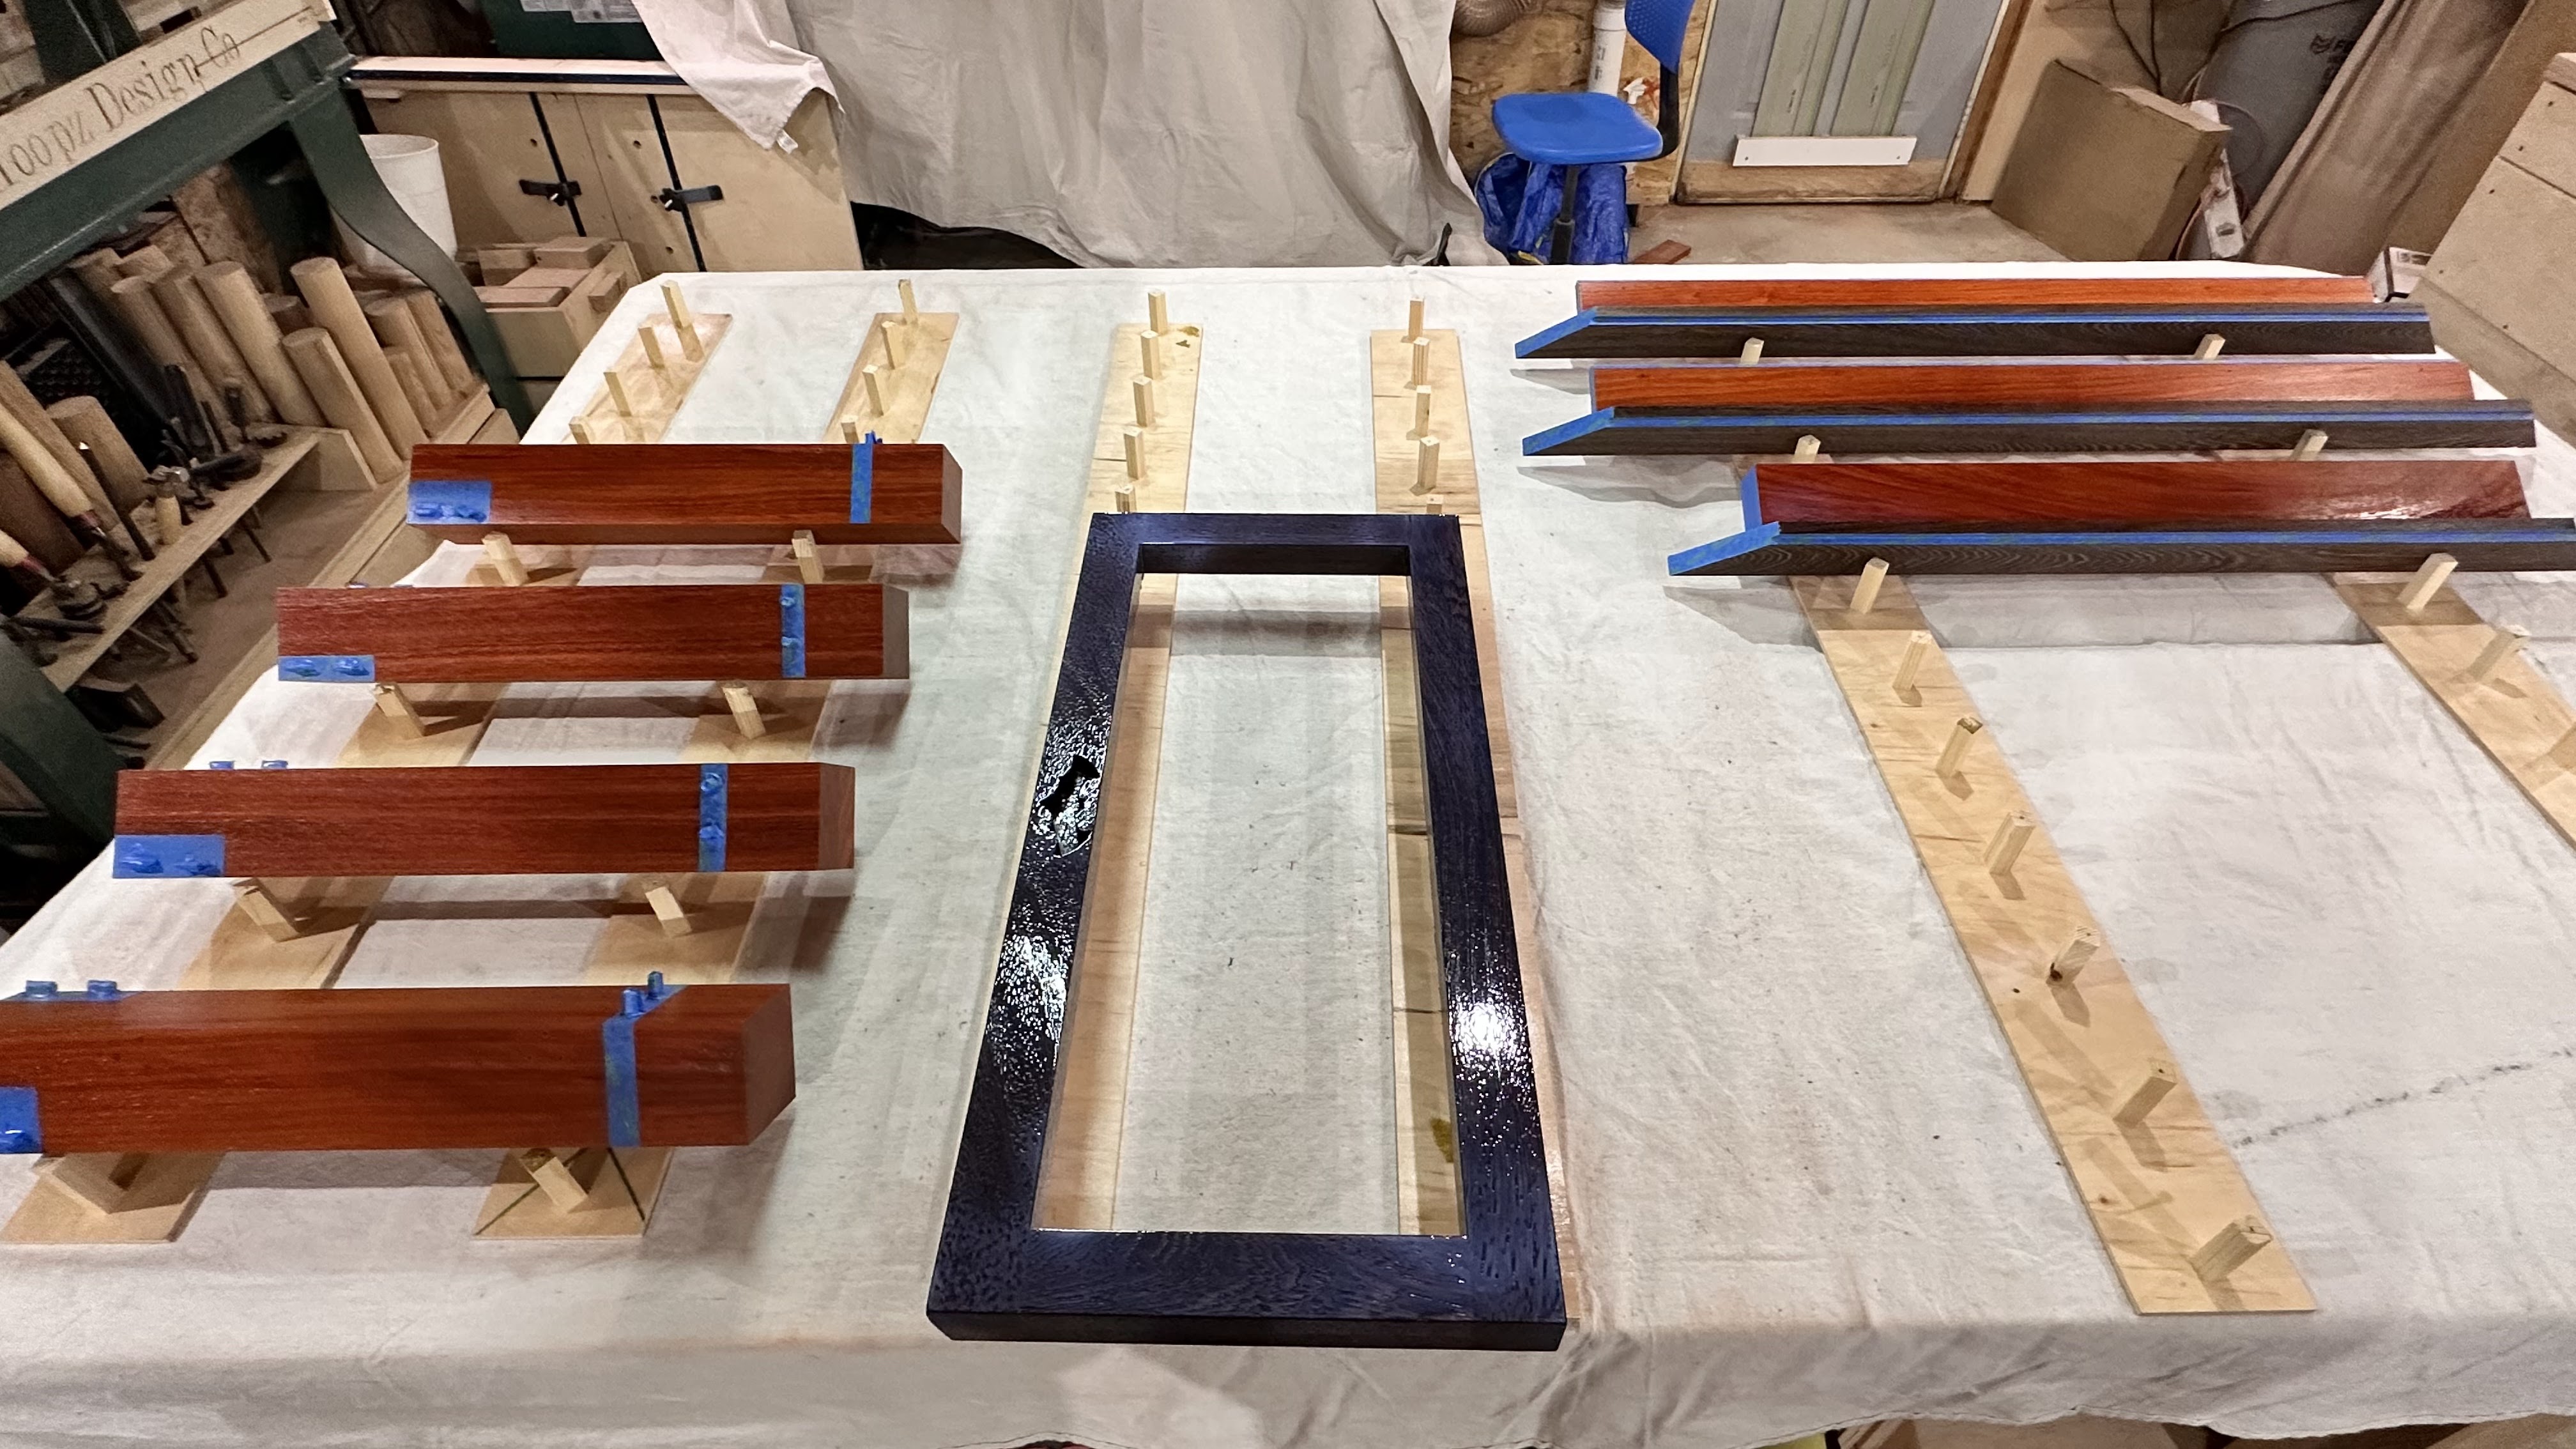
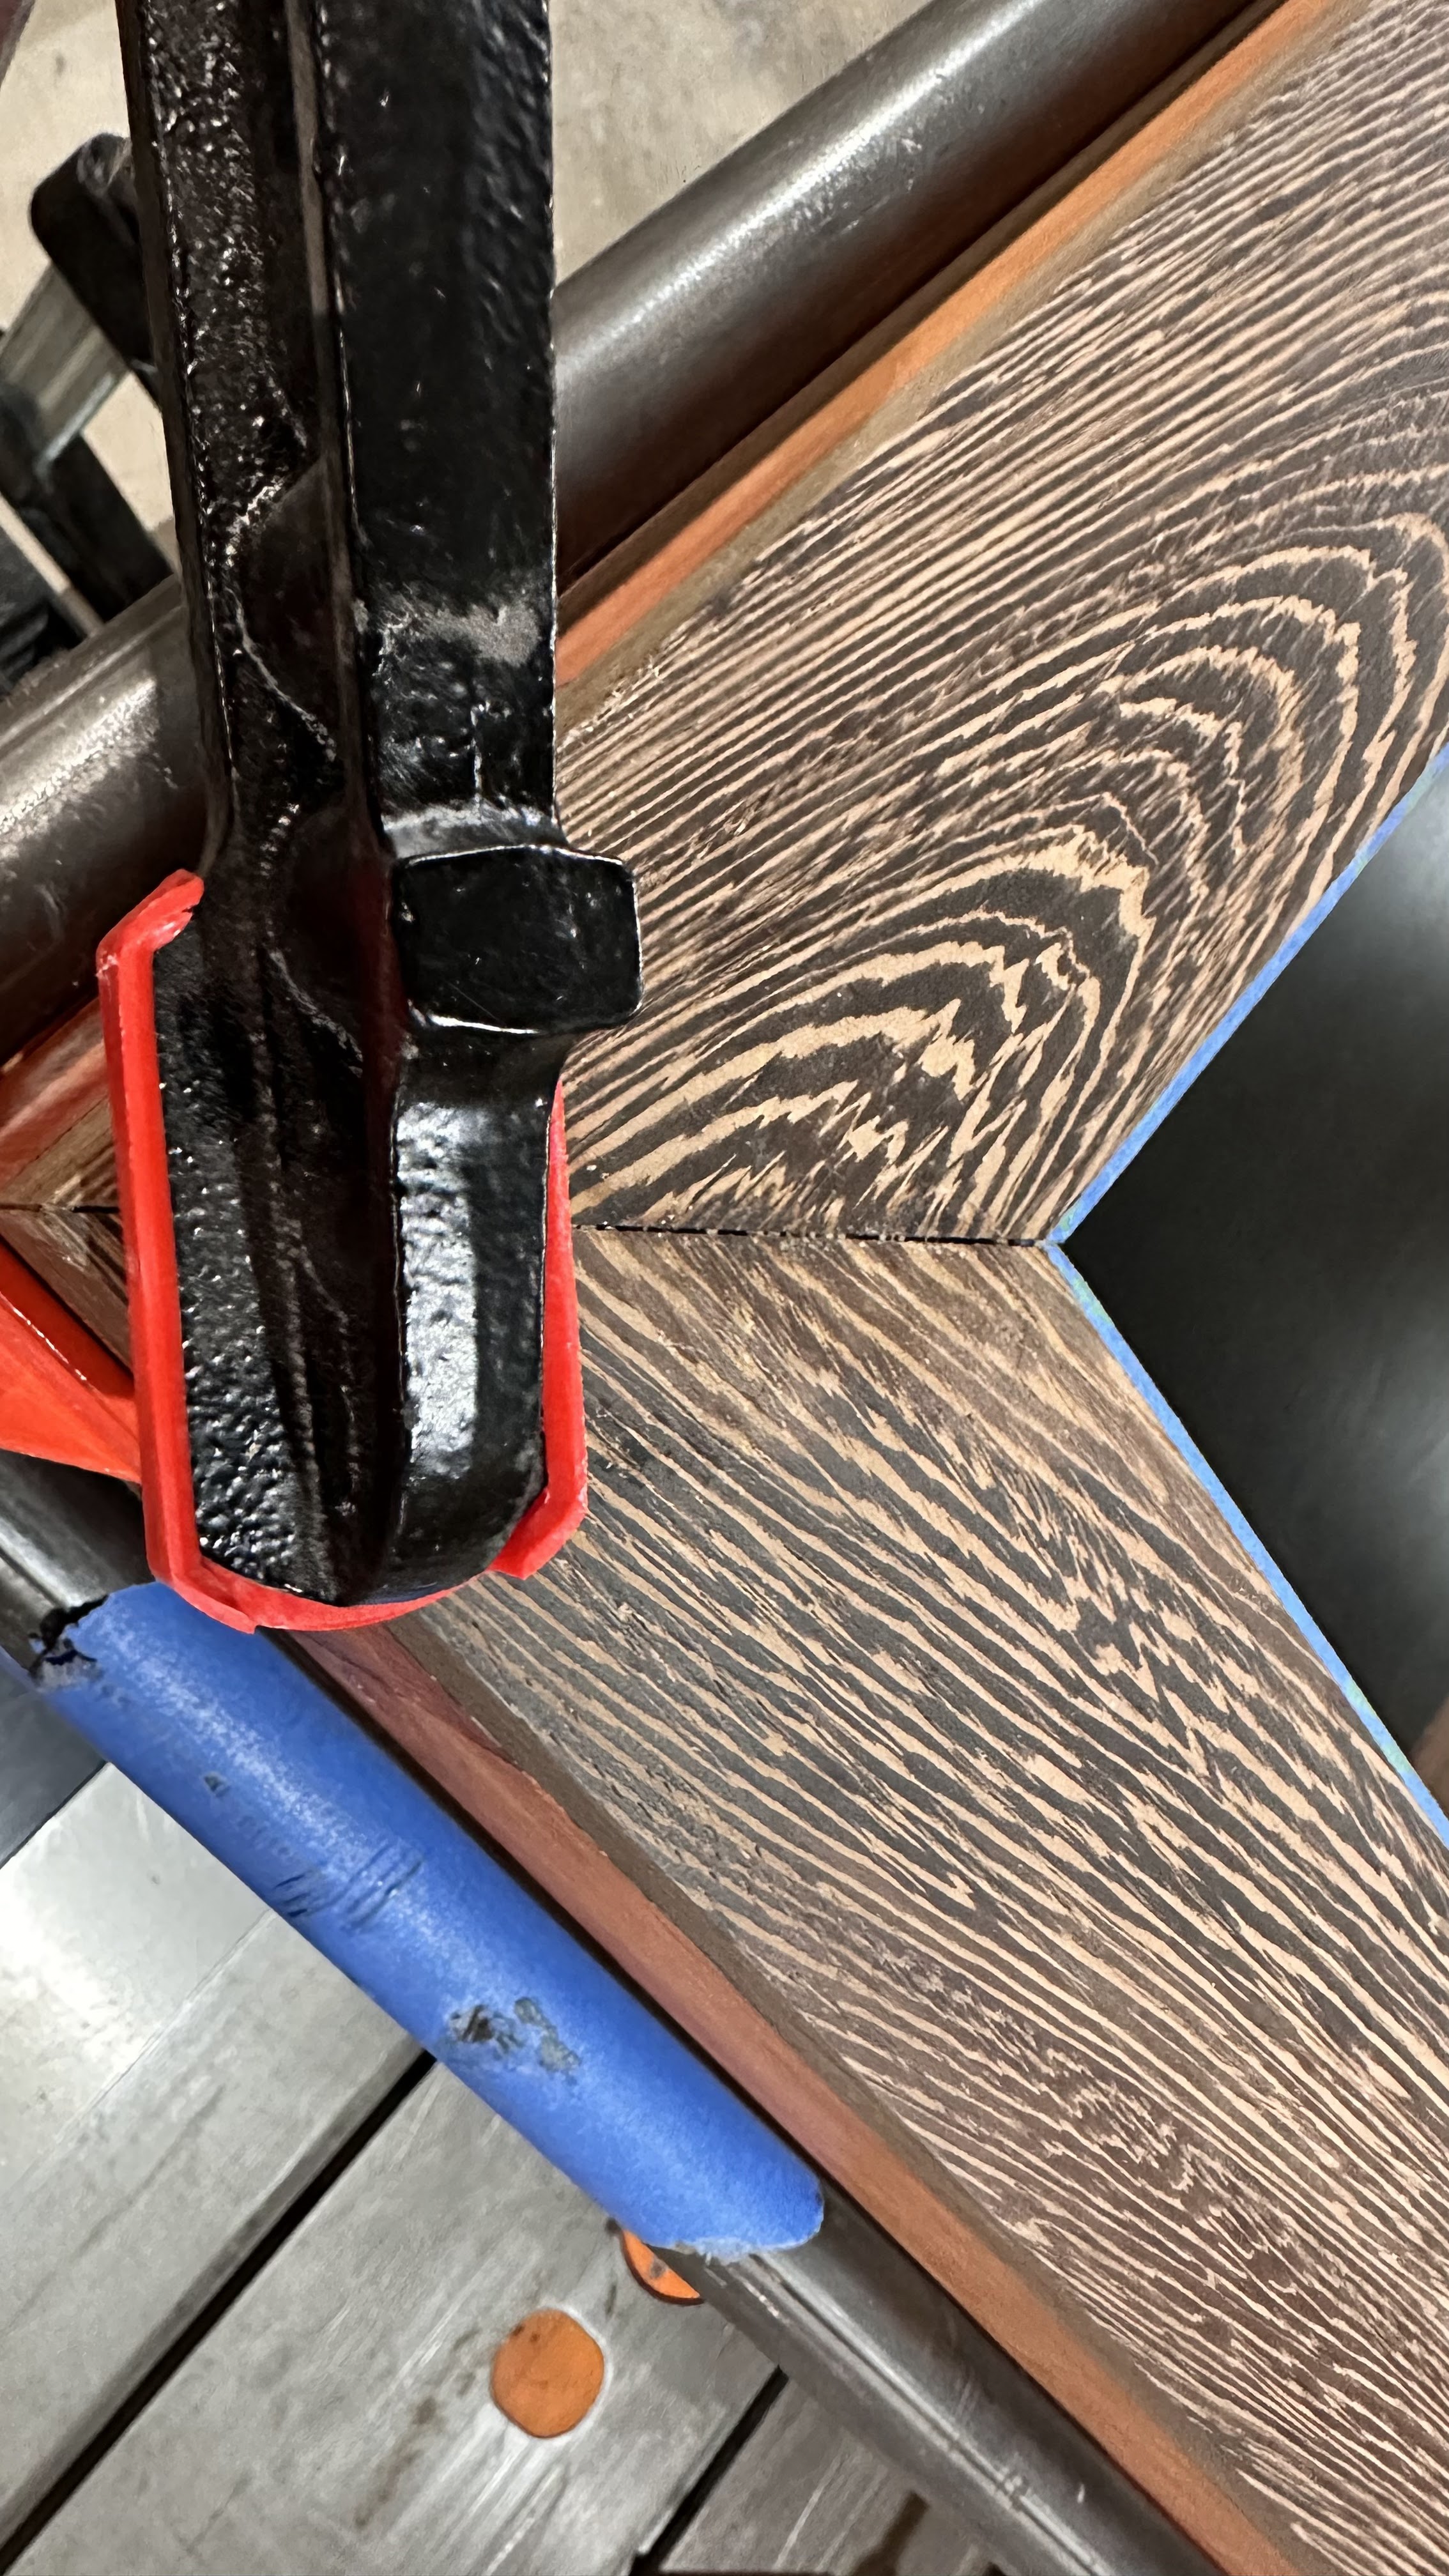
Pre-Finishing Everything
On a build where everything will be visible (through glass) you will need to pre-finish all the components BEFORE assembly for an ideal finish EVERYWHERE. This means all the outer structure and the shelf (you might have noticed it pre-finished in the last photo in the previous section). Before pre-finishing you need to tape off all glue up areas because finish tends to make that hard but also easier. Prefinished sections make glue clean up wayyyyyyyy easier.


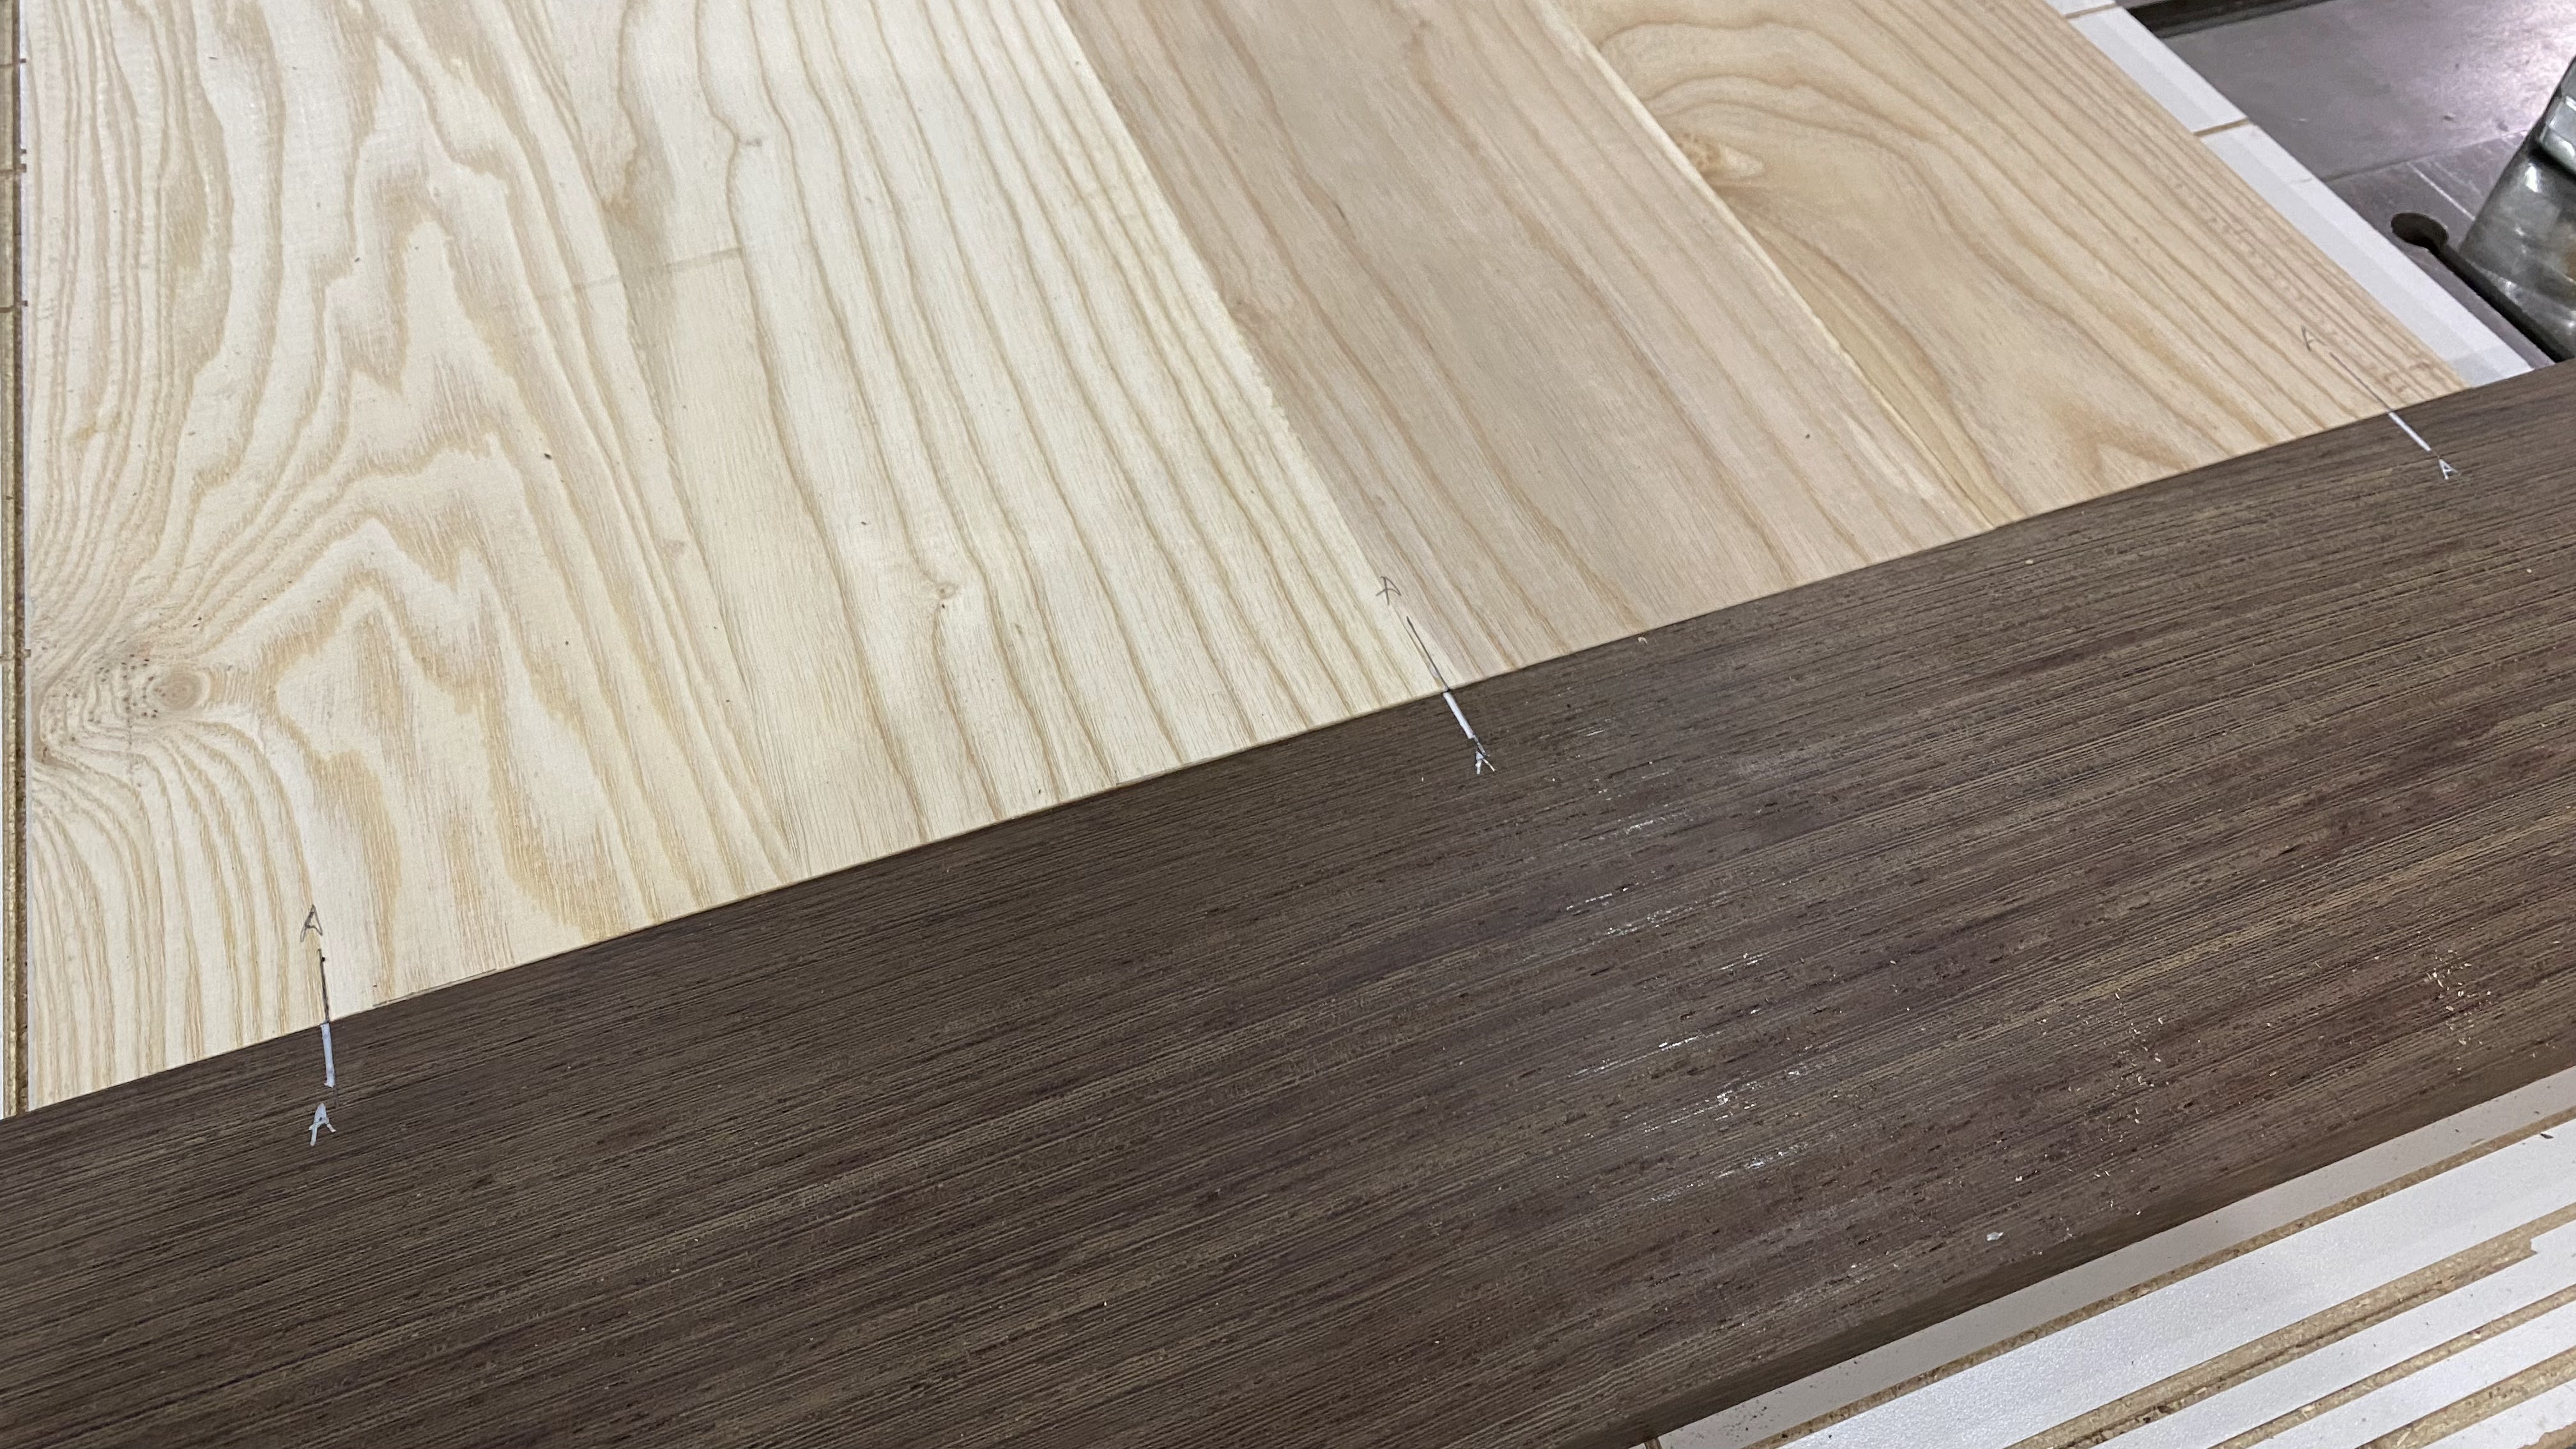
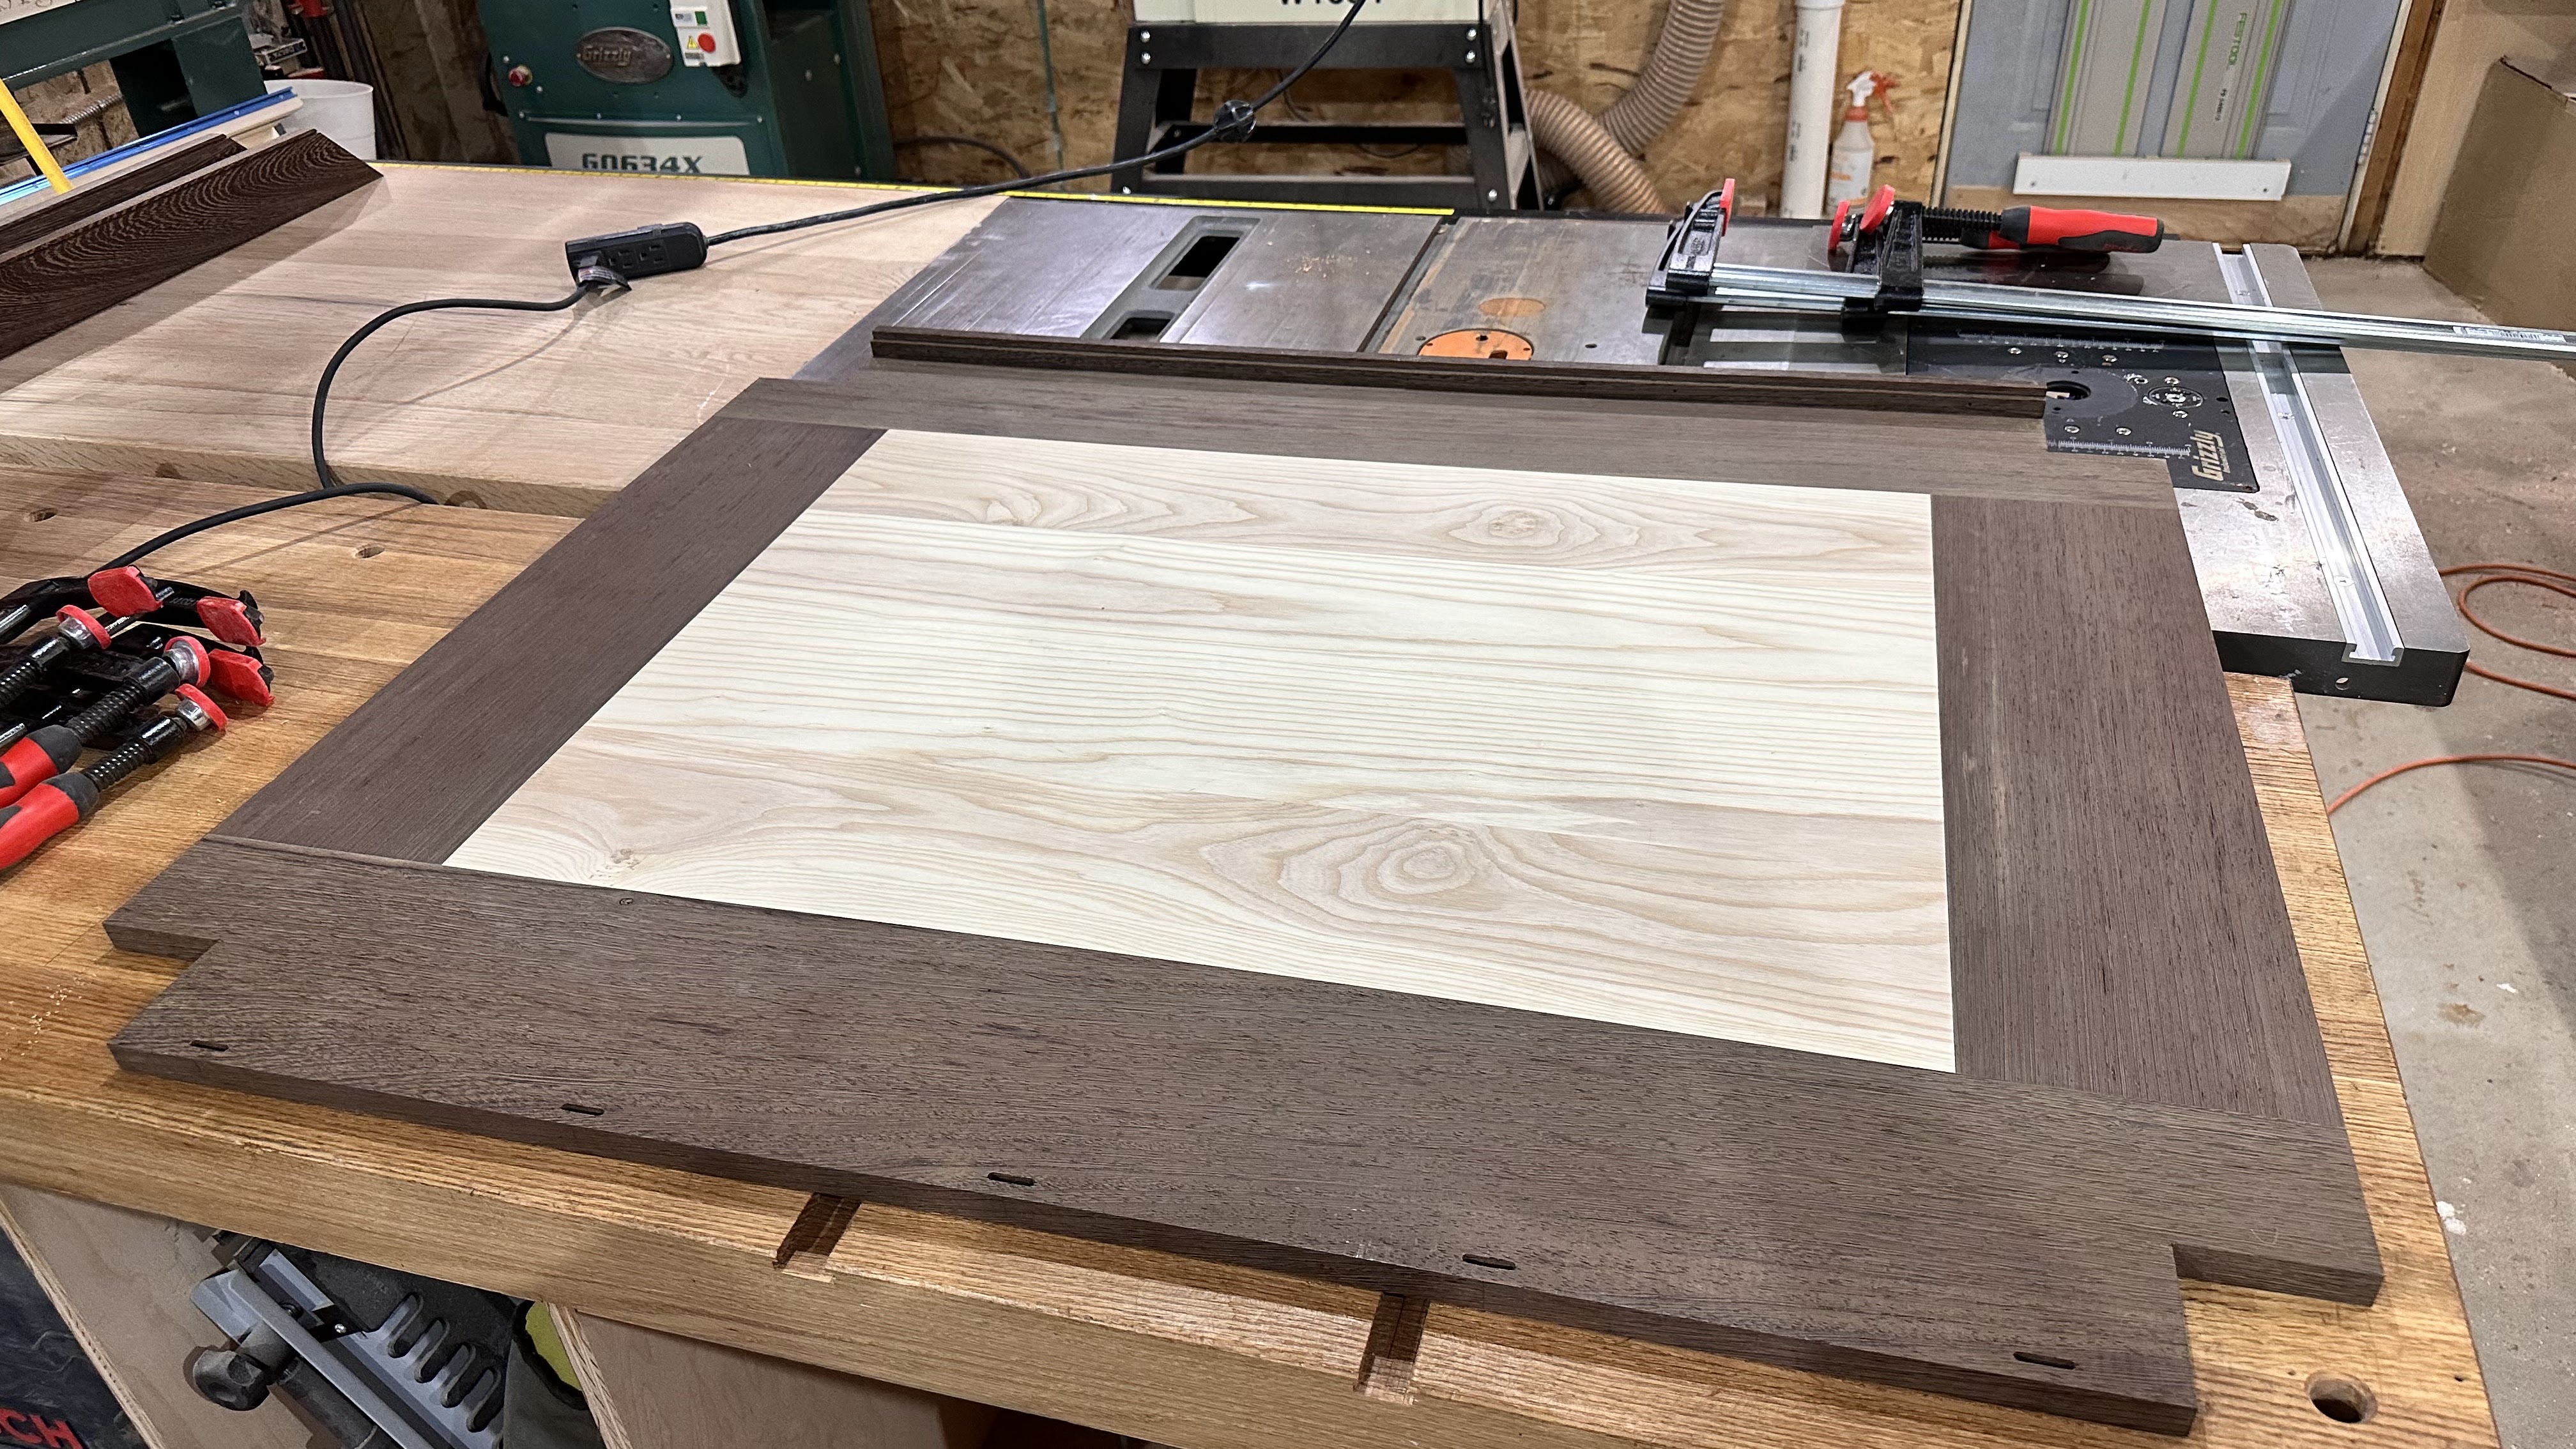
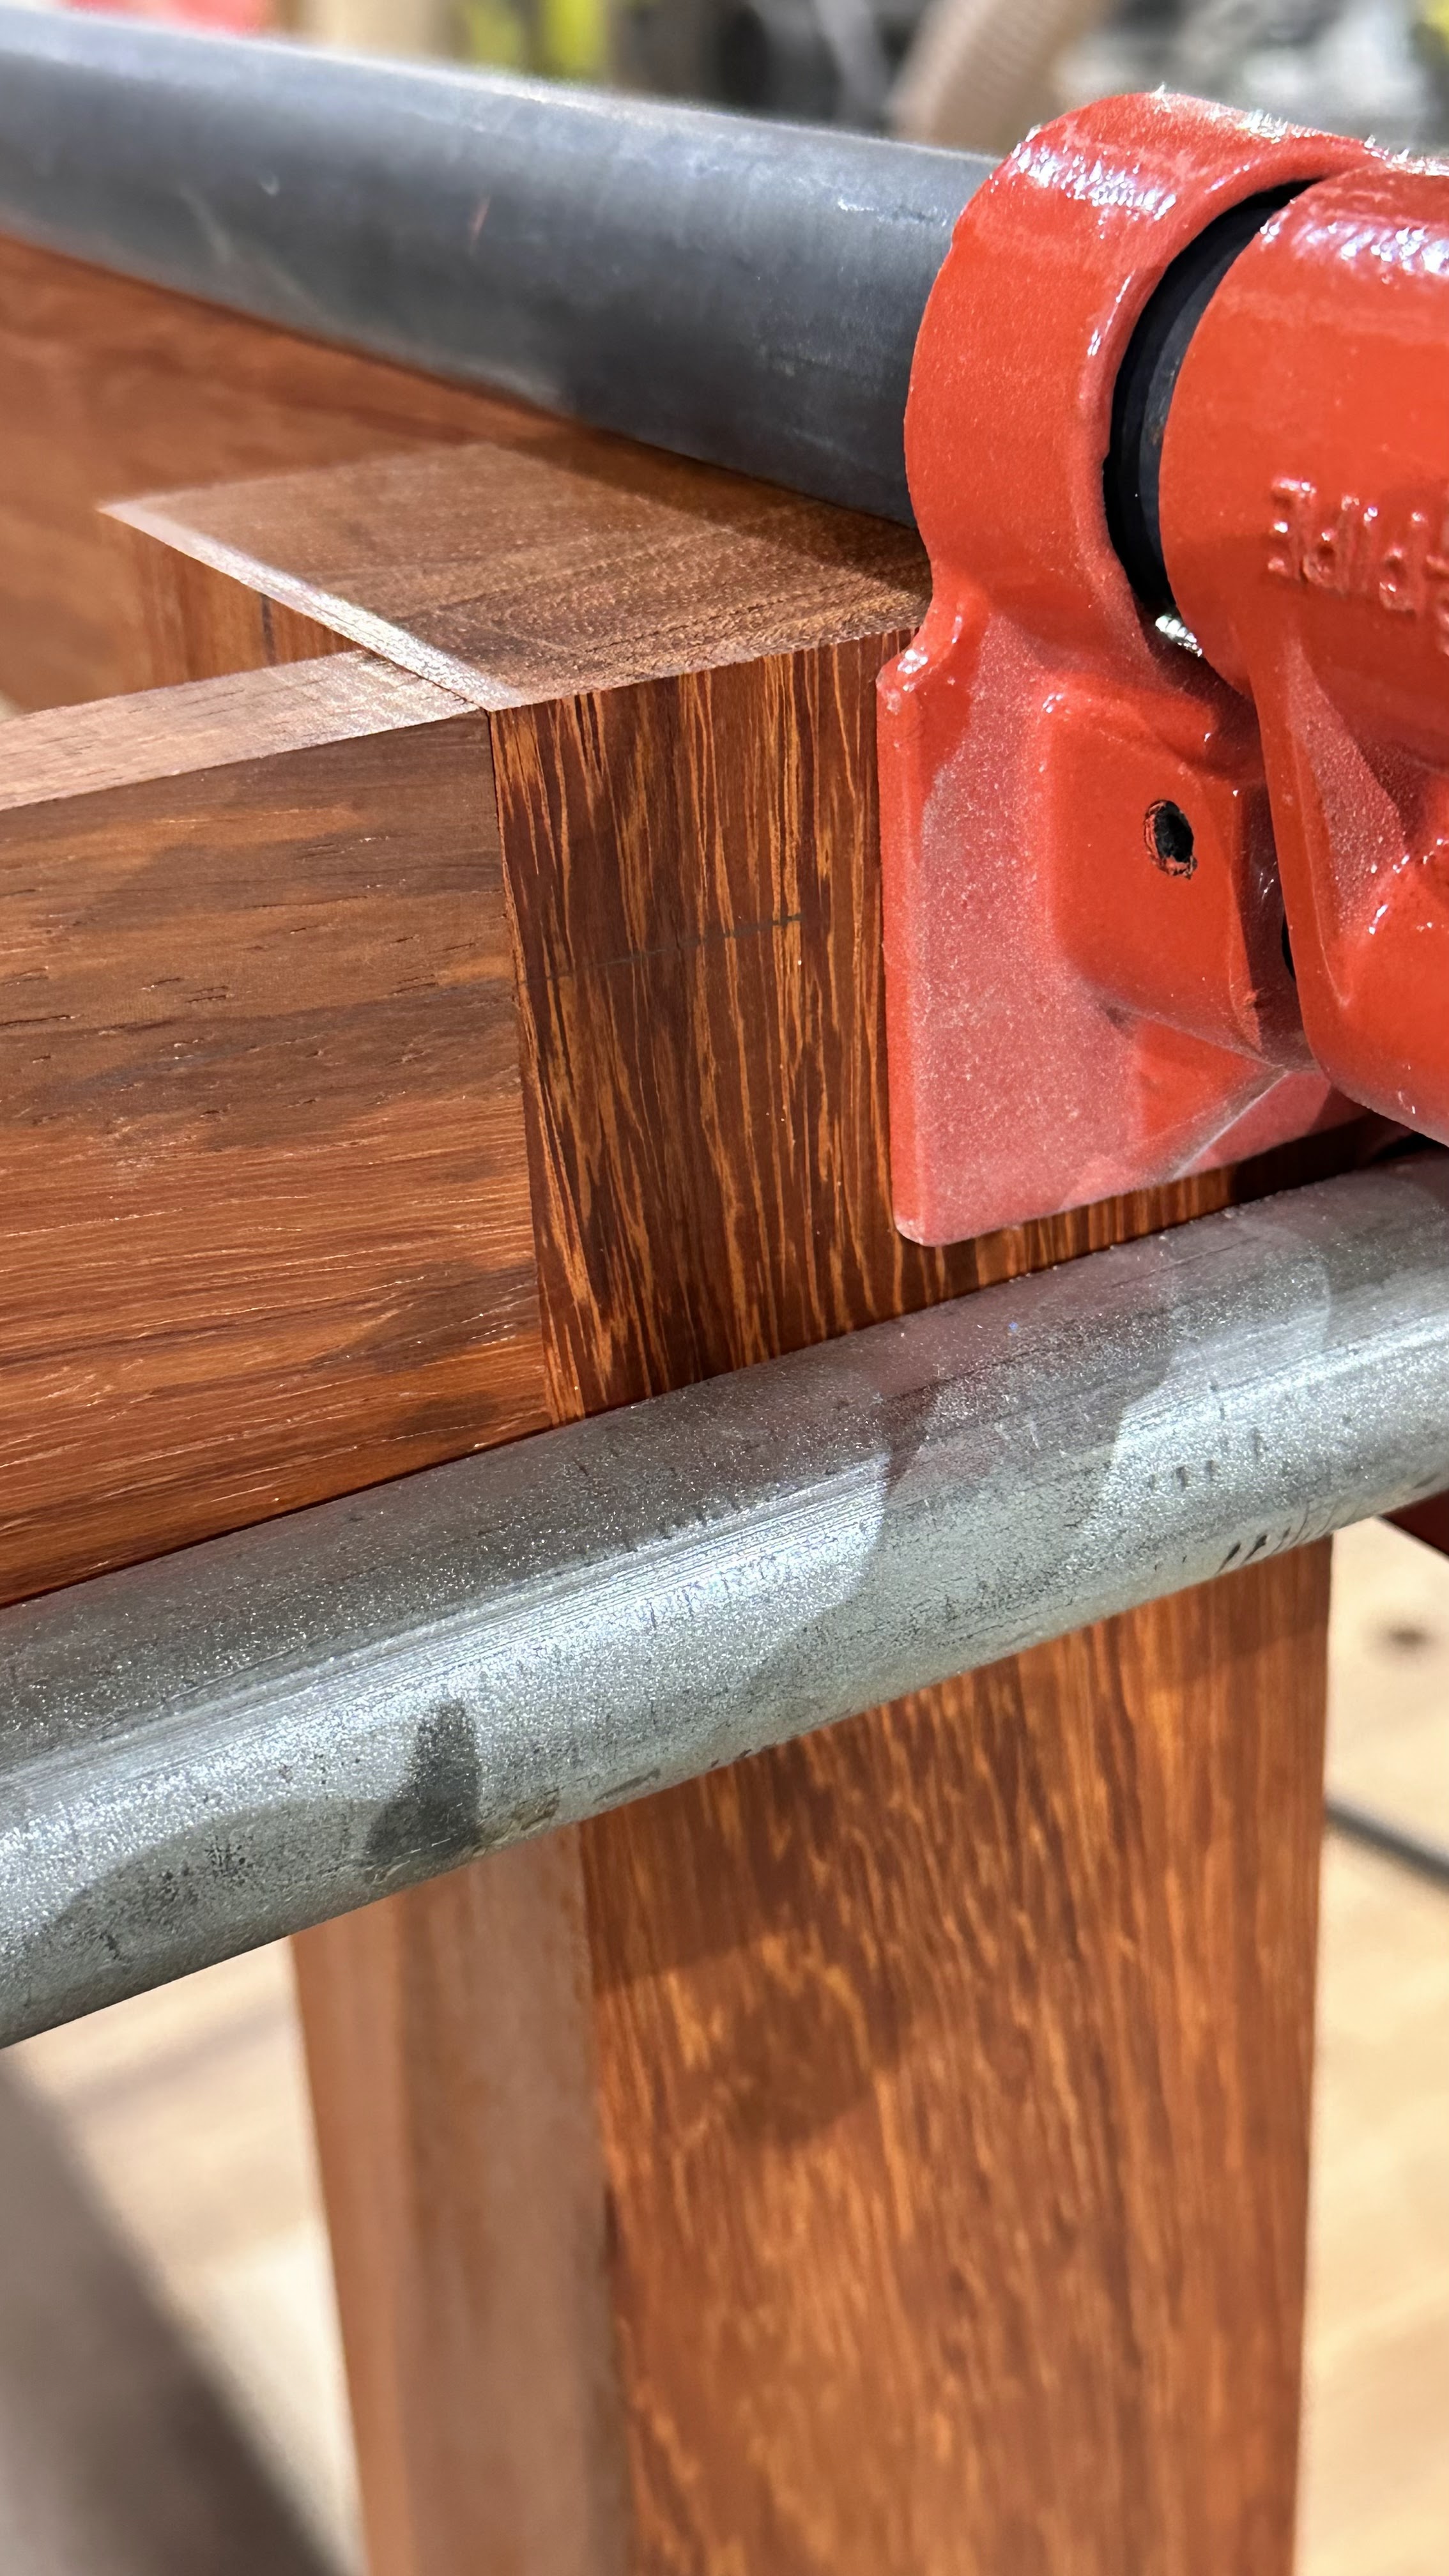
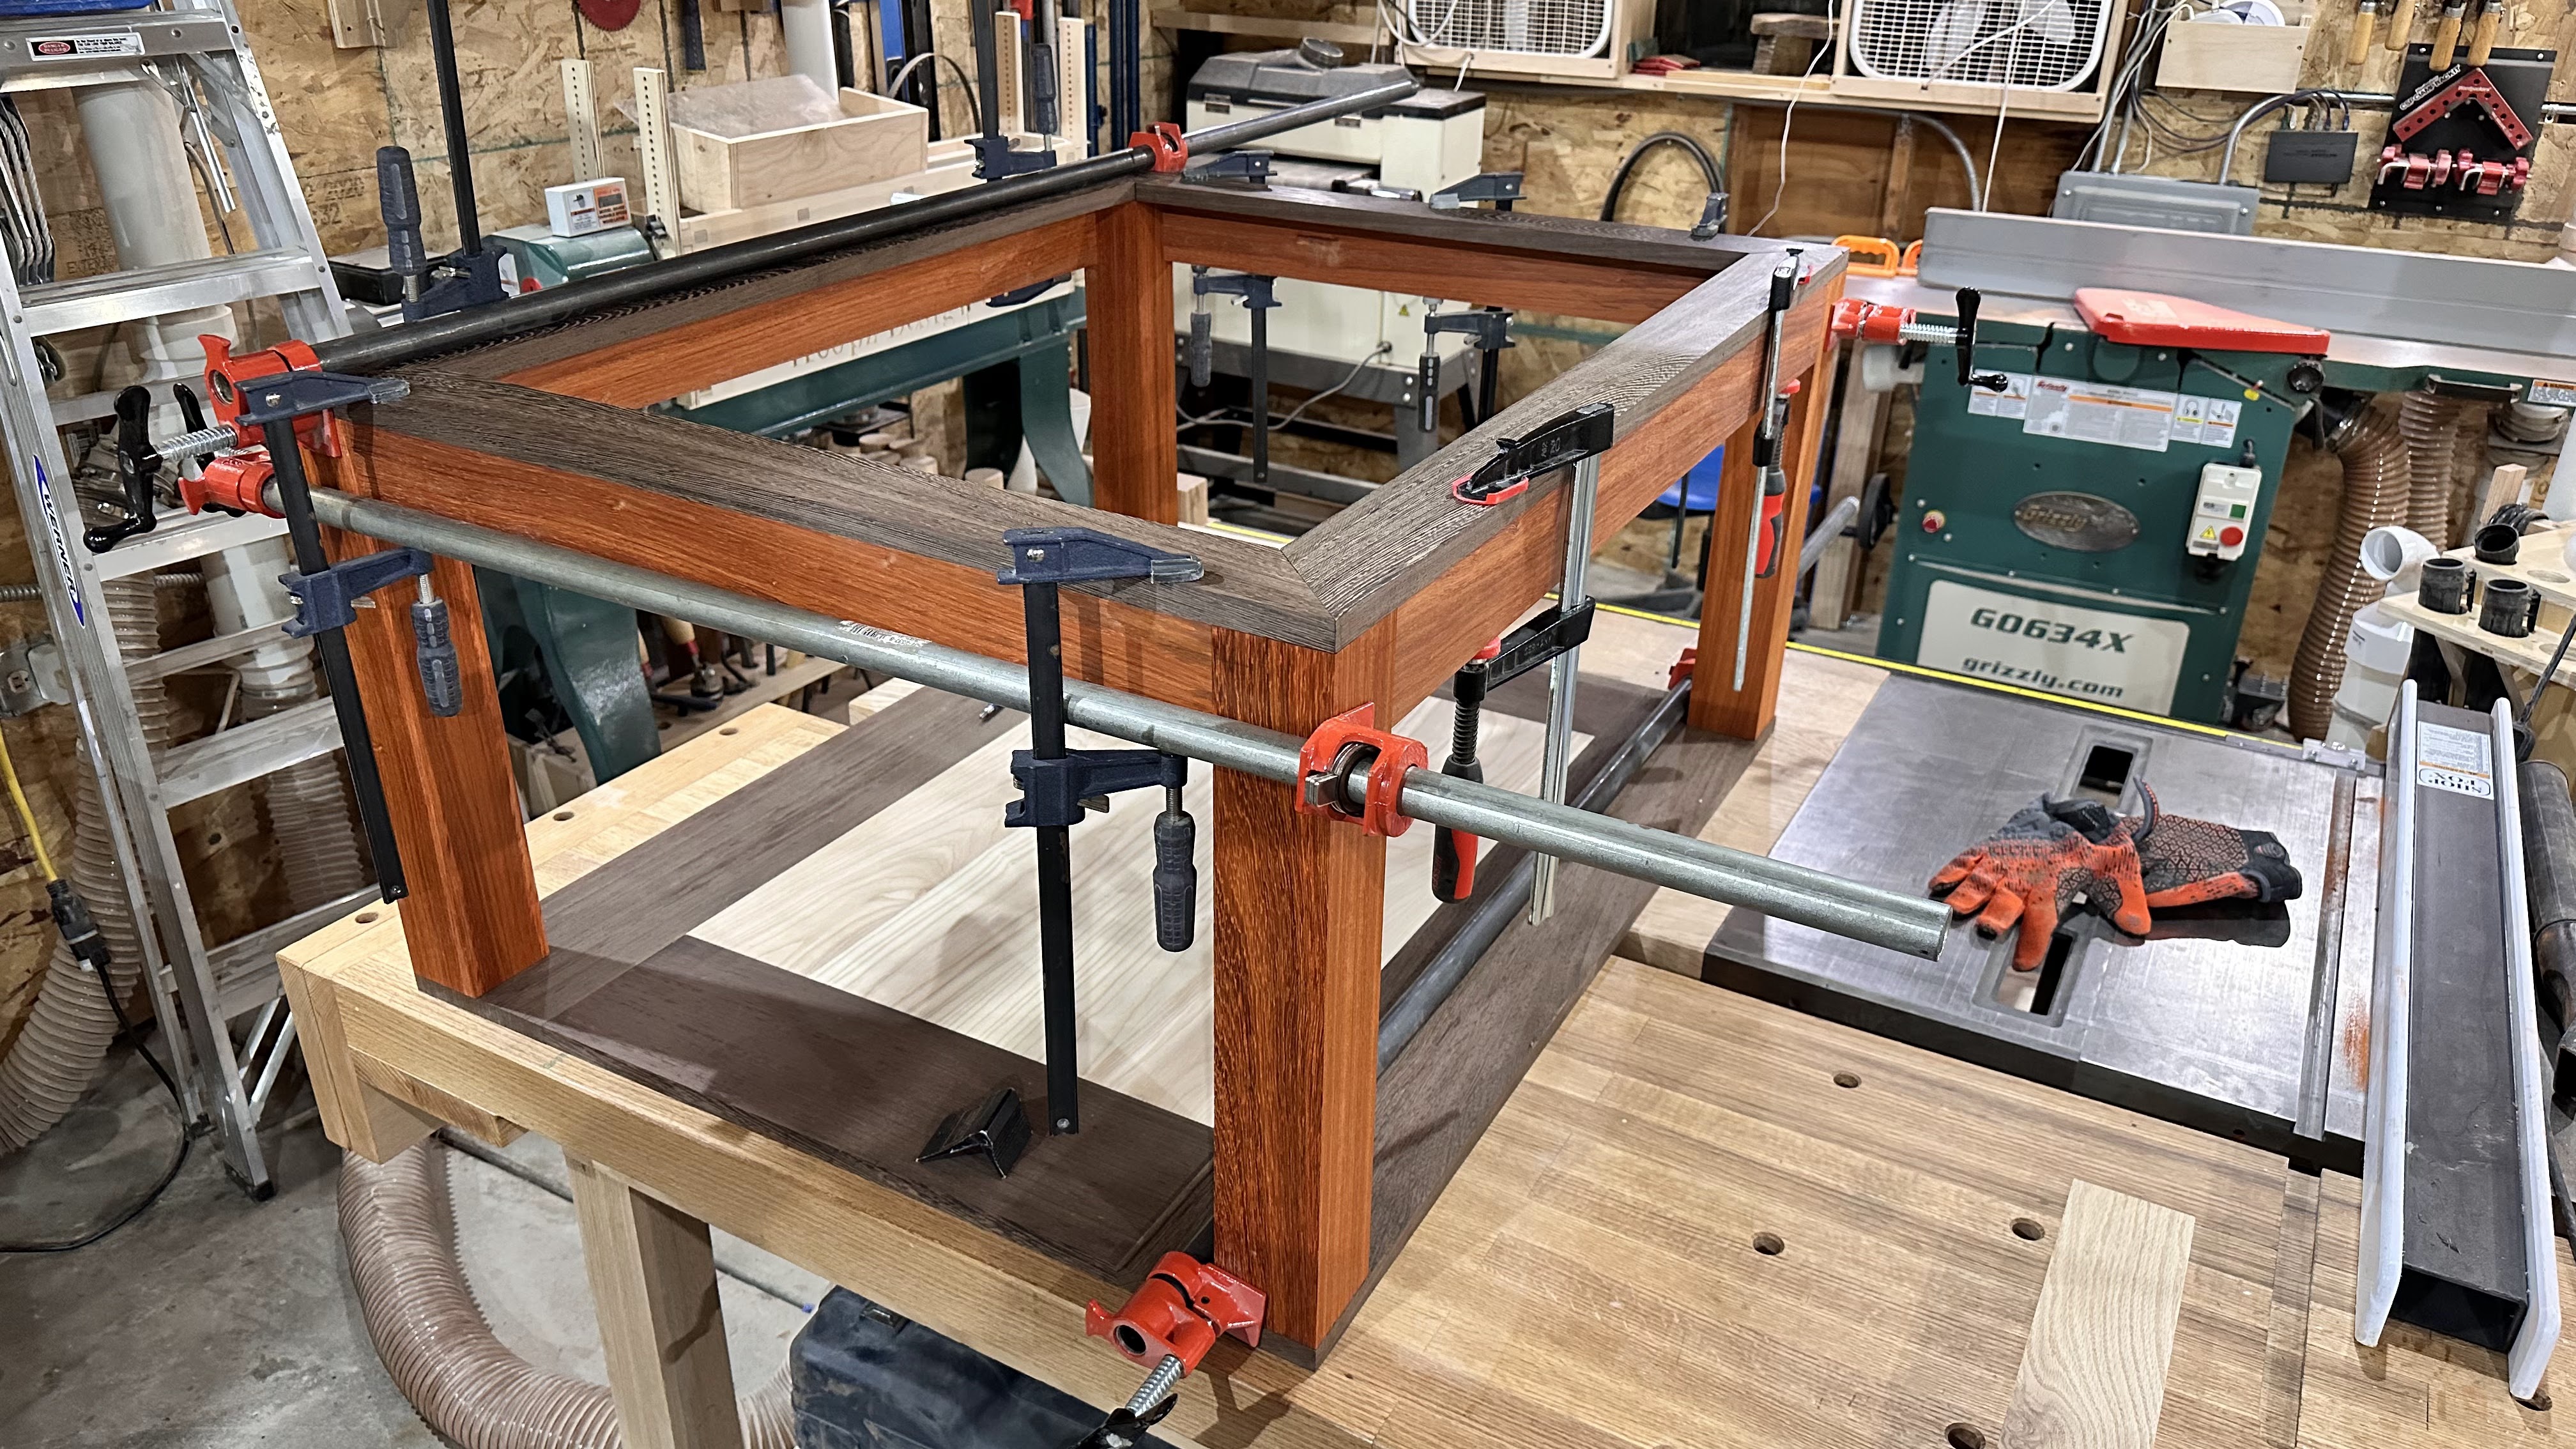
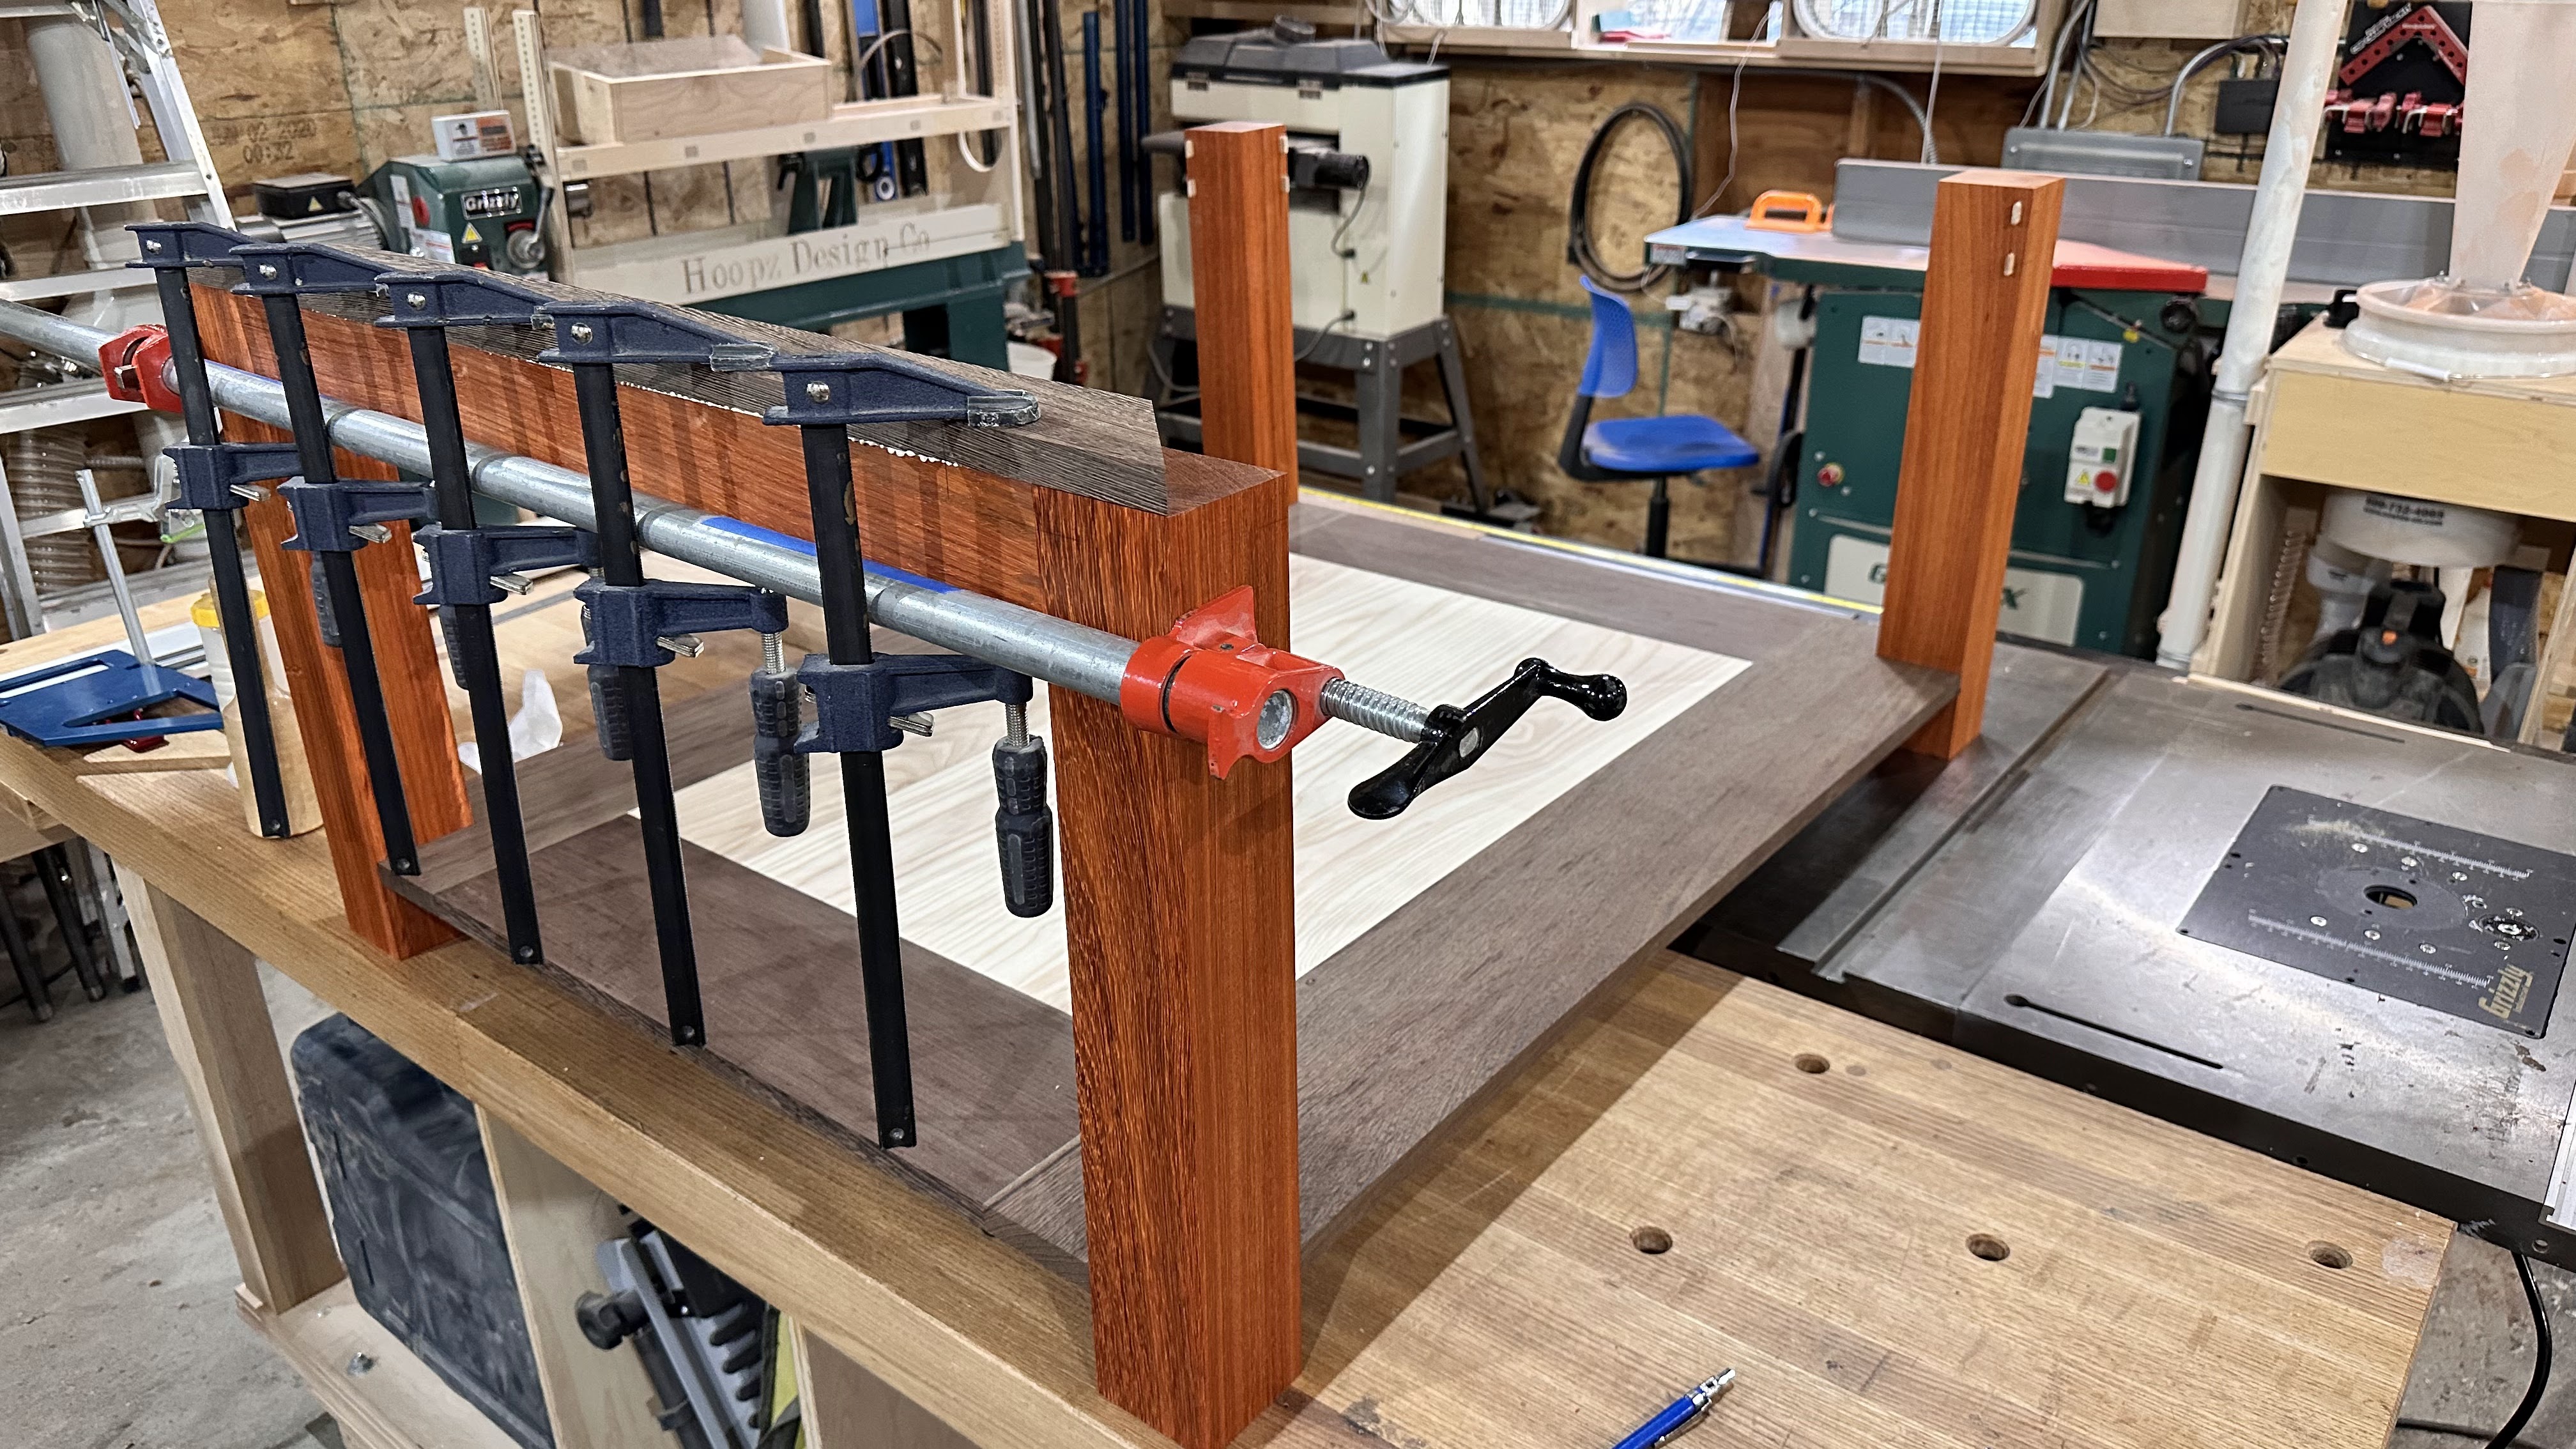
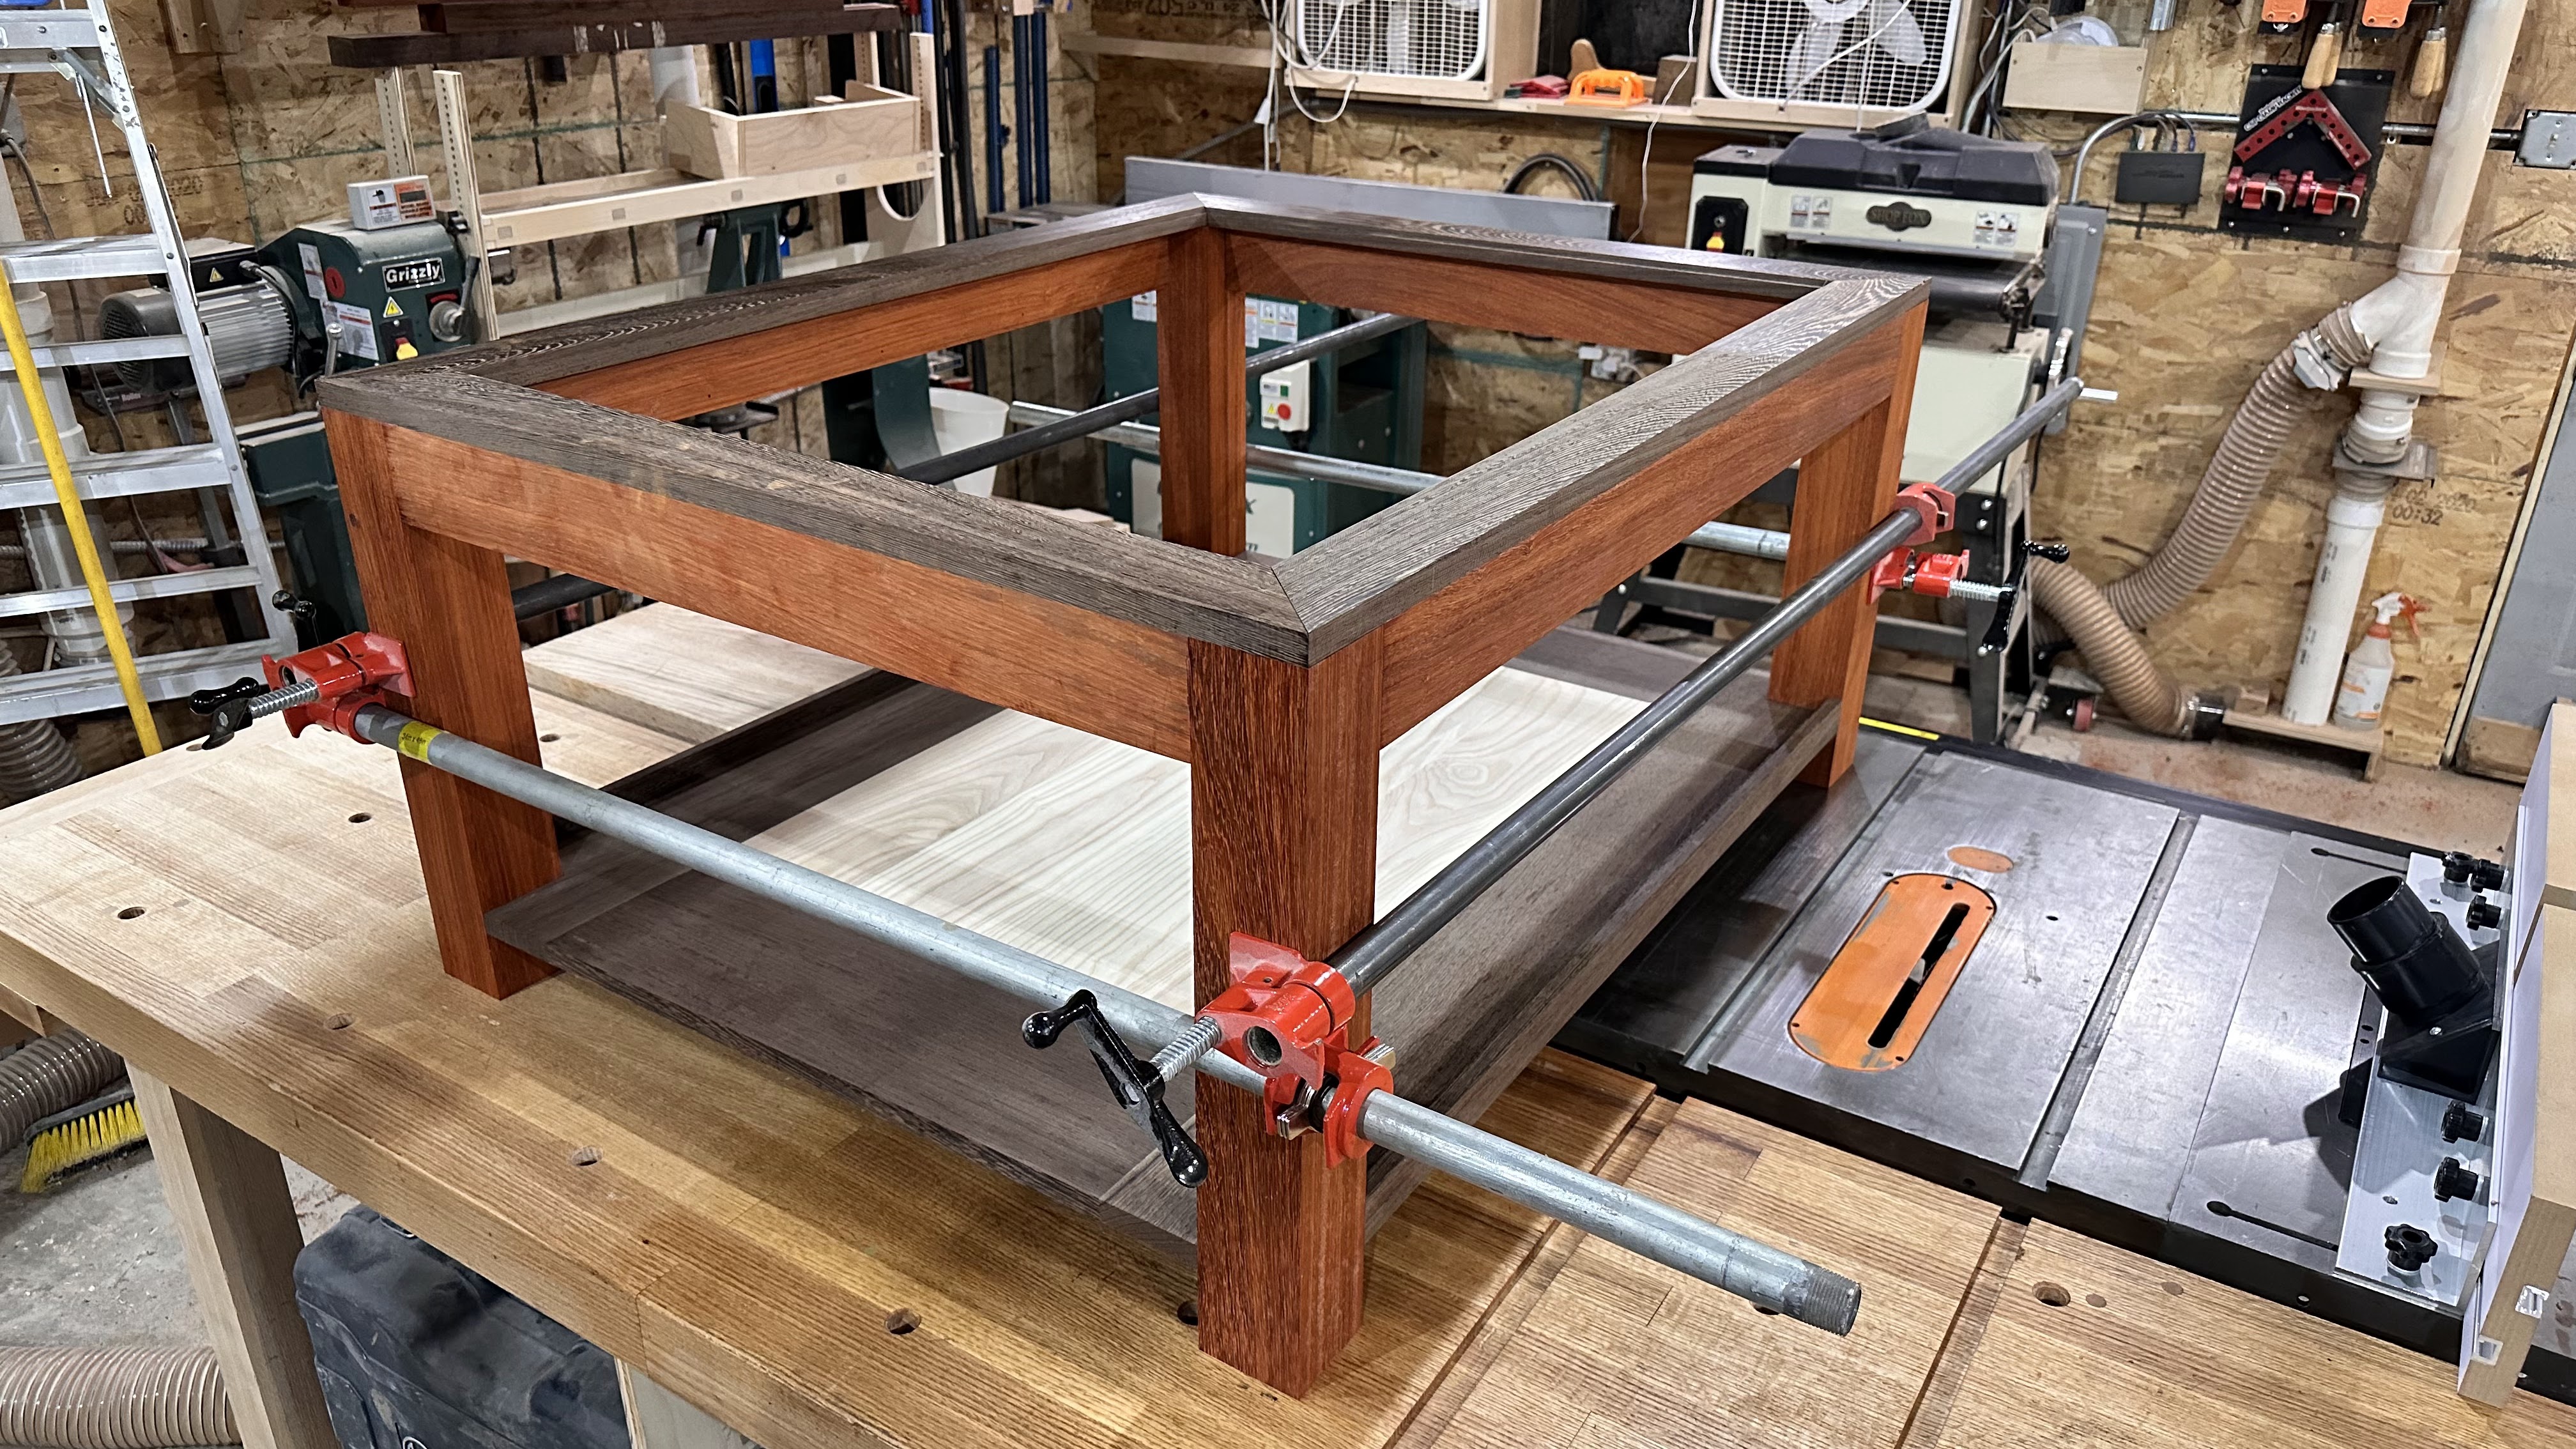
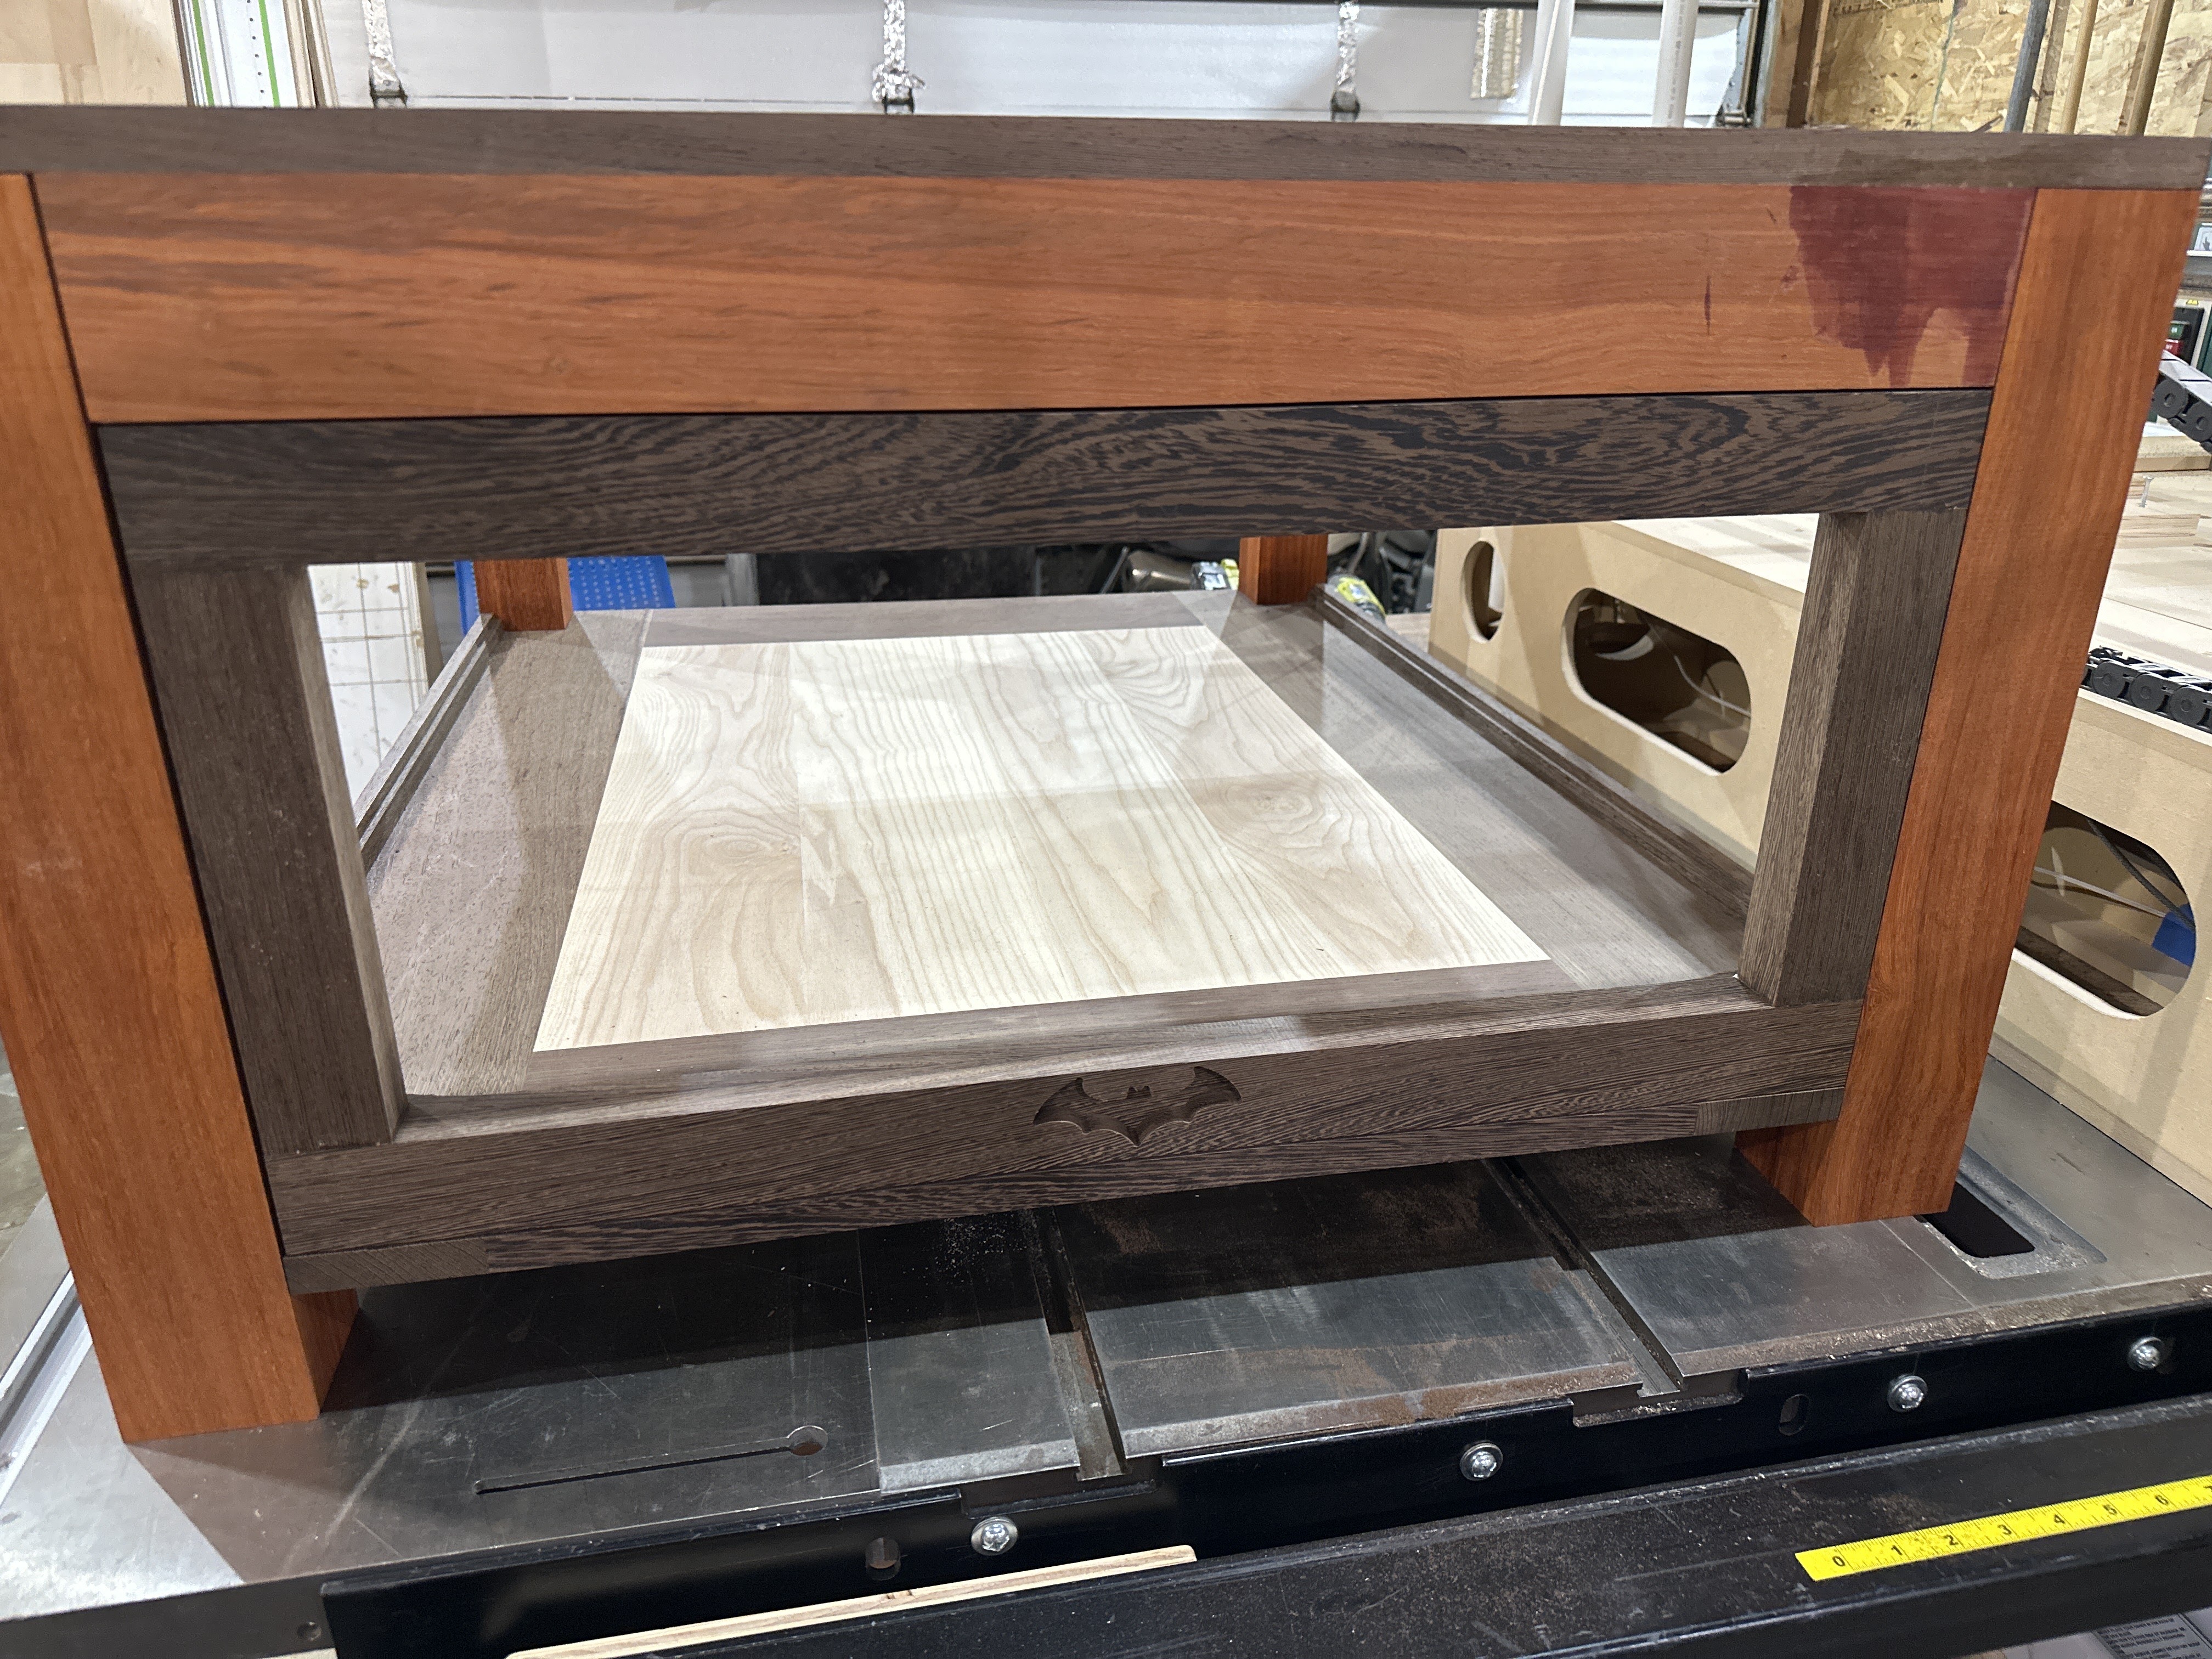
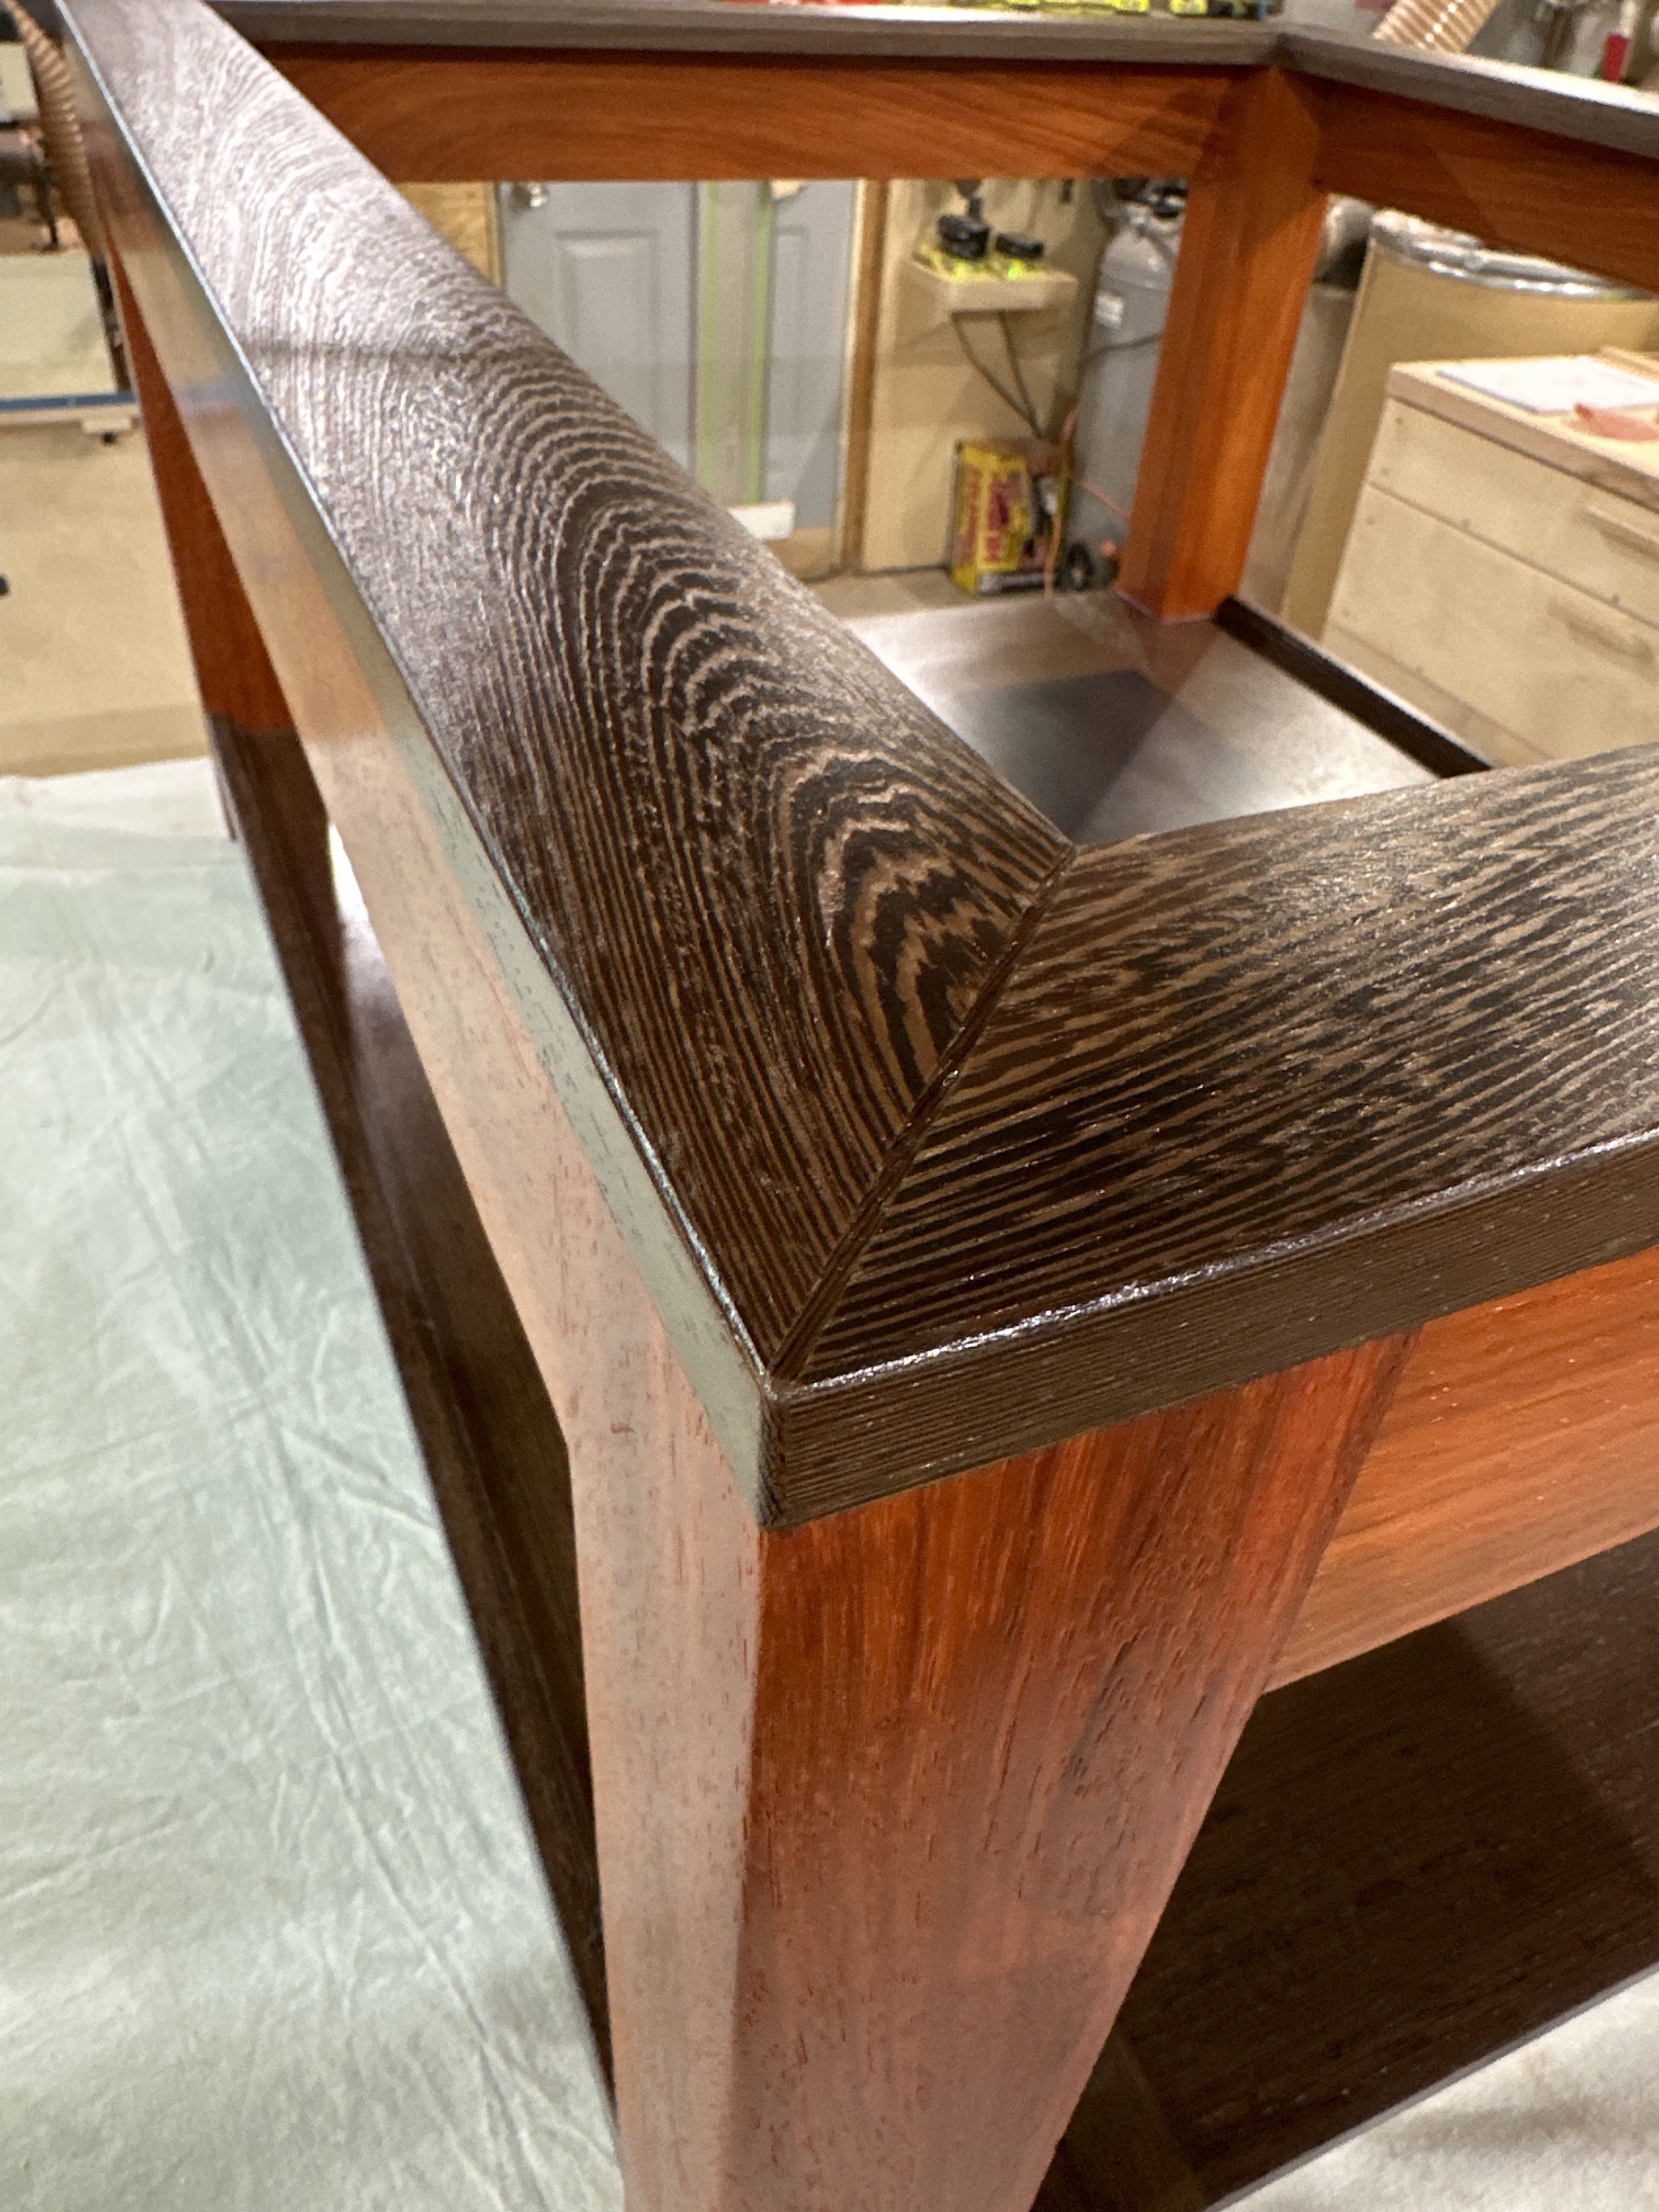
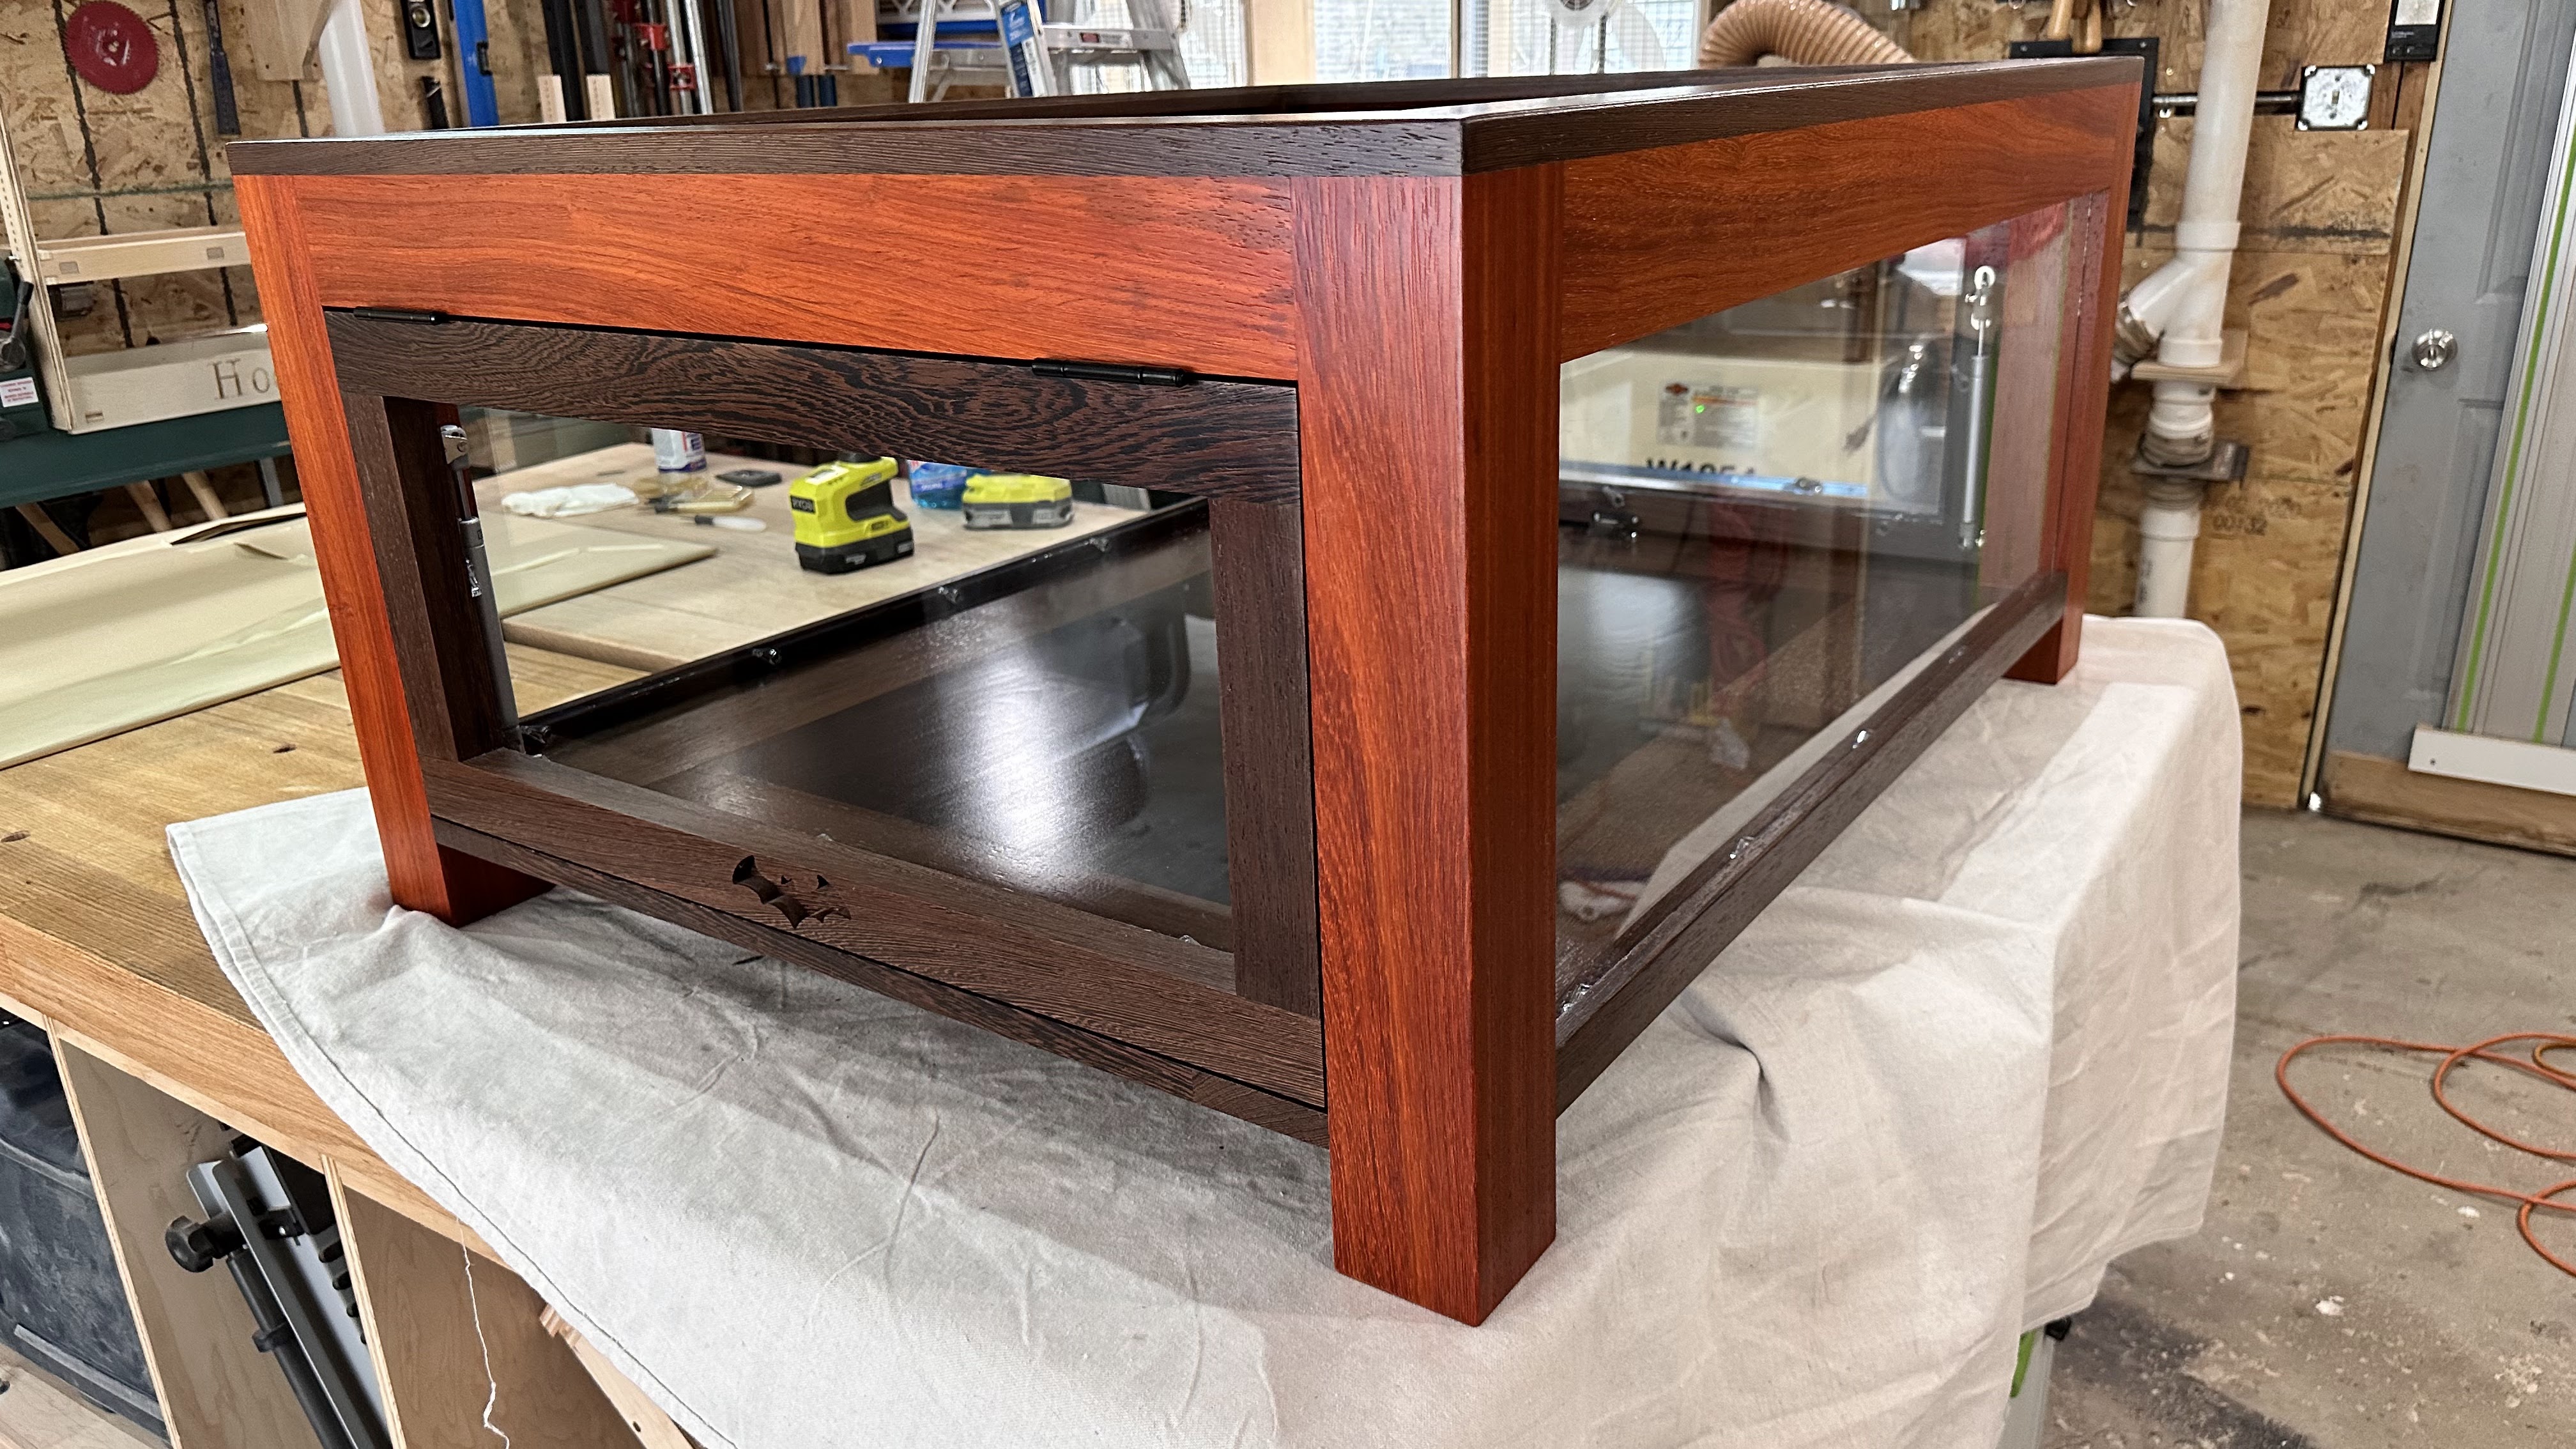
The Outer Structure
The build of the outer structure had to be perfect because the table will be encased in glass so all sides will be visible. This mean a LOT of layout time to make sure all the joints, dimensions, etc were perfect. Again I opted to use dowel joinery but I had to use two types because the domino couldn’t fit into the cut out areas of the shelf but I used dominos everywhere else.


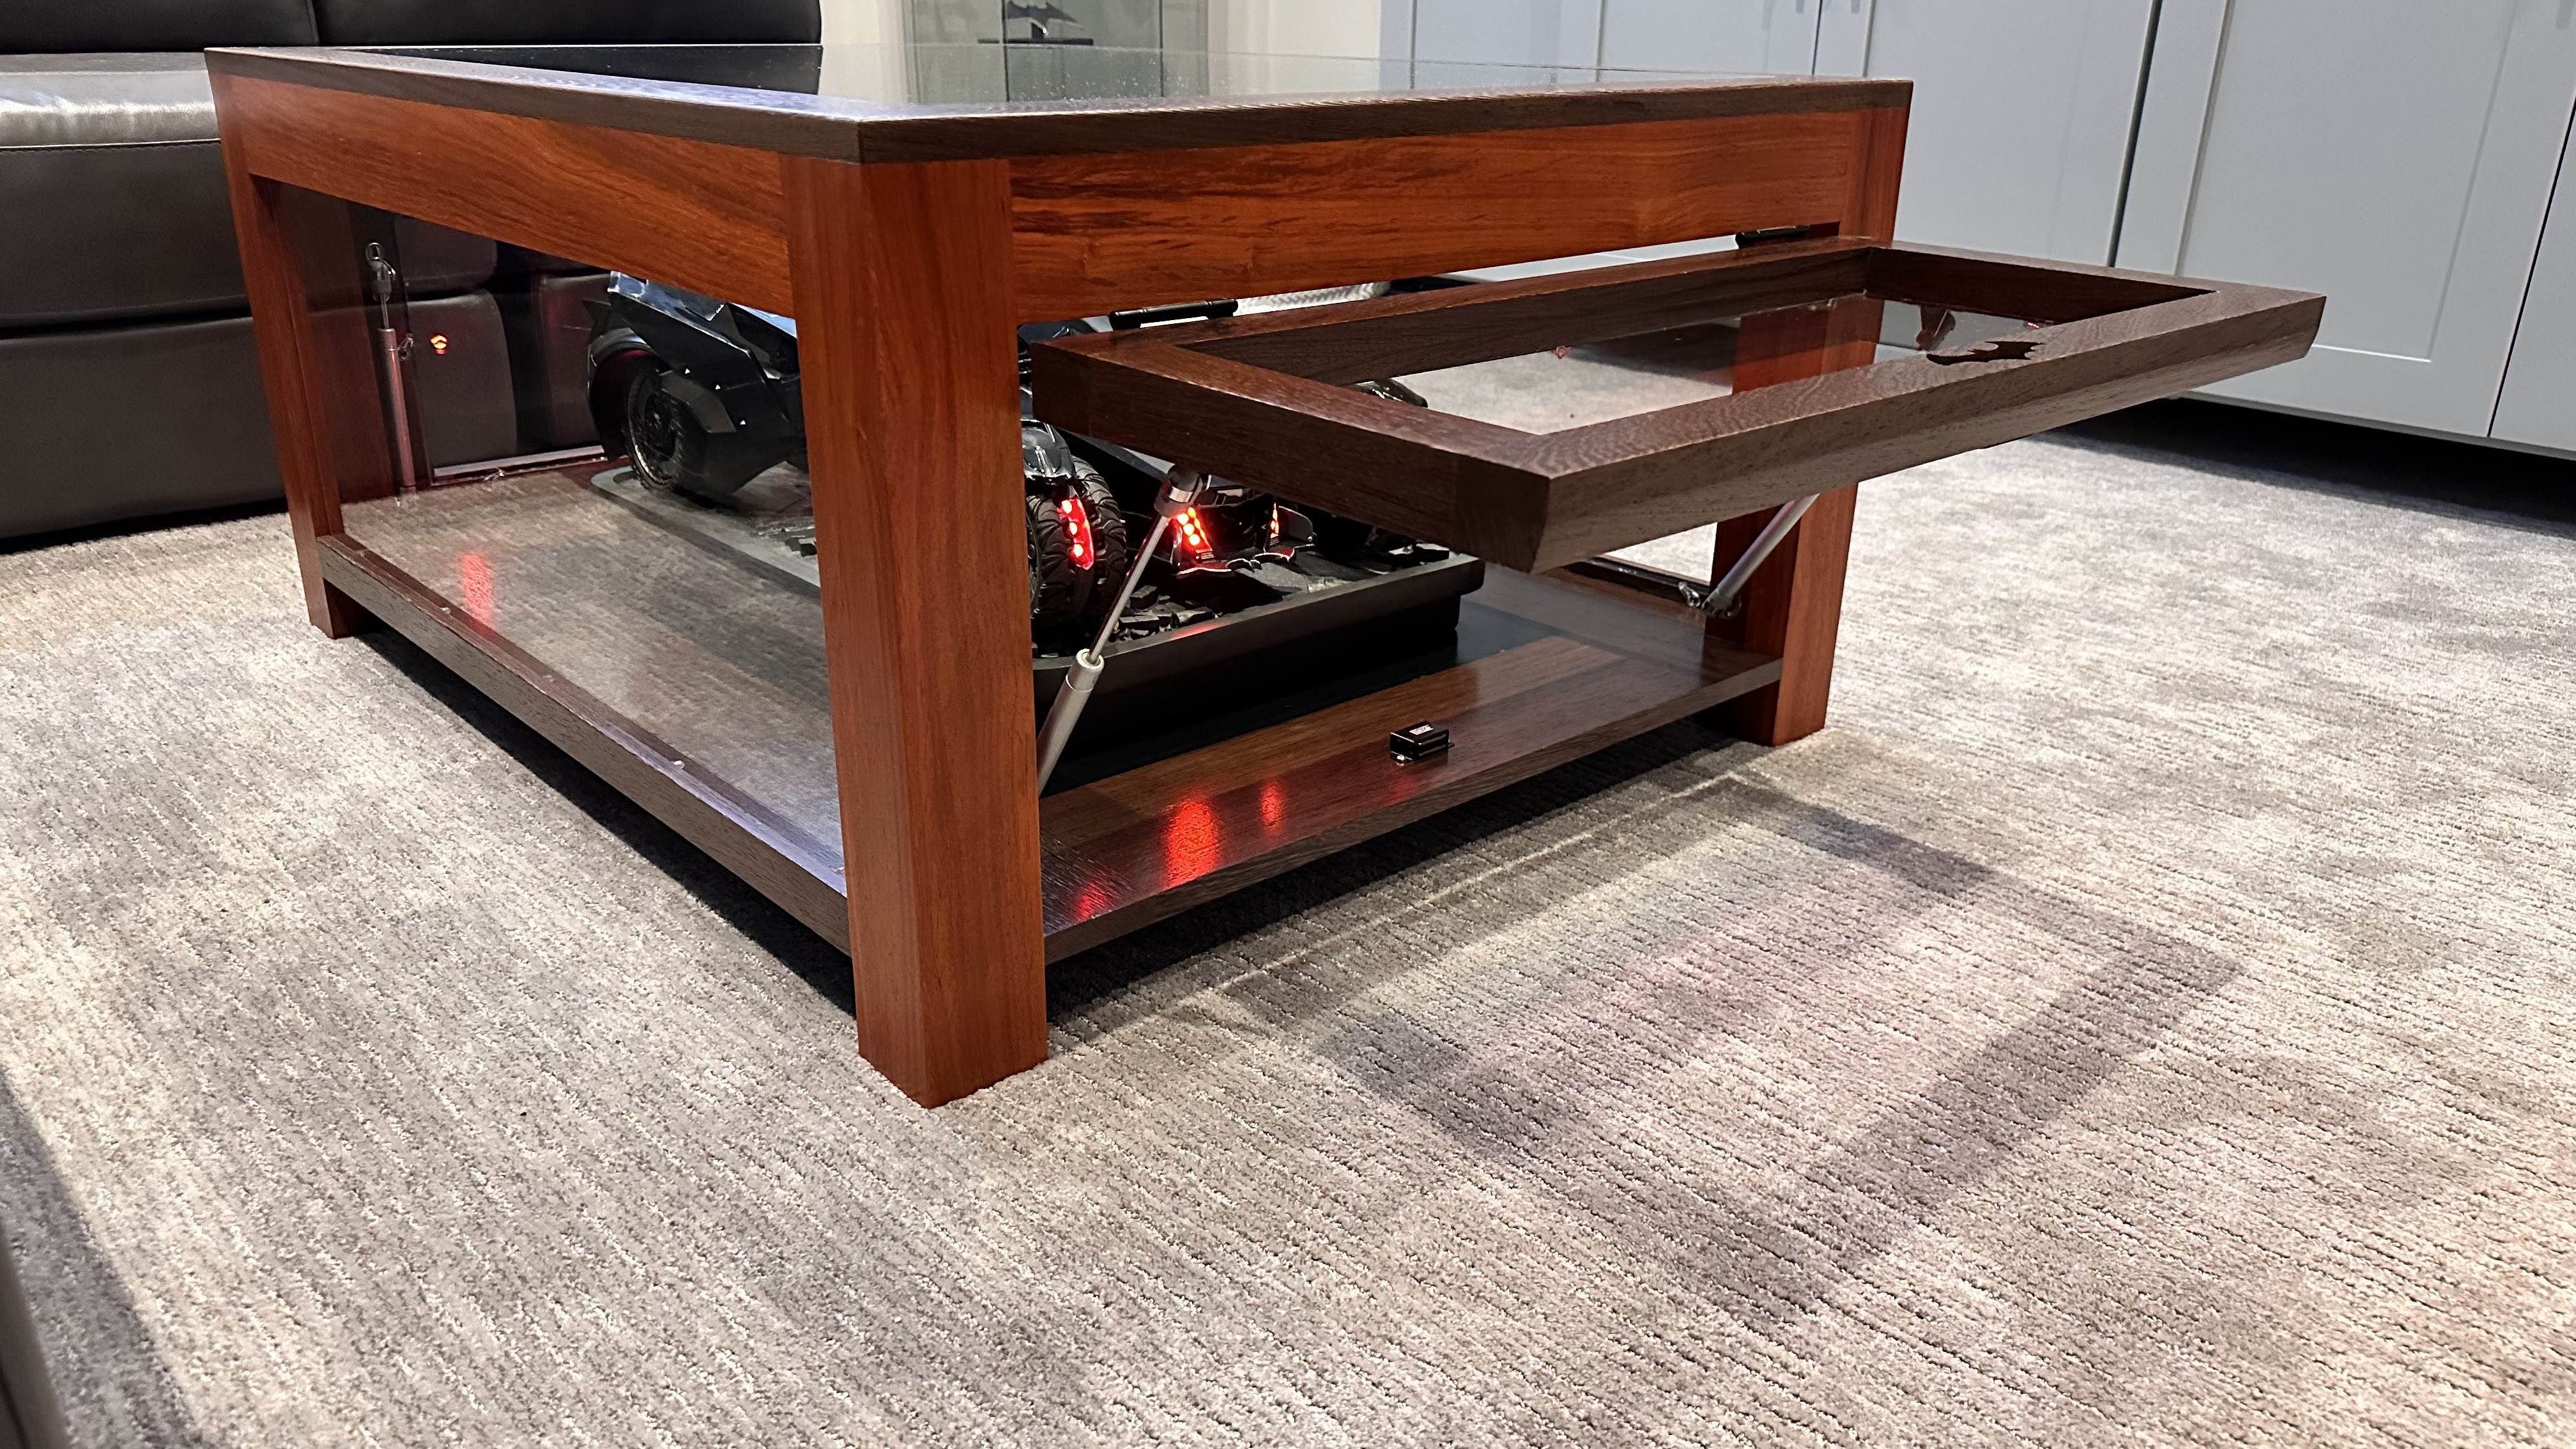
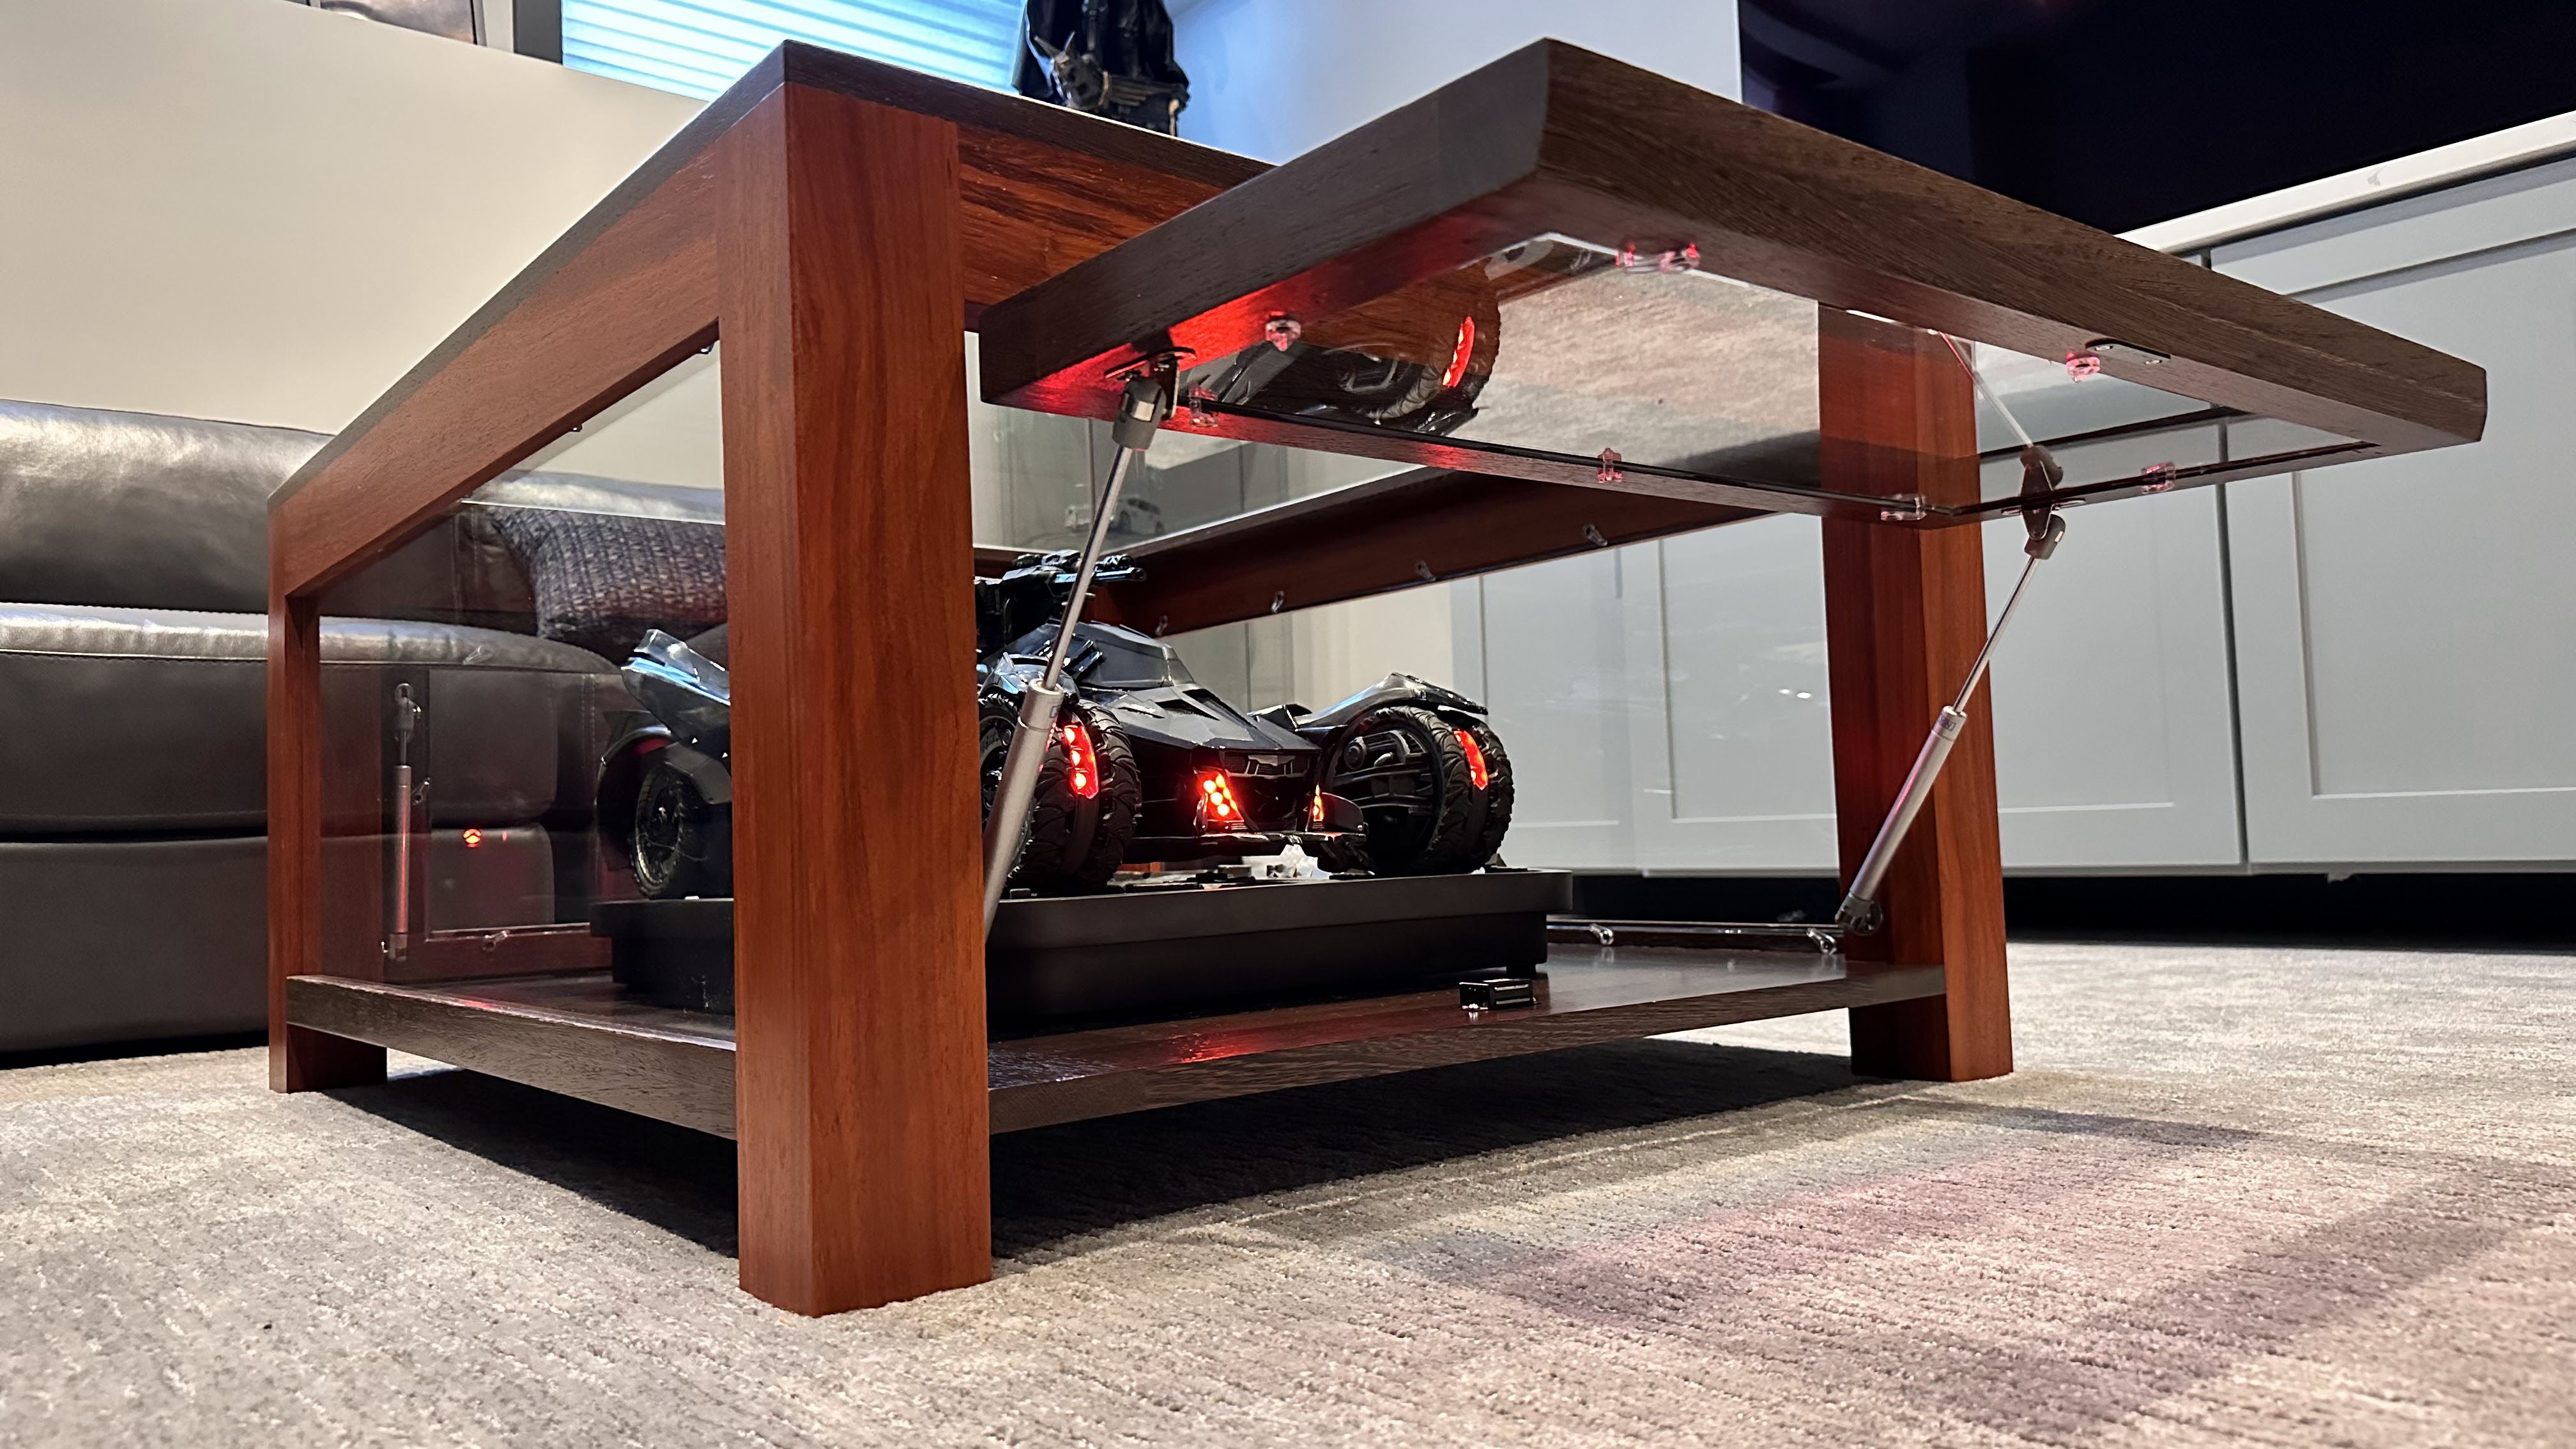
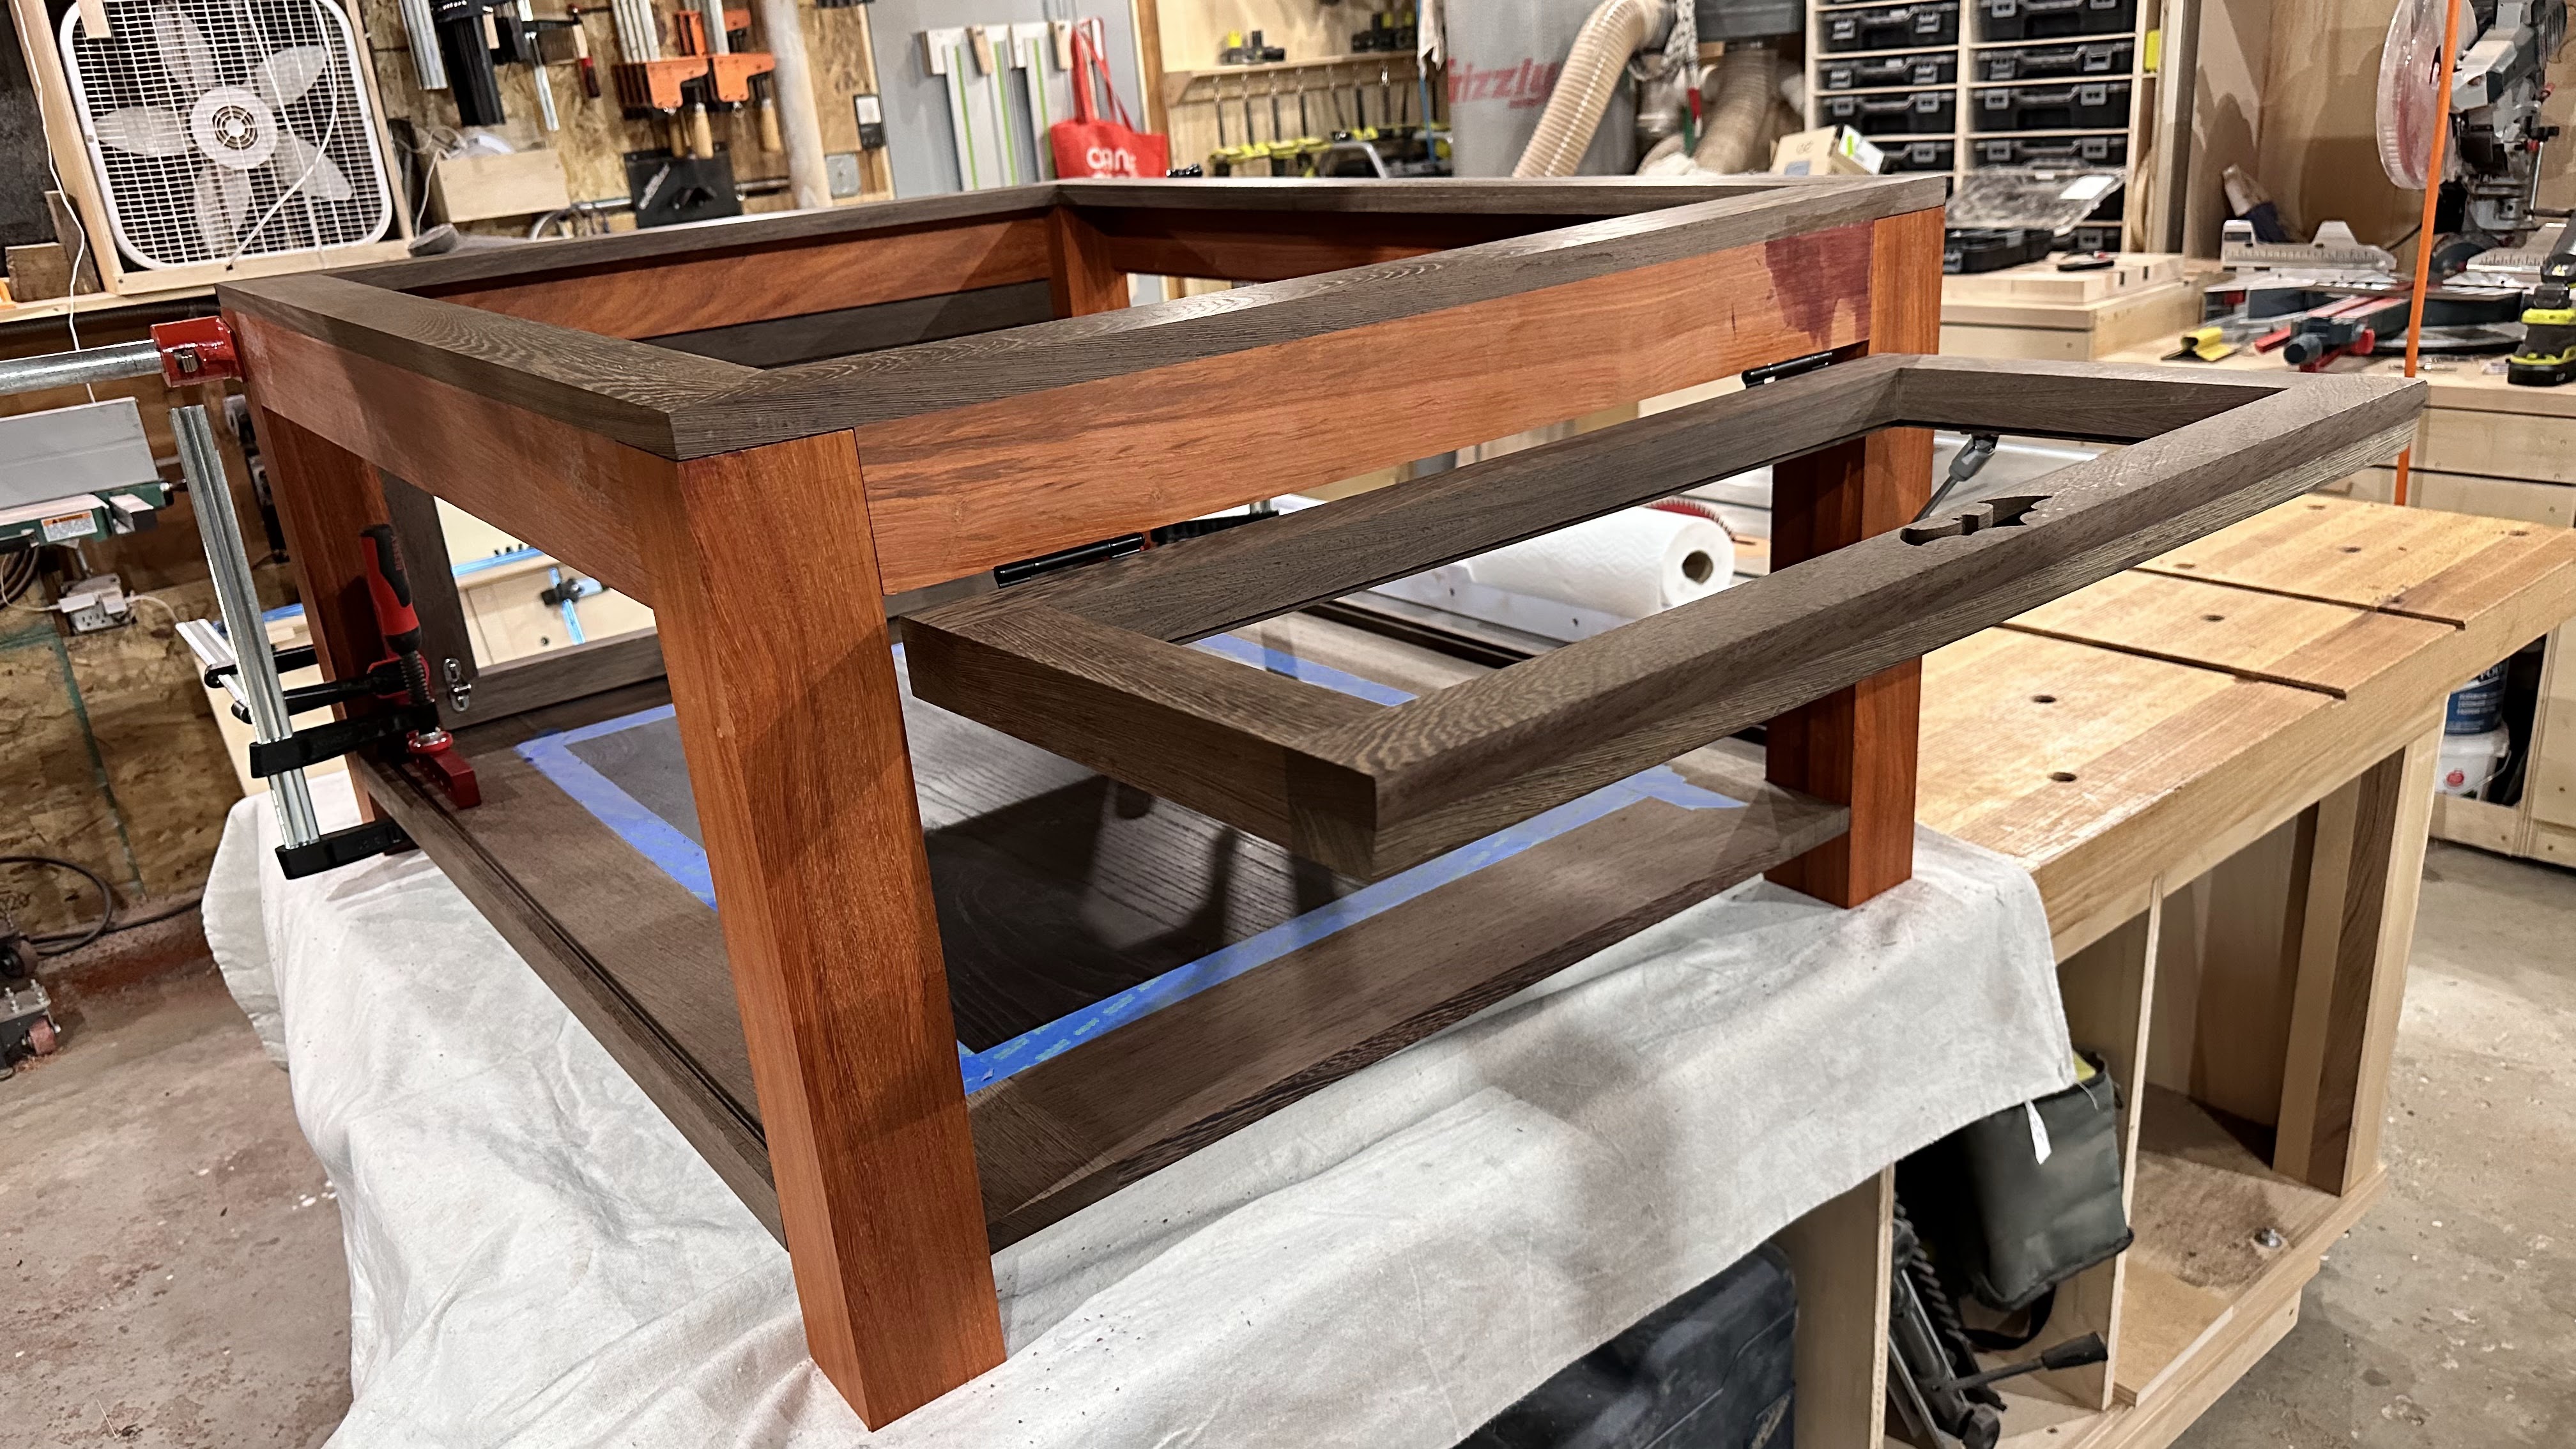
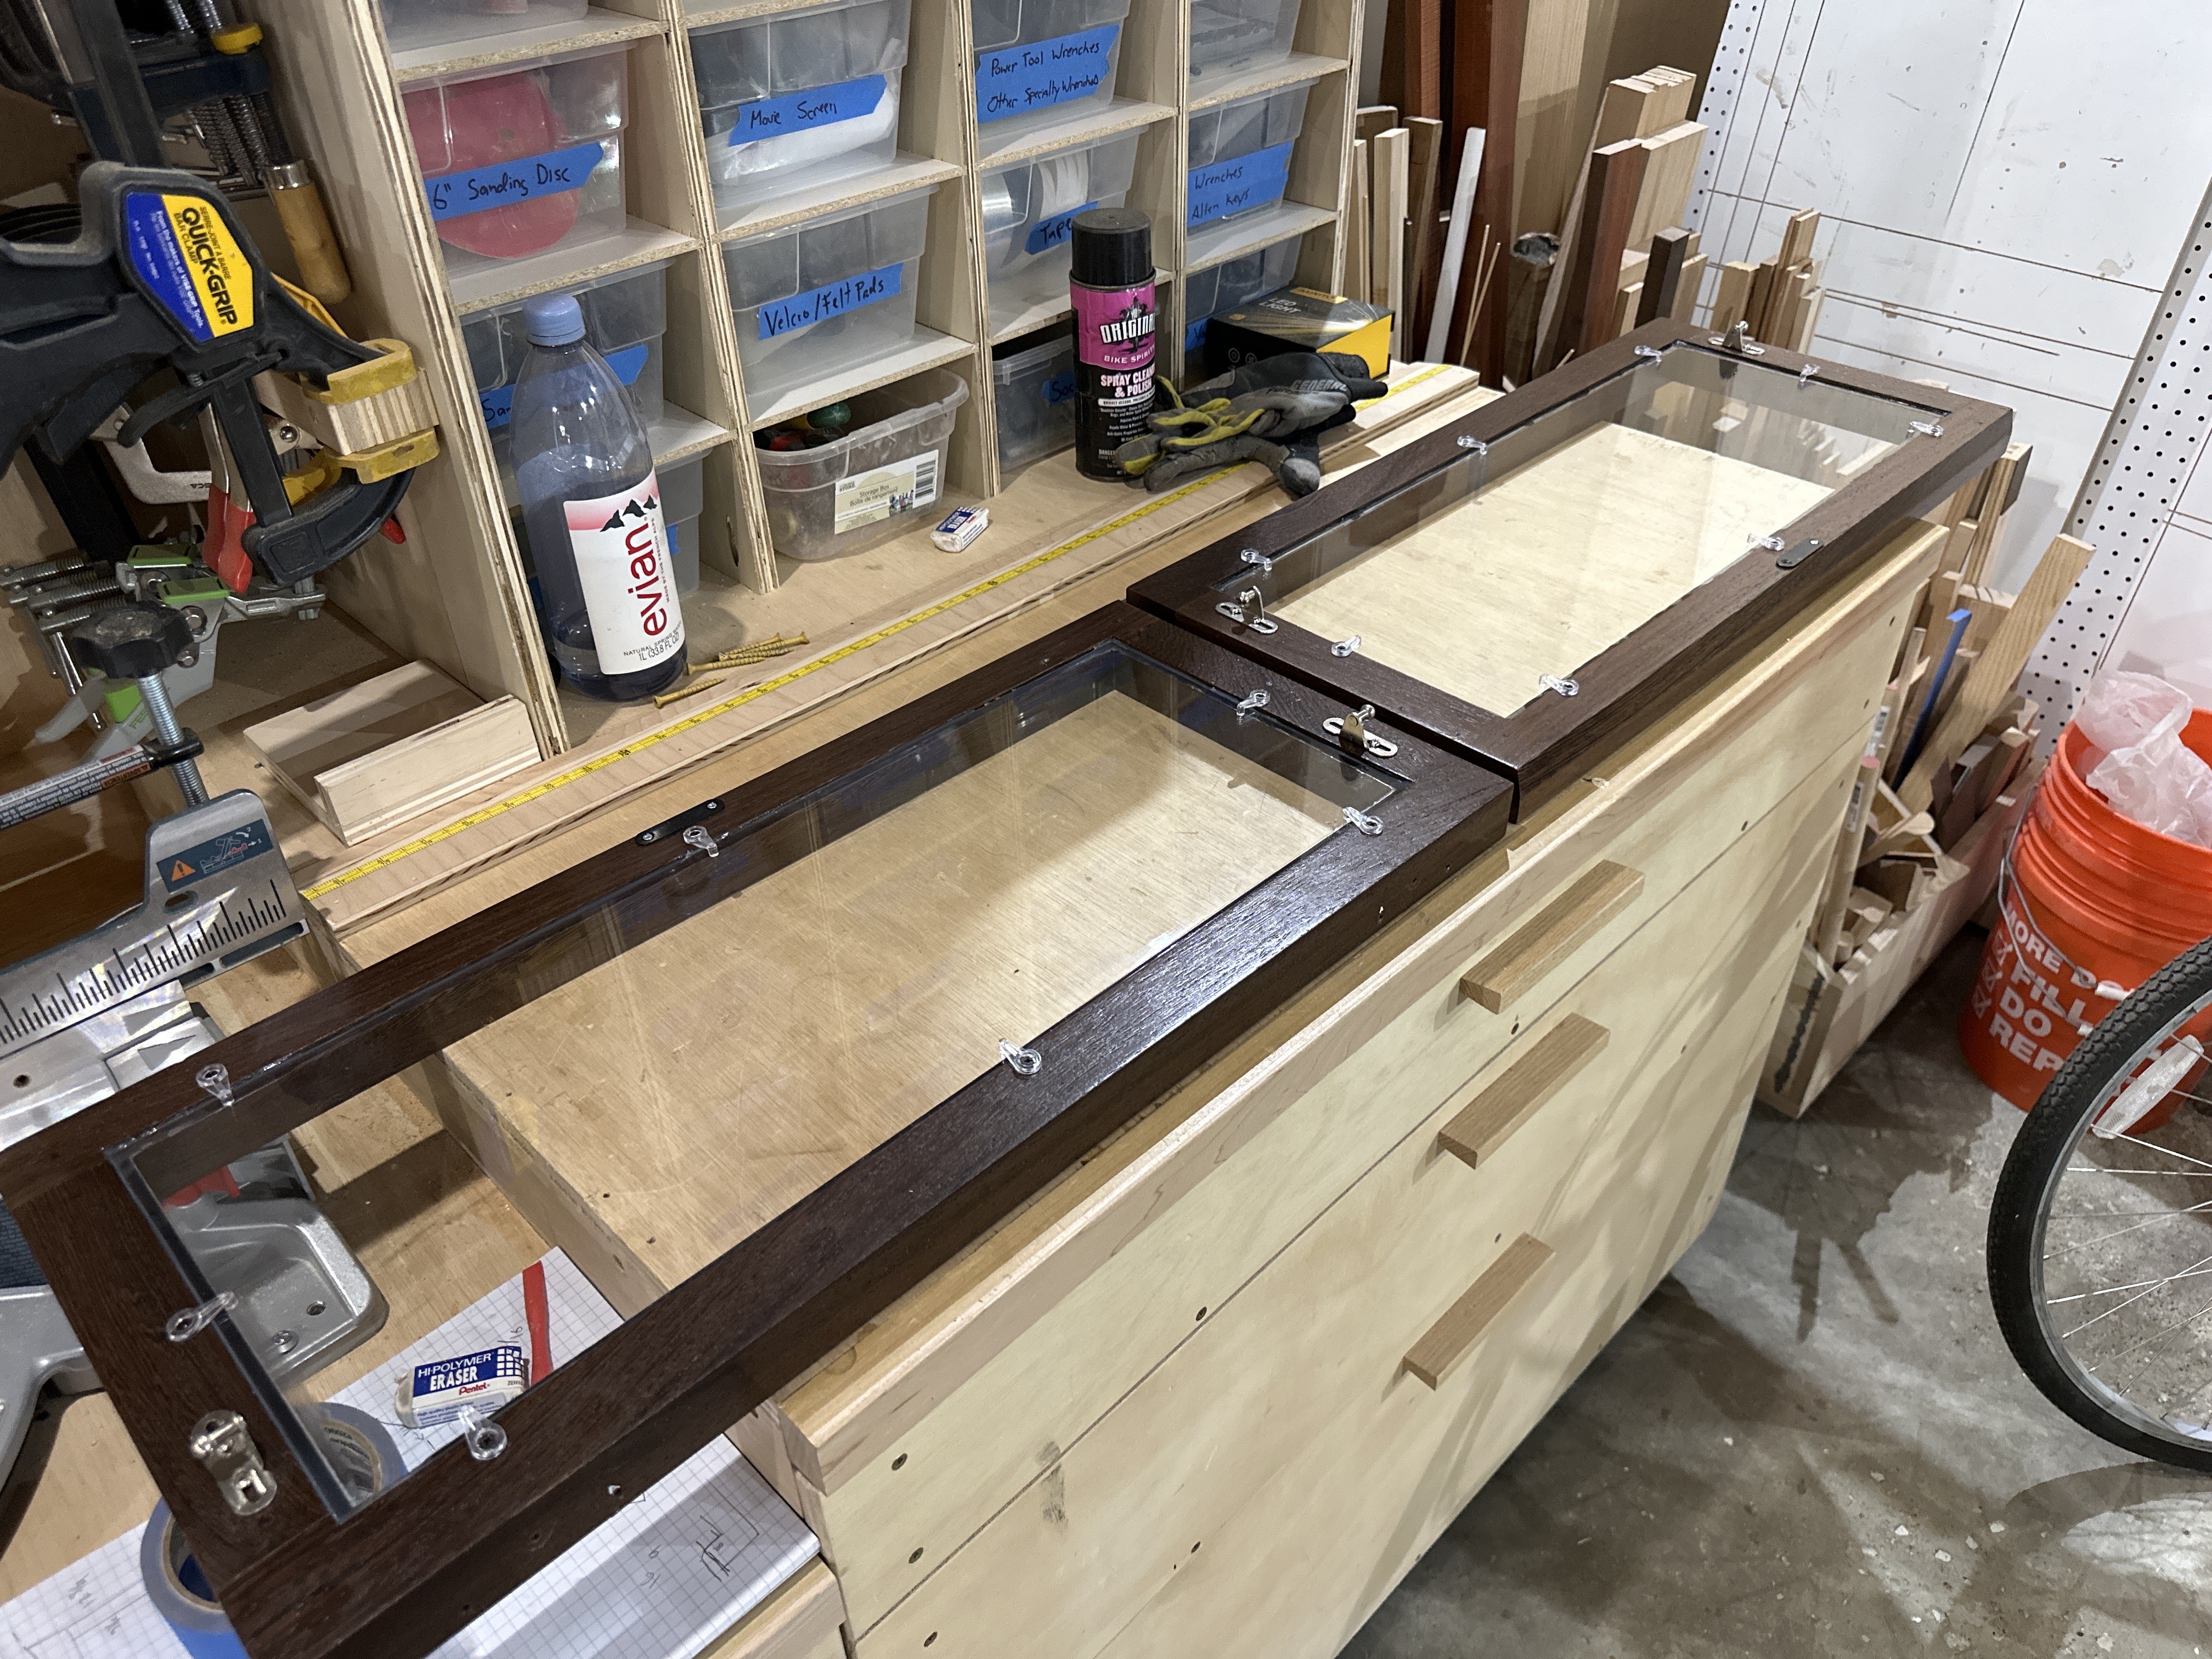
The Doors
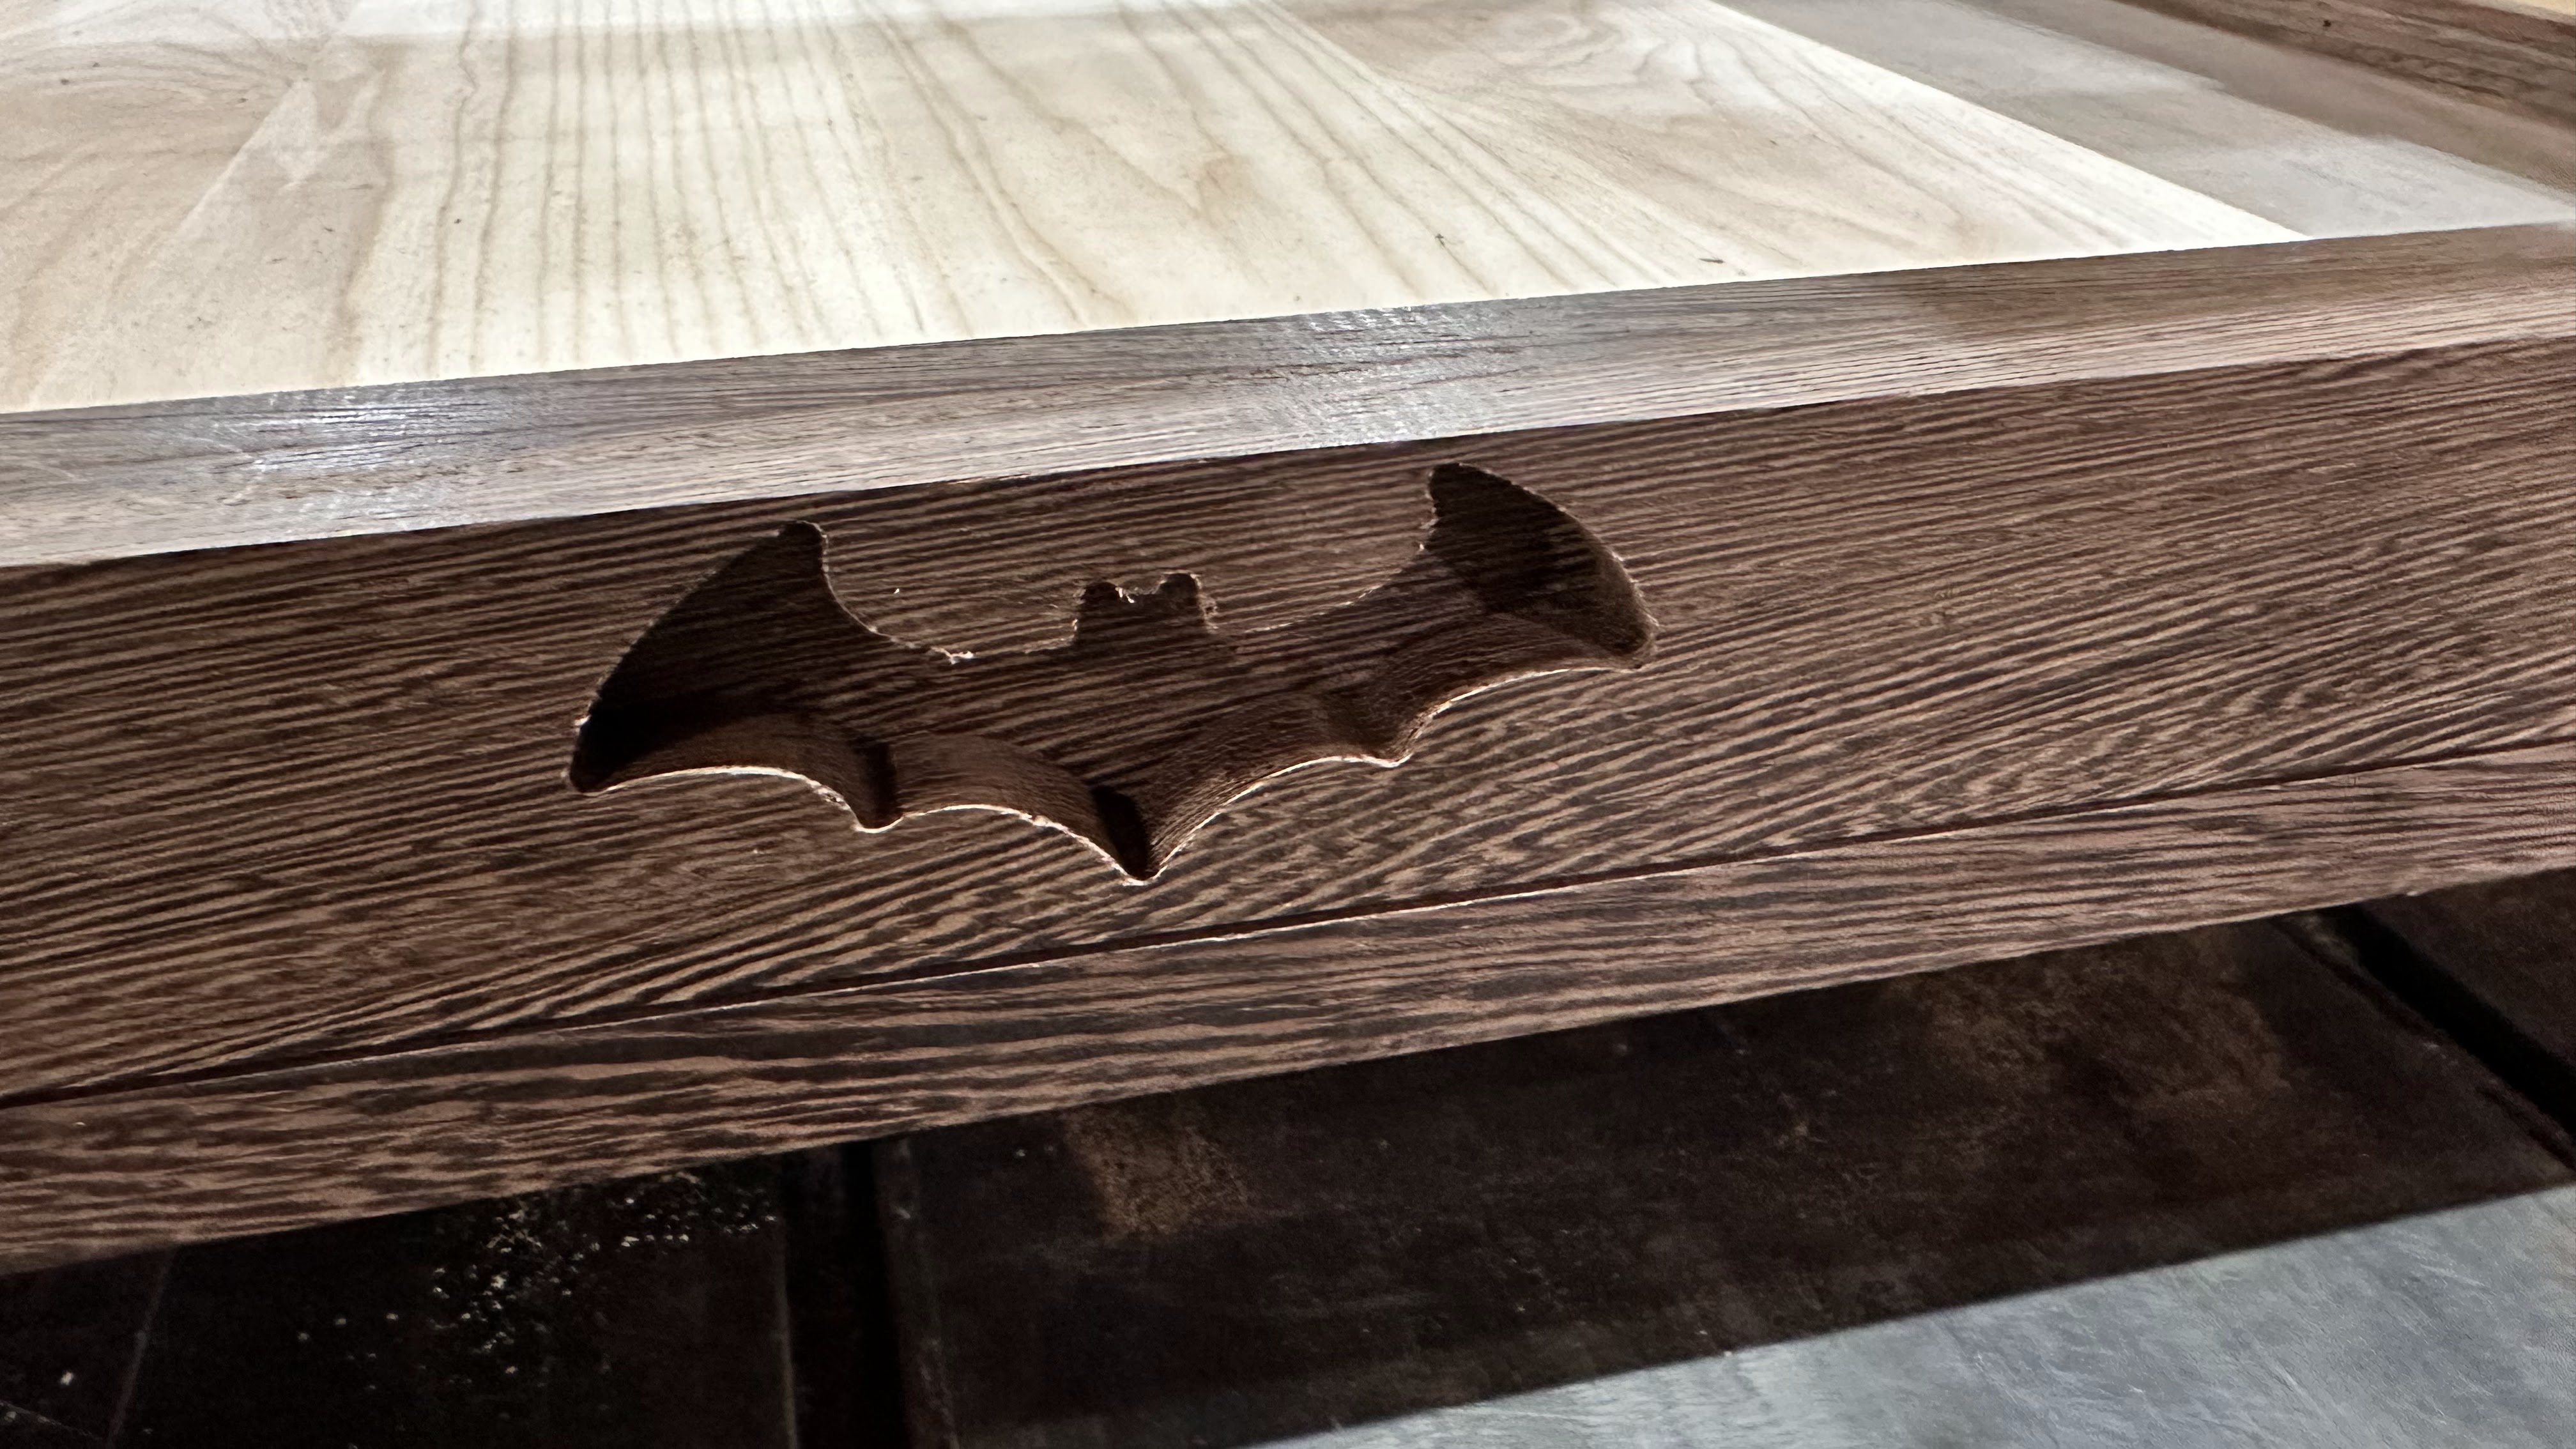
These doors were fun and simultaneously a total PITA. This was my first time doing hydraulic raising doors and the first couple time I did them I got the geometry all wrong. I high recommend experimentation on non final product wood parts to get the geometry correct. One SOOPER fun detail on the doors is the Batman logo that we cut on the CnC as the handpulls.

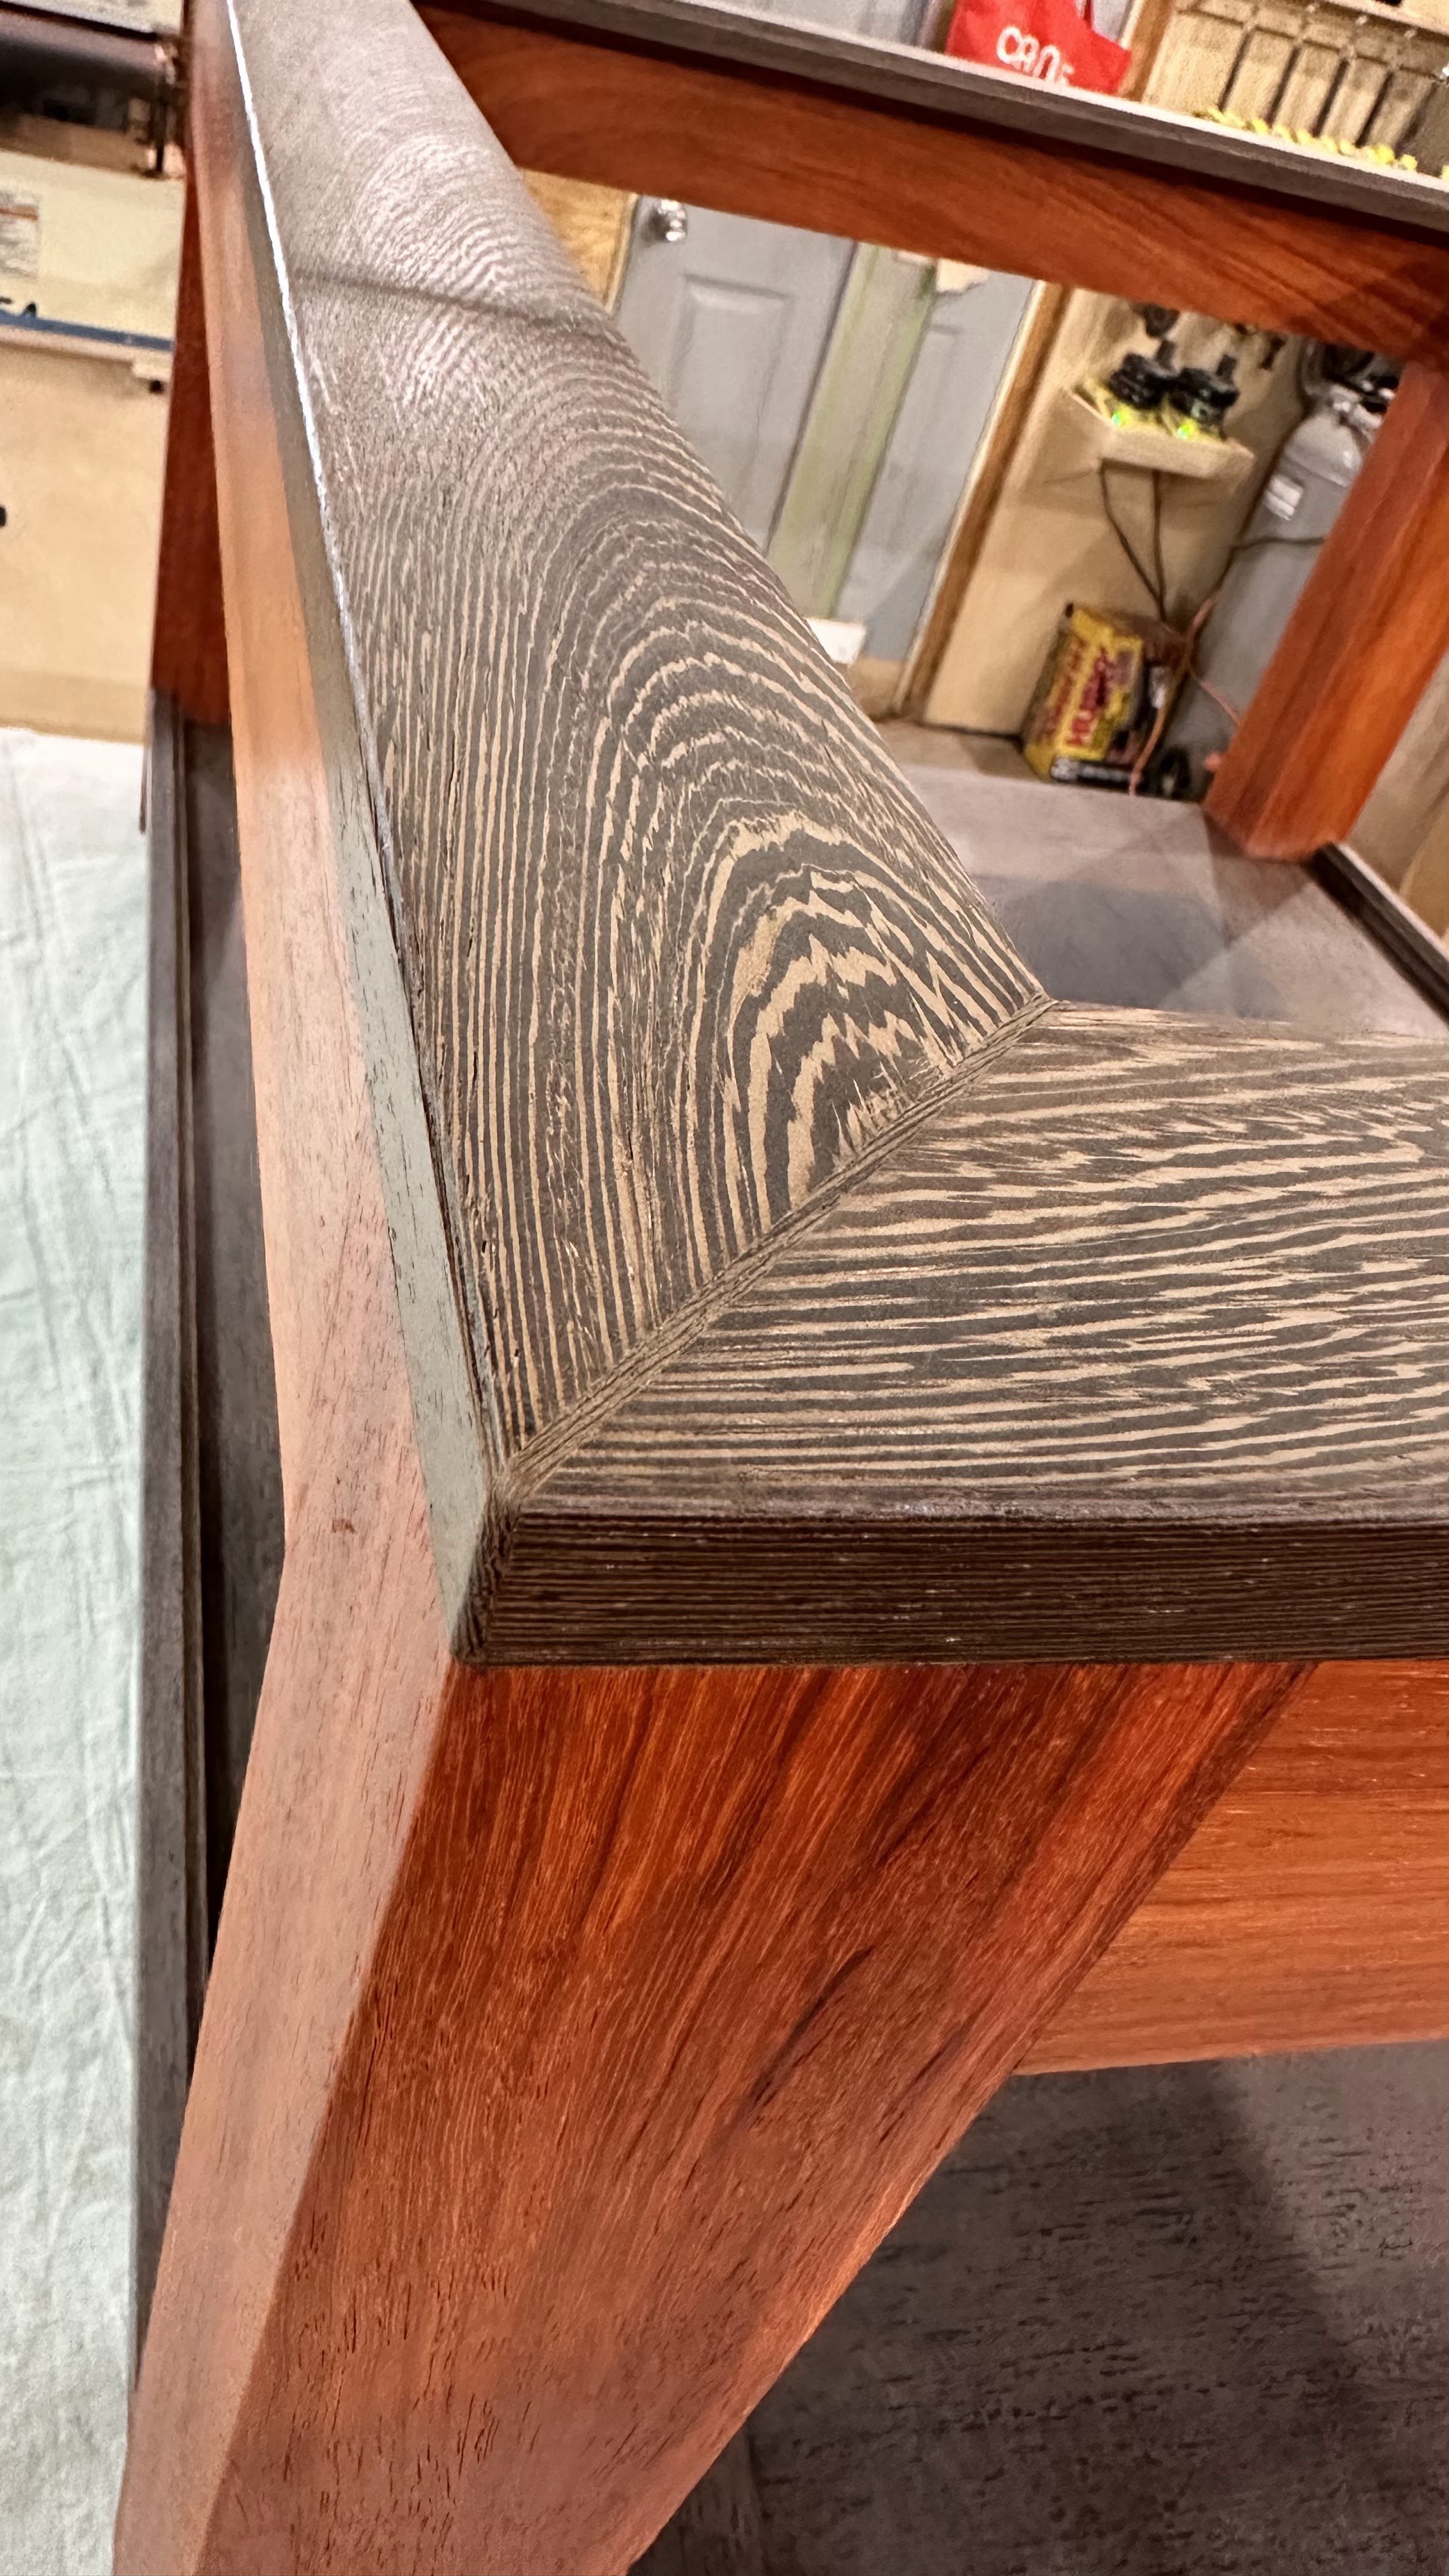
Mistakes are Design Opportunities
The top of the table had some very minor gaps (less than a 1/32″) in the corners that i could have filled with sawdust glue mixture but because of the high contrasting nature of the Wenge I opted to do a inlay with opposing grain pieces of Wenge.

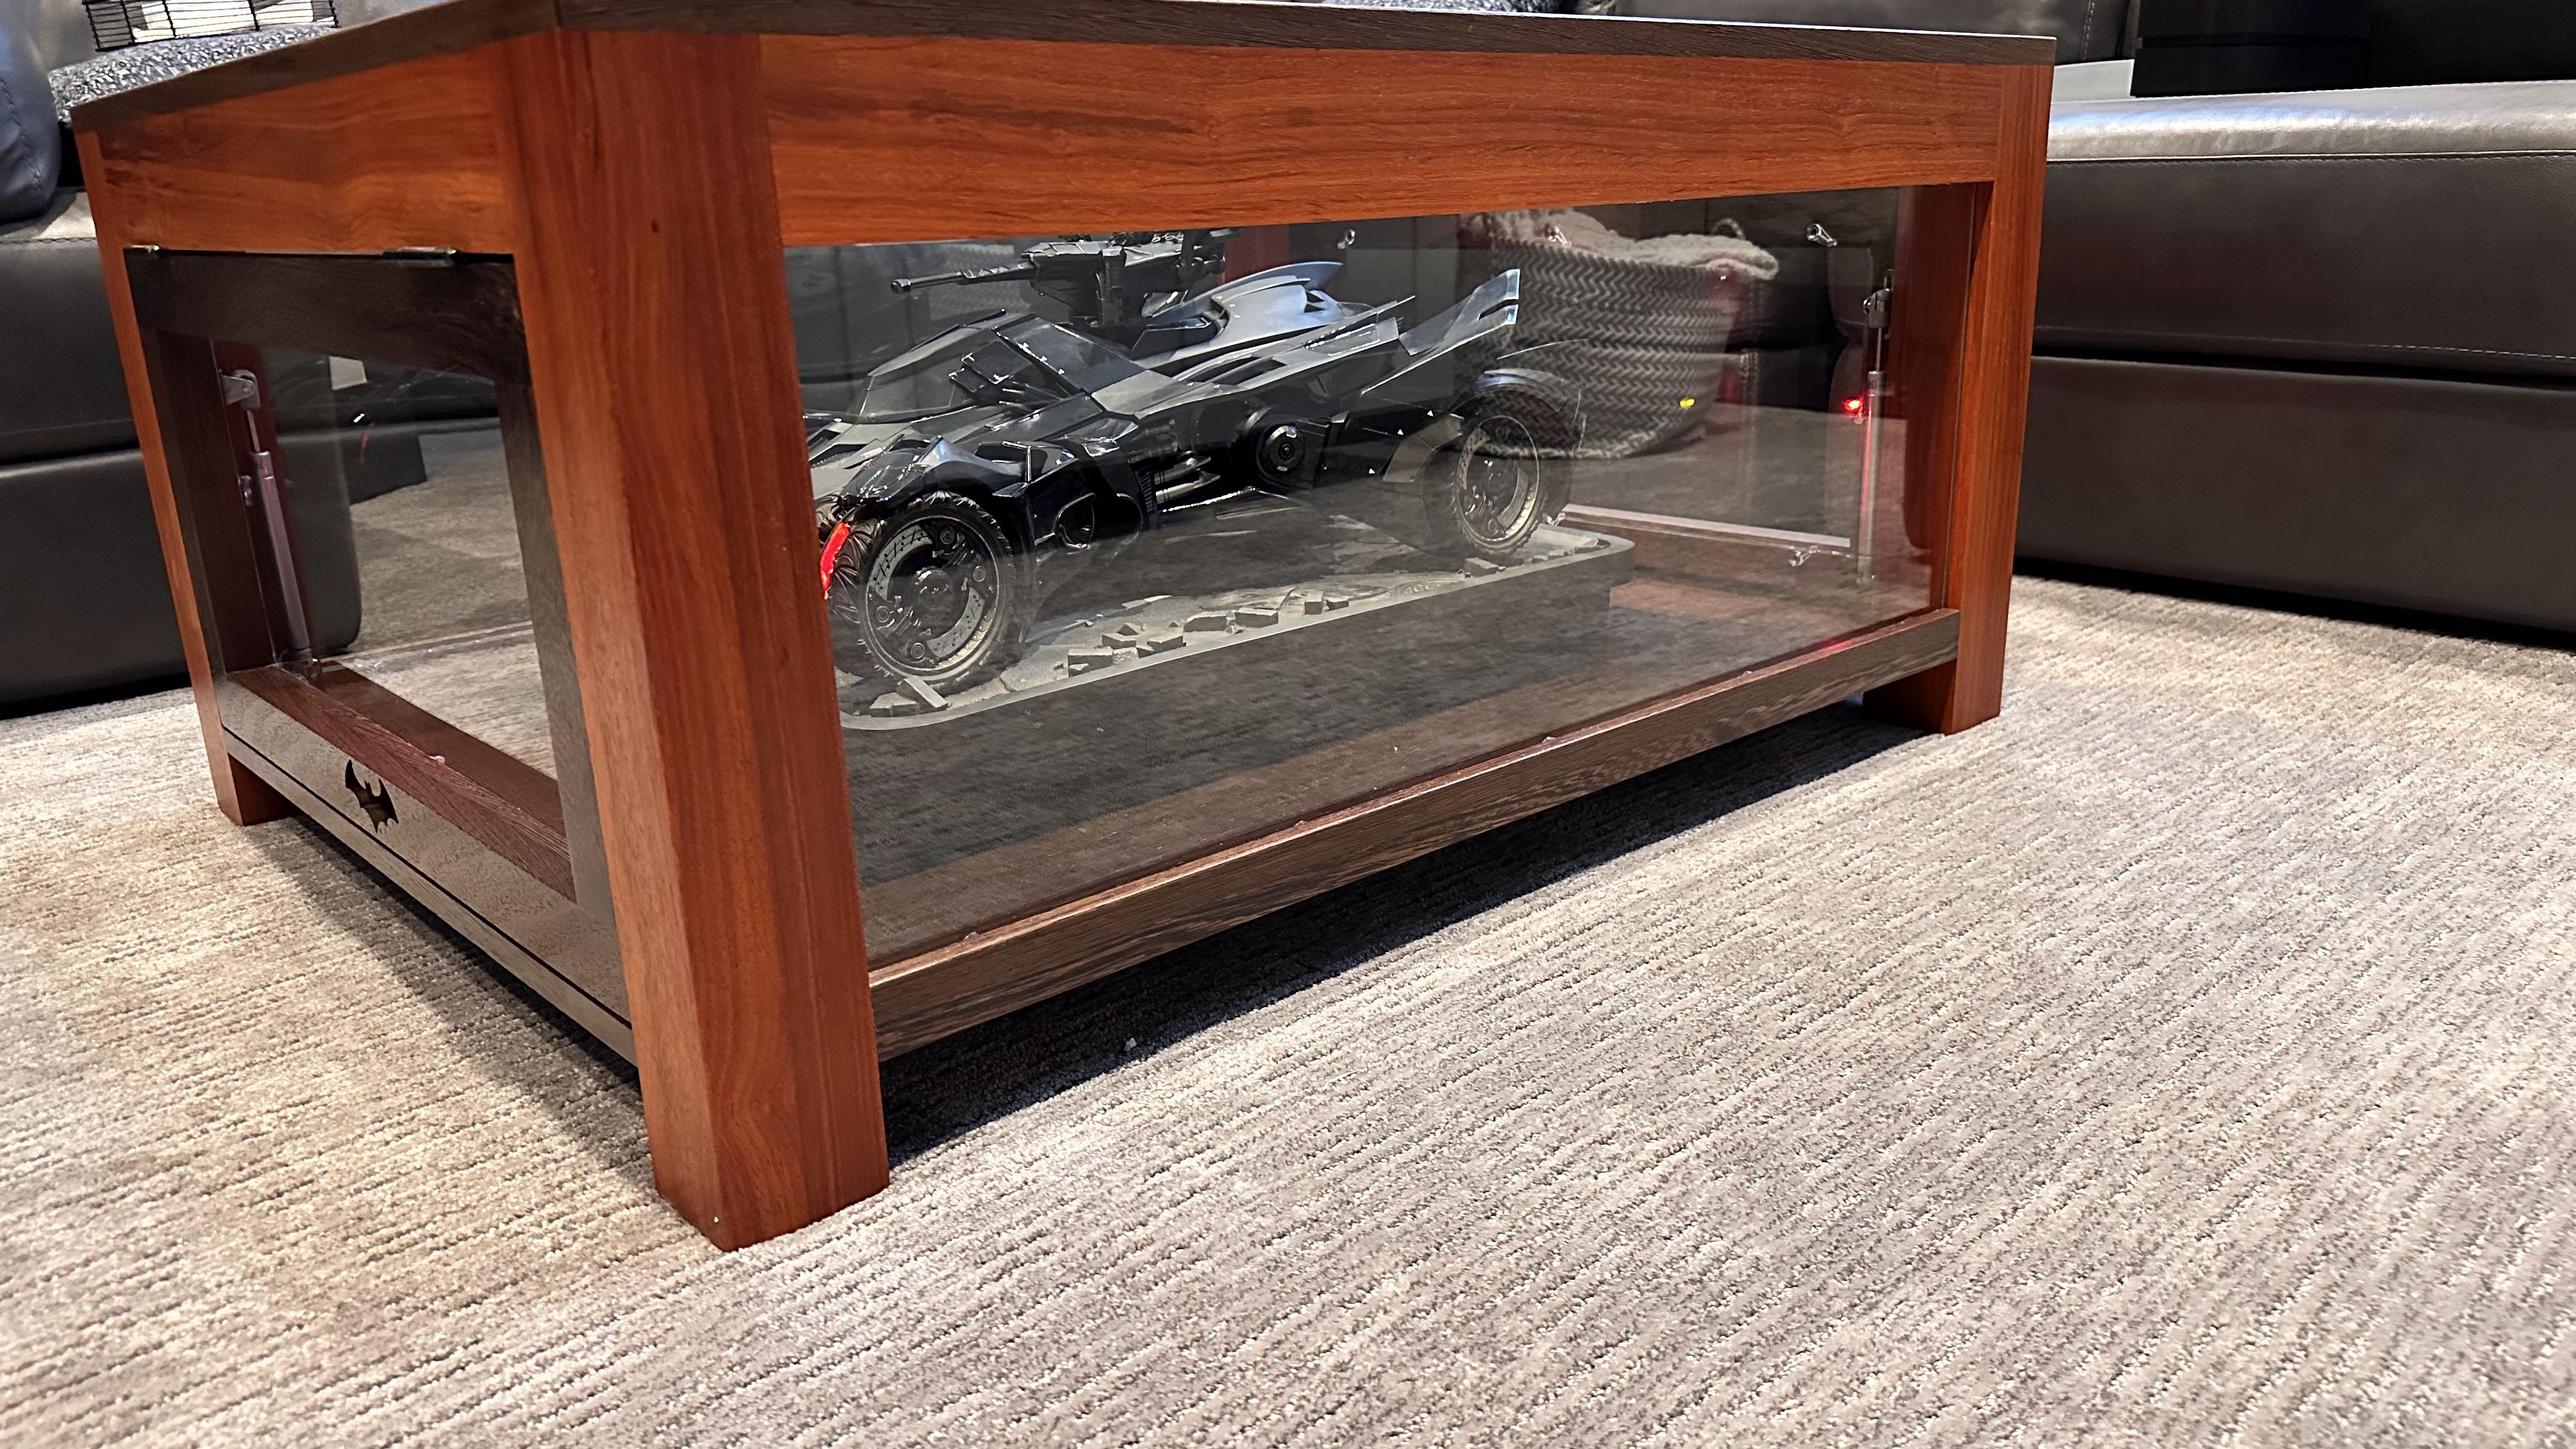
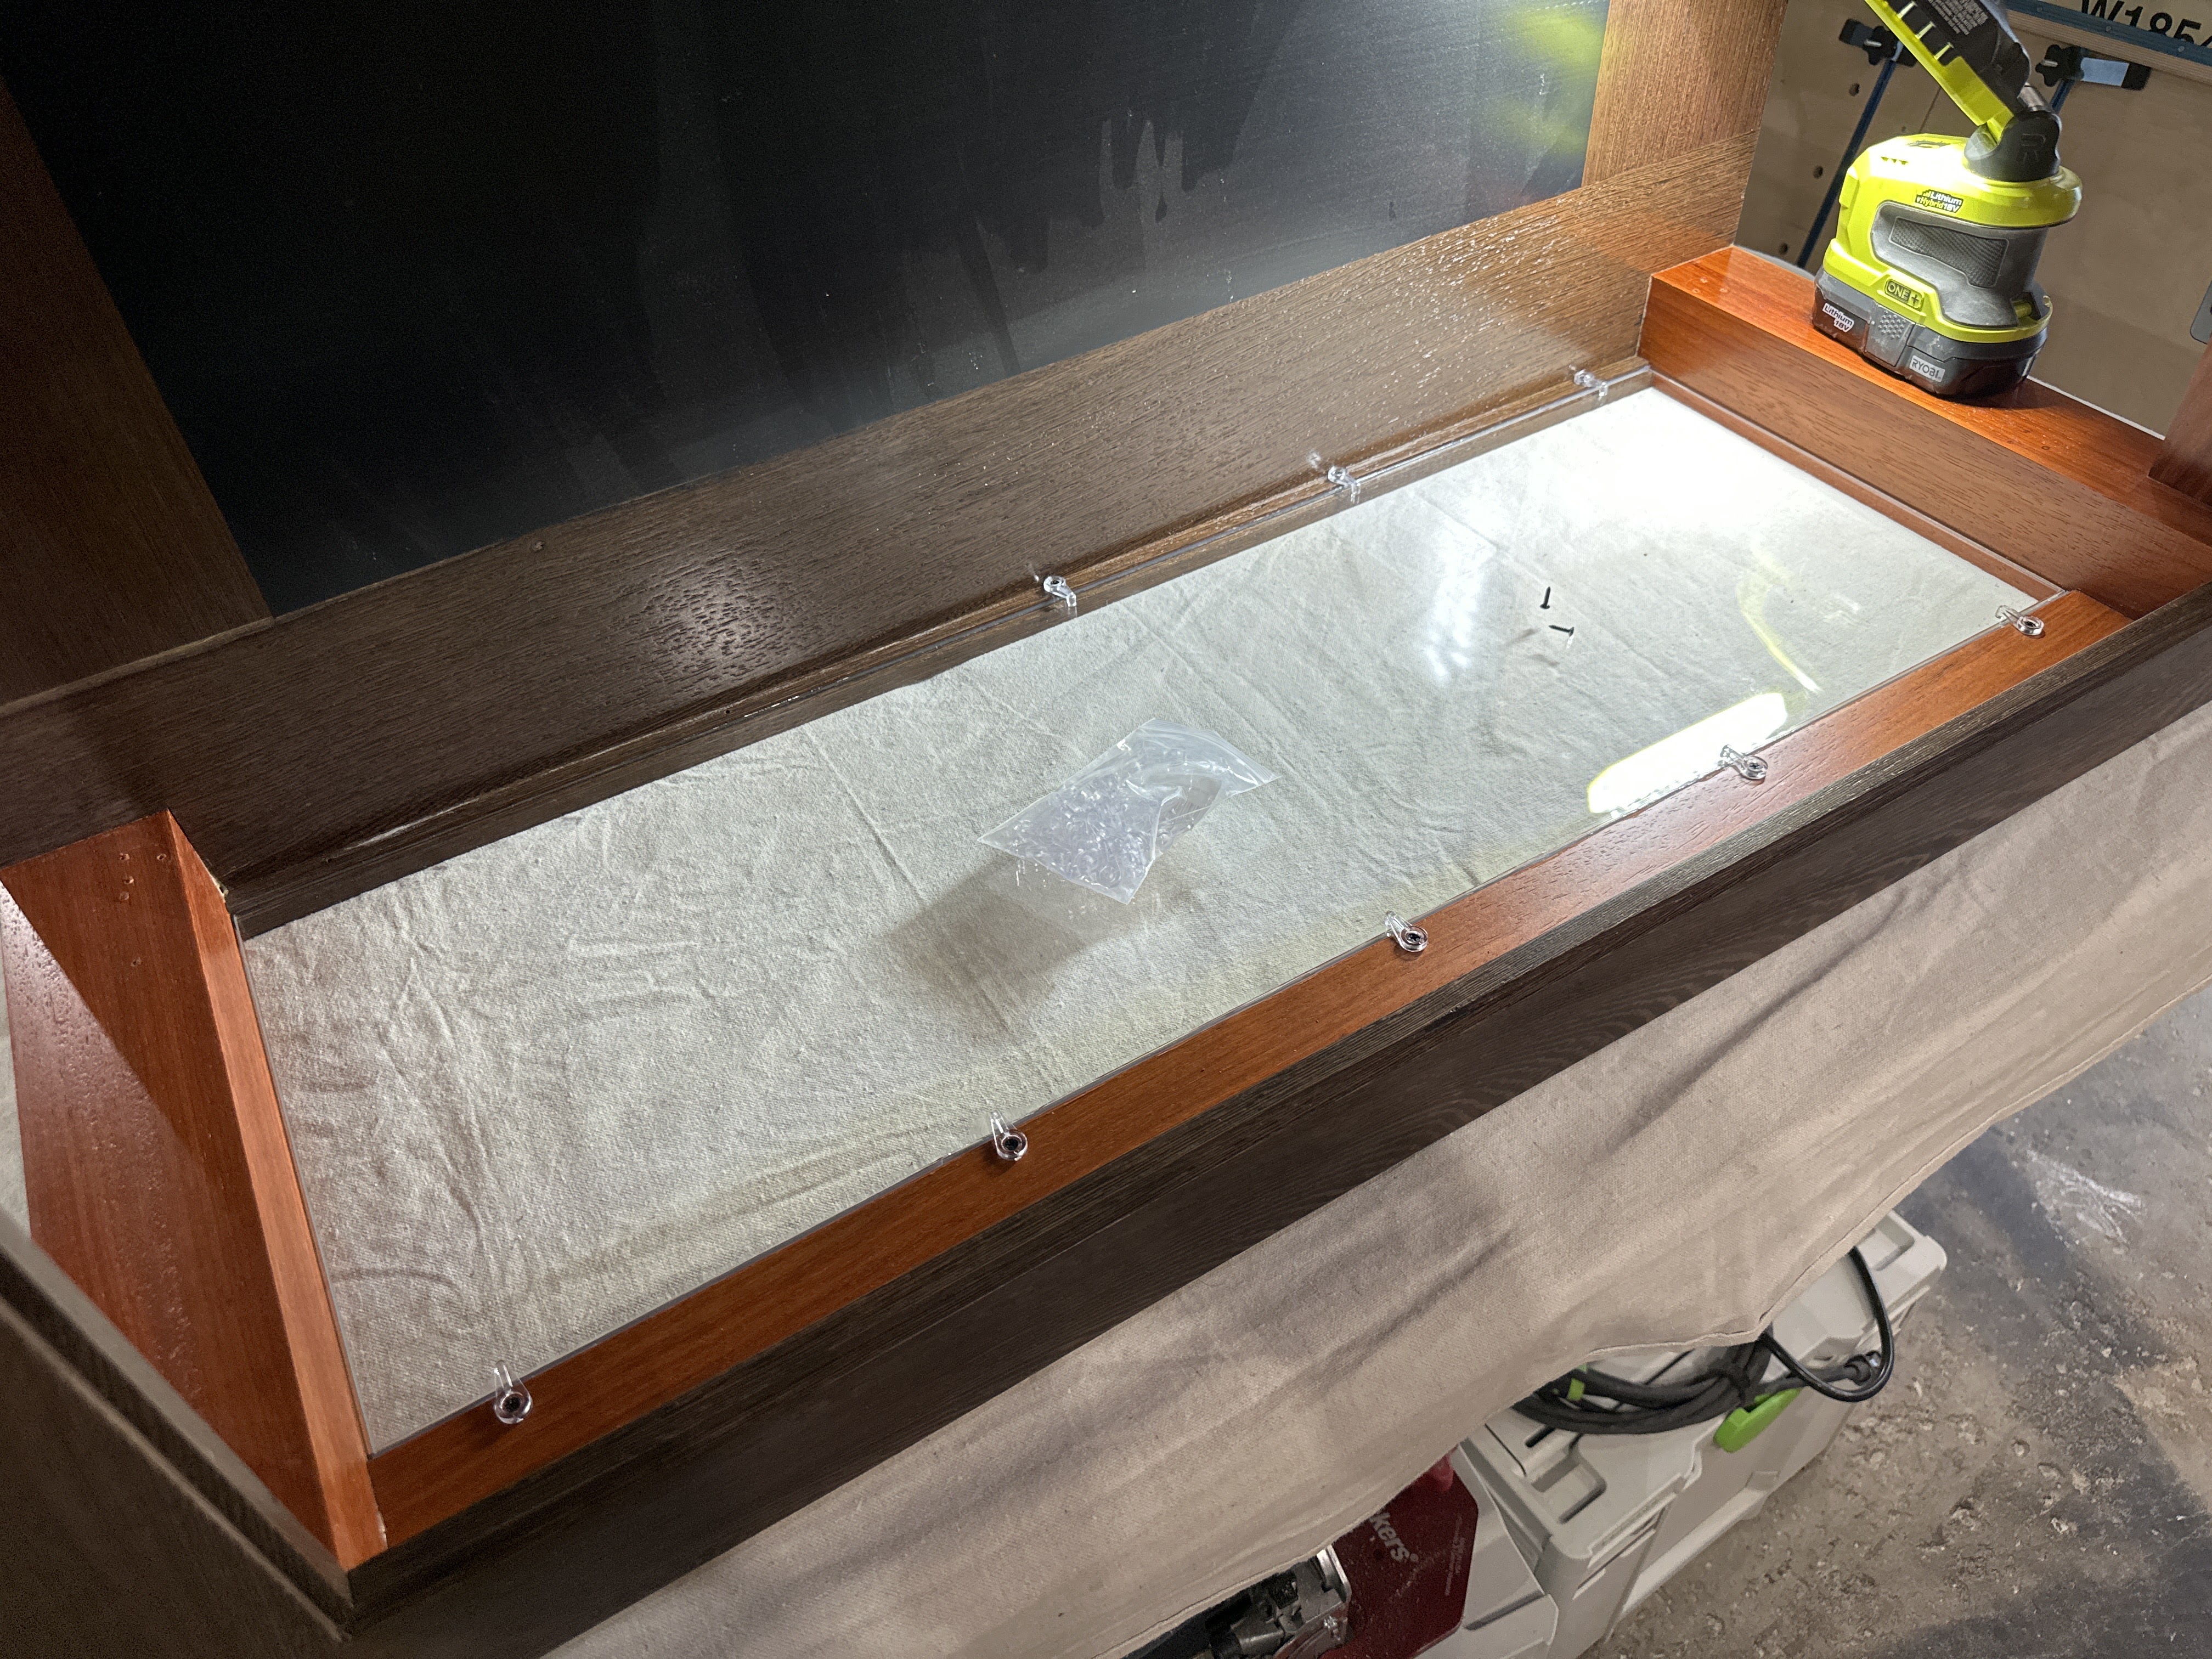
Glass !
The final product is close to ready we just need to custom order glass. For the top we opted to a 1/4″ thick safety glass and 1/8″ thick everywhere else. Before glass installation though minor adjustments where needed to be made to ensure a giant piece of glass will fit seamlessly into the top.

Final Installation
At this point everything was done except delivery, putting the Batmobile into its final home, and then installing the glass top.